
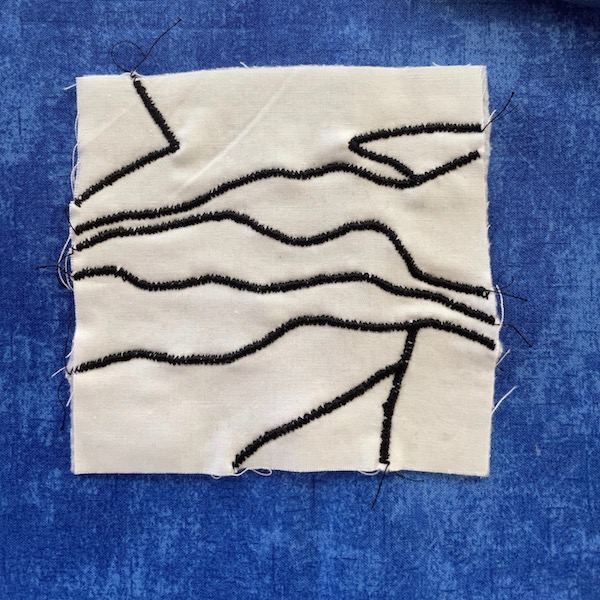
Hey there, welcome back. The last post on the quilt challenge – Week 5 – Part 1, I set my stitched block aside as I really wasn’t very happy with it. I wasn’t happy with the stark white background that I used nor was I happy with the heavy stitching the black thread and zigzag created. Hence I’ve decided to make another one and this time use the threads I chose way back in the first post, July 2021 Quilt challenge.
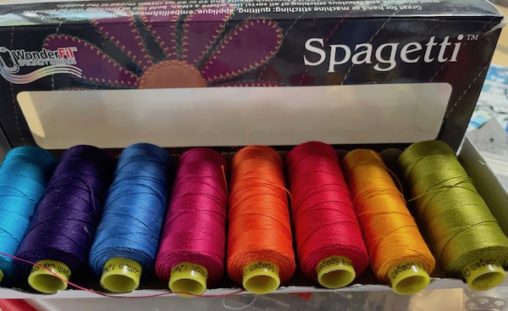
The threads are bright and fun. They are a 12 weight thread from Wonderfil. I love these threads and will be sad when they are gone but I can always buy more.
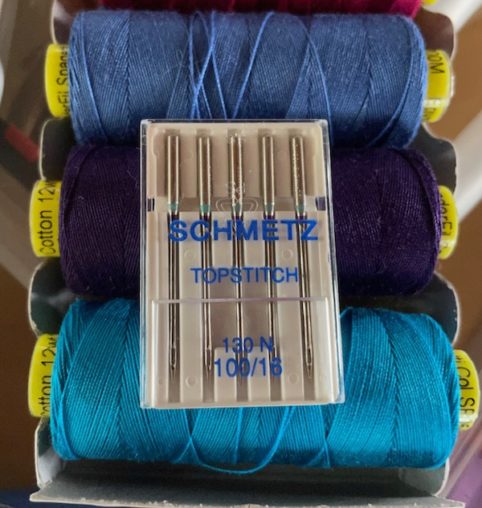
These threads are thicker than the usual thread we use for stitching so I need to put a needle in my machine with a larger eye. I’ve chosen to use a Topstitch 100/16 needle. If I was to use a smaller needle I could end up with thread breakage. So if you find that your thread is breaking make sure you have the right size needle in your machine for the type and weight of thread you are using.
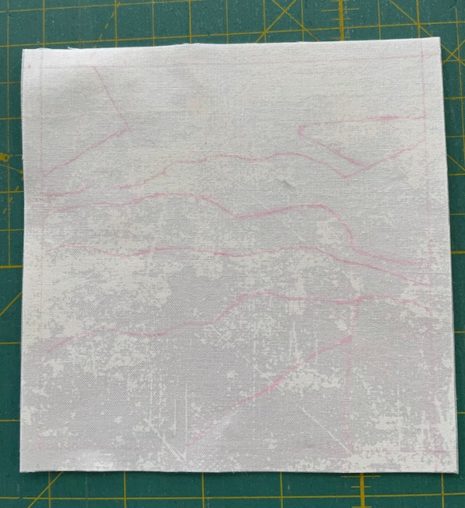
I picked a different white fabric, one with a textured tone on tone from Northcott called Canvas. Canvas is one of my favourite go to fabrics as it has a fabulous range of colours and a very nice texture in the fabric. And did I mention all the wonderful colours. Once again I drew the line drawing onto the white fabric with a fabric pencil.
This time instead of using the fusible fleece as my stabilizer I used a fusible non woven interfacing of medium weight. This one I got years ago when I was living in Australia and really do like it. But my supply is running low so I have to use it wisely.
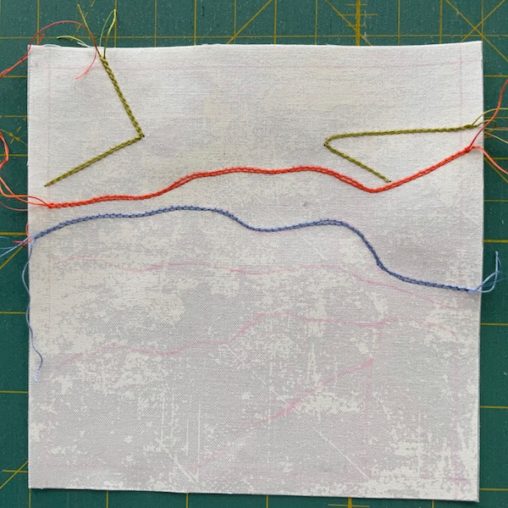
I followed the colours from the coloured block and started stitching along the lines. I decided to stitch twice along each line to cover up the pink marking pencil. I also cut the block 5.5 inches rather than 5 inches so I could square it up afterwards. That was one of the issues with the first stitched block as that it shrunk when it was stitched.
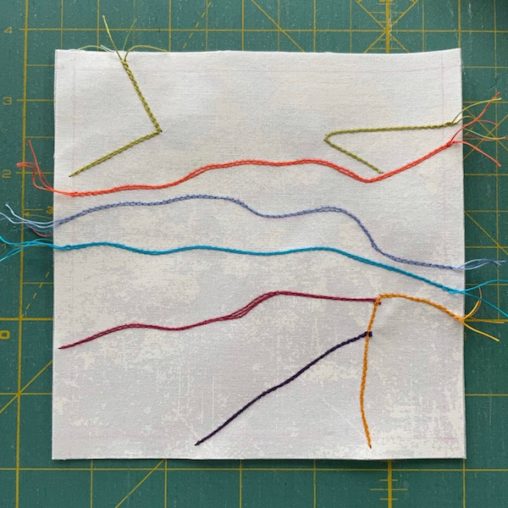
Here’s the finished block. Looks very different from the first stitched block which is at the top of the page.
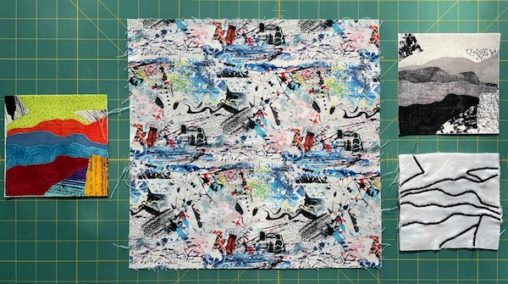
I went ahead and added the blue sashing as well as framing it in the squiggle fabric to create another 9.5 inch block.
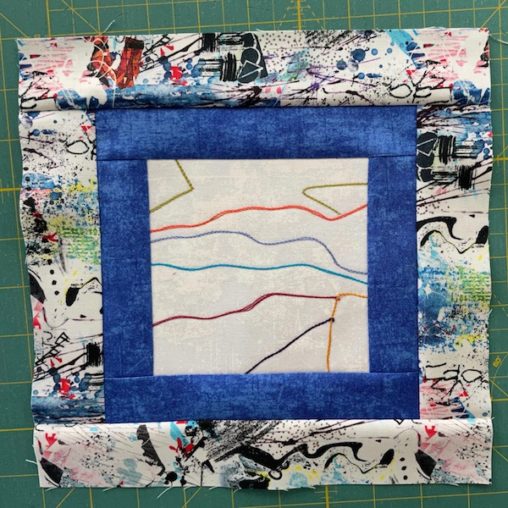
And then I looked at this photo again and thought, if only I had made this new stitched block before I framed the other two blocks because I could have had the grey scale and black stitching on one side and the 2 coloured blocks on the other side. Hindsight is 20/20.
I could do some reverse sewing and start over. Should I or shouldn’t I? What do you think?
Until then….
Happy Quilting


