Hey there, Ruth and I are still working on the Quilt Challenge but I don’t think we can call it July anymore since it is now August. For this weeks guidelines/instructions you can find them on Ruth’s Blog. They are a little bit more involved so she is giving us 2 weeks to get them done.
Today I am working on the first part of the instructions and then will be back next week with the rest as I have to think about how I am going to put the 4 blocks together especially since I have used 5 inch blocks for my little blocks and my large block is 12 inches. Five definitely does not divide equally into twelve.
If you missed my last post you can check out what I did by clicking on these links. I divided the last weeks instructions into 3 parts: Week 3 – Part 1, Week 3 – Part 2, Week 3 – Part 3.
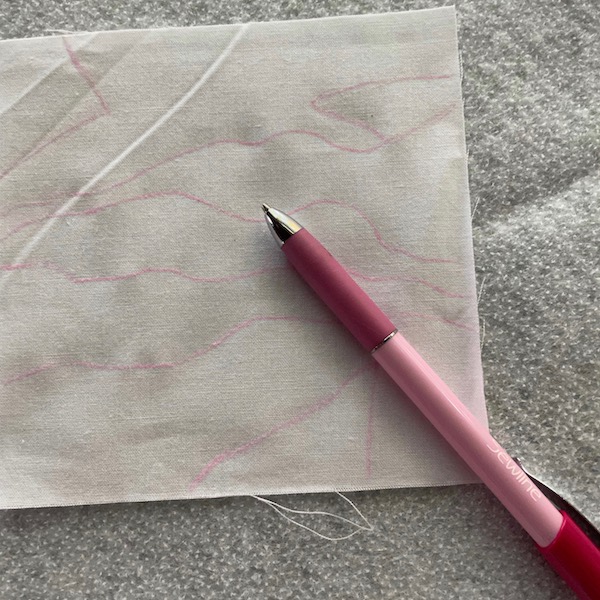
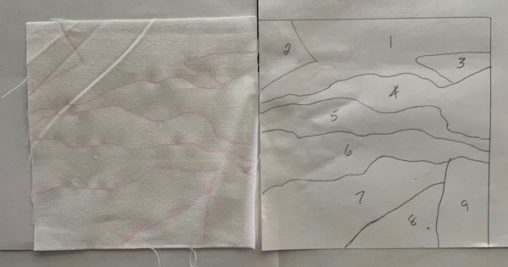
Today I worked with the line drawing again and this time drawing the lines onto a piece of fabric. I decided to use white fabricate draw the lines onto. I’m not so sure I like what I did but hey it was only a 5 inch square of fabric and some thread so I can start over if I want to.
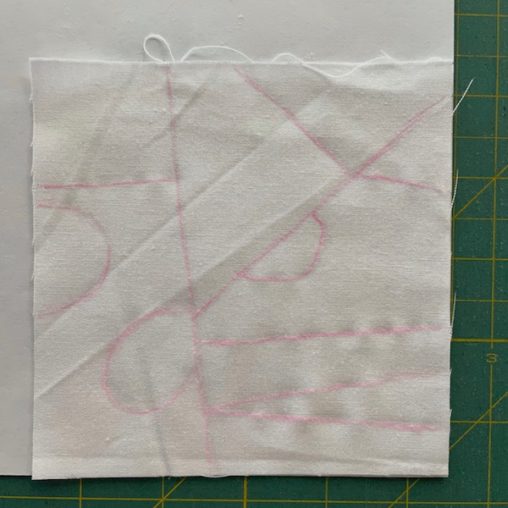
I ended up using a window as a light box to trace the lines onto the fabric. And I used my favourite marking pencil to do so from Sewline. It has three different colours of lead and I used the pink one.
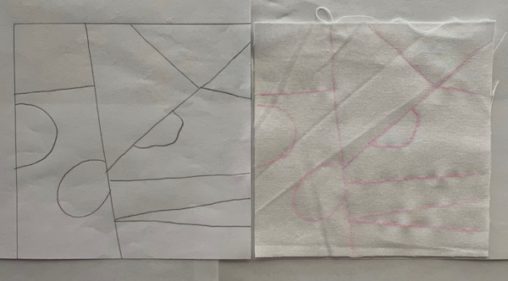
The lines were a bit light so I went over them again on a flat surface to make them more visible for stitching along.
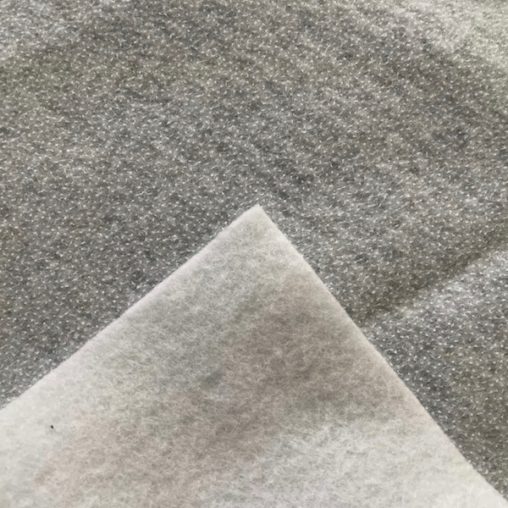
The instructions this week are to stitch the lines with thread and maybe fill in-between the lines as well. But first I need to put a stabilizer behind the fabric otherwise the thread is going to make it all pucker and the block will not be flat. One of my favourite stabilizers for this kind of work is Fusible Fleece from Pellon. Heat and steam sets the glue that is on the back of the fleece to the back of the fabric making it much easier for stitching. I use it on my Santa Sacs behind the appliqué since there is no batting in my sacs.
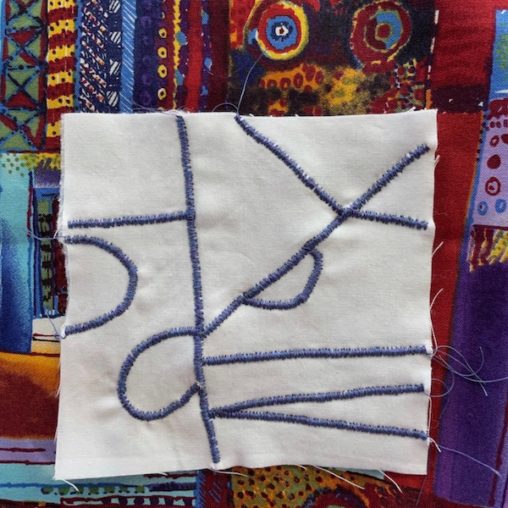
Stabilizer on I decided on black thread for the squiggly line background as it has a lot of black thread in it. For the other busy fabric I chose a blue thread. The black is a 30 weight thread which means it is a thicker thread and the blue is a 40 weight thread so not quite as thick as the black thread. Want to learn more about thread check out my blog post The Thick and Thin of Thread. Because the threads I am using are thicker I am putting a size 90/14 needle in my machine.
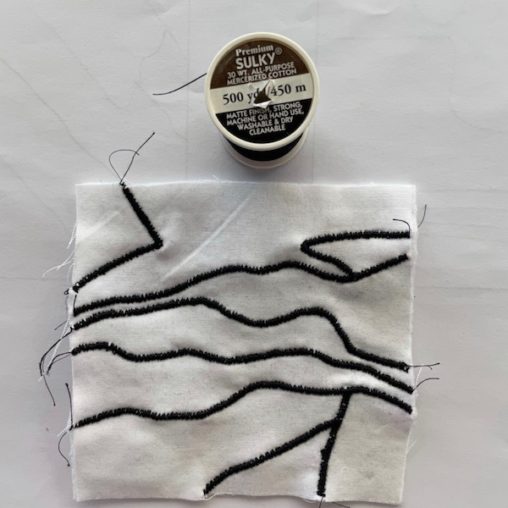
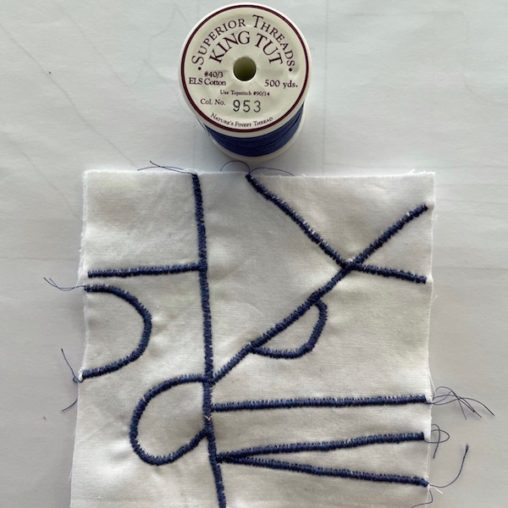
I could have used a decorative stitch or just a plain straight stitch to create the lines but I decided to go with my favourite stitch – Free Motion Satin Stitch. Can definitely see the lines in the photos above and below. The thread choices go well with each busy fabric. I haven’t done any stitching to colour in the spaces between the lines. And now I am wondering if I should have done the lines to correspond with the colour I used in the block. Hmmmmm… a lot to think about for next week.

Until then…
Happy Quilting