Hey everyone, welcome back. Wow, where does the time go? It has been almost two weeks since I posted my last blog post about the July/August quilt challenge and now it is September. In the last post I set aside the stitched blog I originally made with the black stitching and made a new stitched block with coloured threads. I liked it much better but today I thought I need to use the original block as well. No point letting it go to waste.
This project has been going on all summer and pretty soon I might have to consider it a UFO. Definitely am considering the other busy fabric project a UFO. Stay tuned for it to be finished in the next couple of weeks. The last set of guidelines and instructions from Ruth said to quilt the piece using three different quilting styles or designs.
Today I am going to quilt the original stitched block with the stitch and flip quilt as you go method.
Let’s get started.
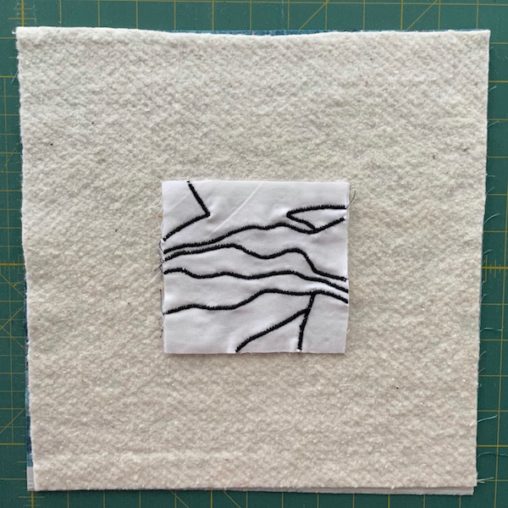
My little block needed to be squared off and I needed some fabric for the backing and a piece of batting. The pieces I put together for the Quilt Challenge Week 5 – Part 1 were each 9 ½″ square. I cut the backing and batting approximately 12 ½″ square leaving about 1 ½″ all the way around.
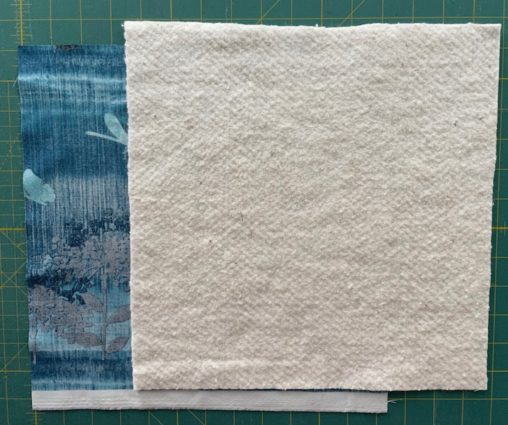
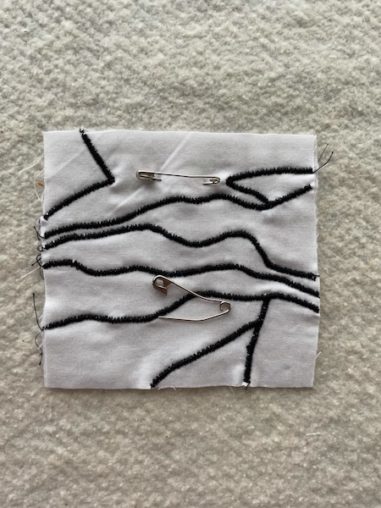
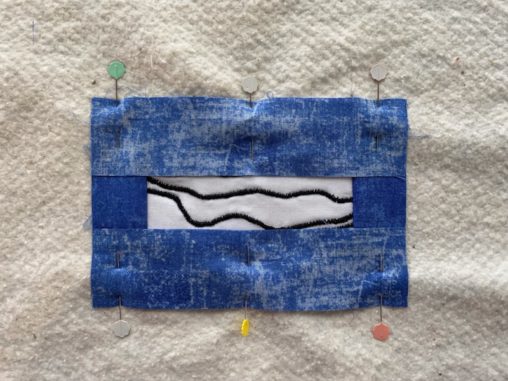
I pinned the block to the centre of the layered batting and backing with curved basting pins.
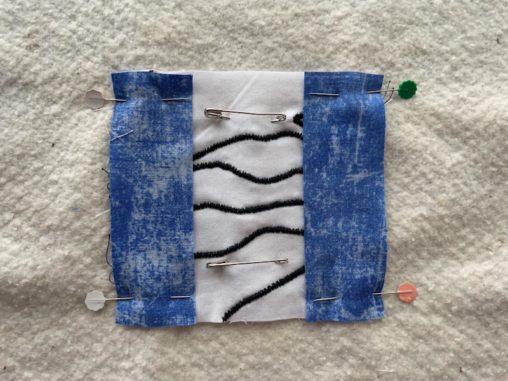
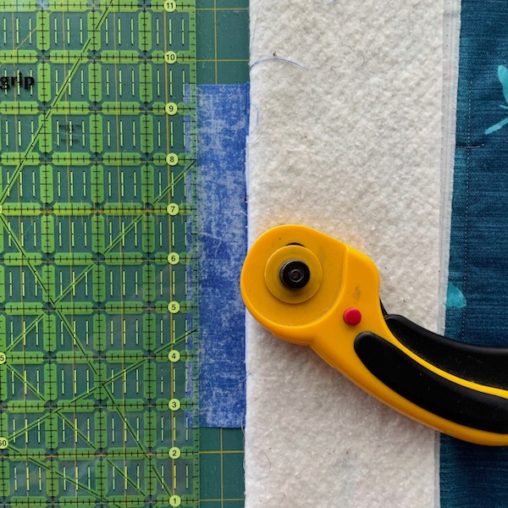
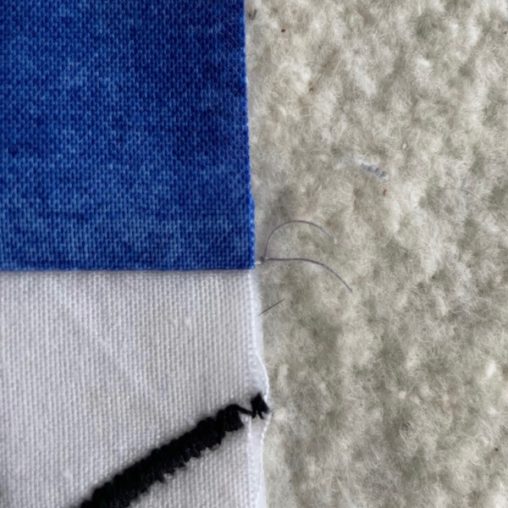
Then cut my blue sashing pieces the same length as the vertical sides of the block – 4 ½″ x 2″. Pinned them right sides of fabric together through all the layers.
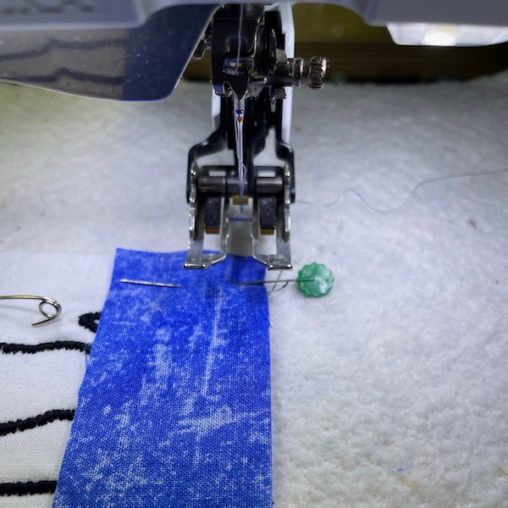
A walking foot works best for sewing these pieces in place especially since there are 4 layers to go through and my stitched block has an extra layer of stabilizer on it so really 5 layers. Using the walking foot will make for smooth even stitches and the fabric will move along the feed dogs nicely.
After pressing the pieces I realized that I had cut the blue fabric a ¼″ to big and had to cut off a ¼″.
Because my original block wasn’t as large as my other little blocks I was going to leave the top and bottom sashing a ¼″ bigger but then decided that it would be more noticeable with the blue fabric than the busy squiggles fabric so trimmed it as well before pinning and sewing.
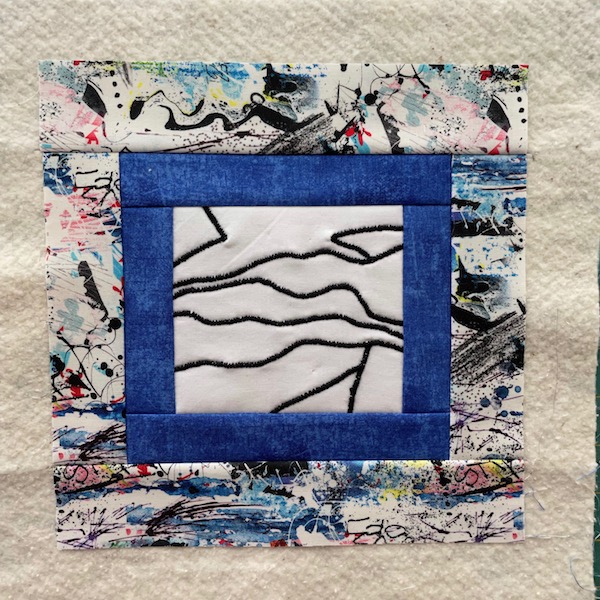
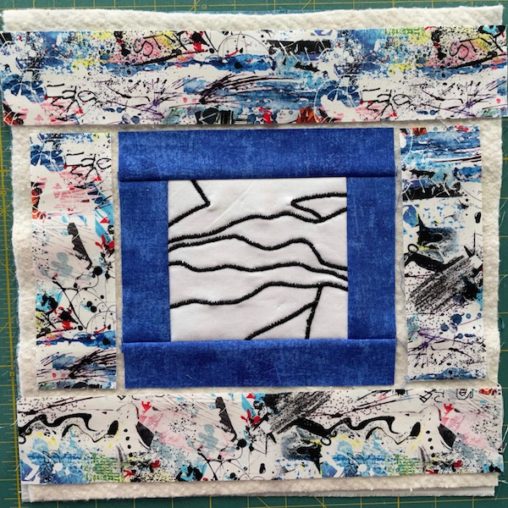
Here’s the squiggle fabric cut and placed around the blue fabric ready to be attached but will need to have the top and bottom pieces cut to 9 ½″. Using the same technique as before I put the border pieces on. The top and bottom borders are a ¼″ larger than the side borders but not noticeable with this fabric. The piece is 9 ½″ square same as the other 3.
Here’s what the back looks like. I used grey thread but you may wish to use a thread that matches your background. The grey actually blends in pretty good with the teal fabric. And I have a lovely little scene on the back of my quilt.
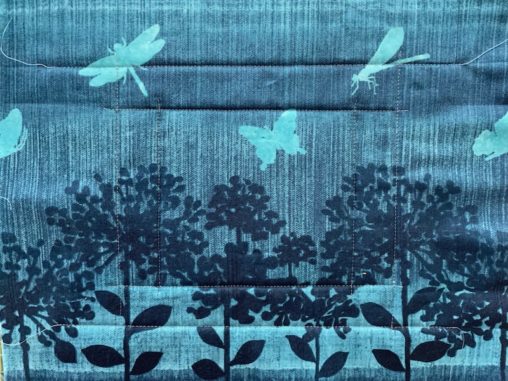
And what did I do with the thread ends after sewing each seam. I pulled the back thread up to the front, tied a knot and trimmed. It will be buried under the next piece.
The finished piece is at the top of the page with all the borders sewn on. So that’s one style of quilting taken care of. Only two more to go but really three as I have three more blocks waiting to be quilted.
What other quilting styles, techniques or designs will I use?
Until next time…..
Happy Quilting