Welcome back to Quilts by Jen.
Today I’m highlighting the use of fusible web to create appliqué pieces. There are many different types of fusible webs on the market and for this tutorial I will be using a paper backed one.
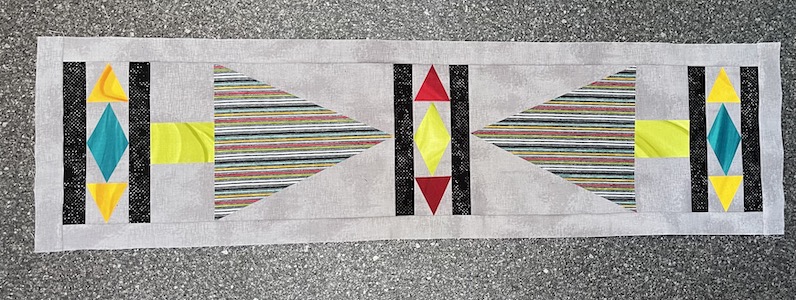
This tutorial came about because of a pattern I am in the process of writing called Merry & Bright. It has three different constructions methods in it and 2 of them required a little more detail with pictures. Paper piecing is one of the other two methods that I have also created a tutorial for.
Once the pattern is finalized I will add it to my shop as a download purchase.
Fusible web appliqué is actually very easy and straight forward. Follow these steps for success every time.
Gather supplies
Fusible web – EZ Steam, Steam-a-Seam 2 lite, Soft Fuse, HeatnBond, WonderUnder
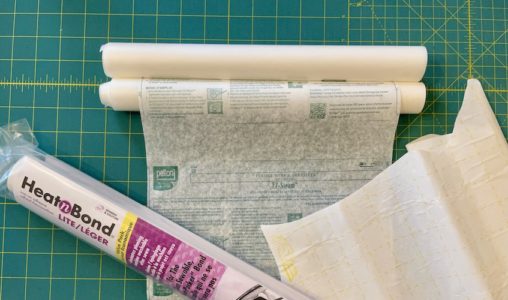
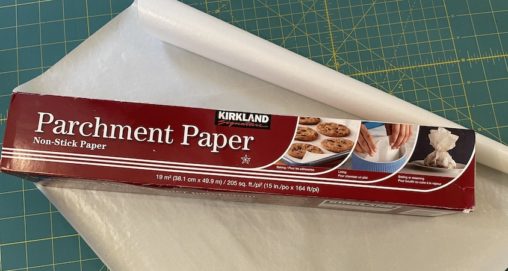
Teflon Pressing Sheet or Parchment Paper
Templates
Iron
Scissors or Rotary Cutter that are used to cut paper
Fabric – can use yardage or scraps depending on the size of the appliqué shapes and pieces
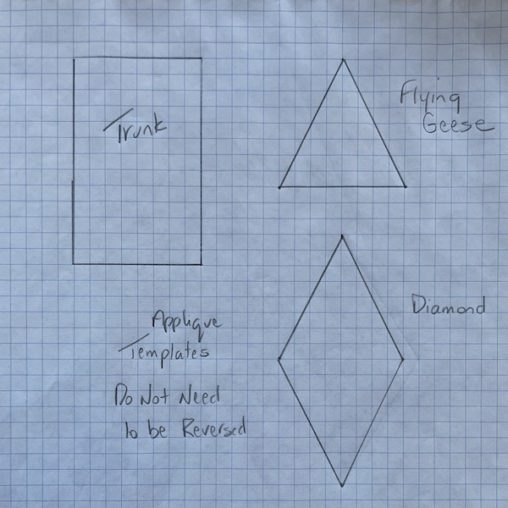
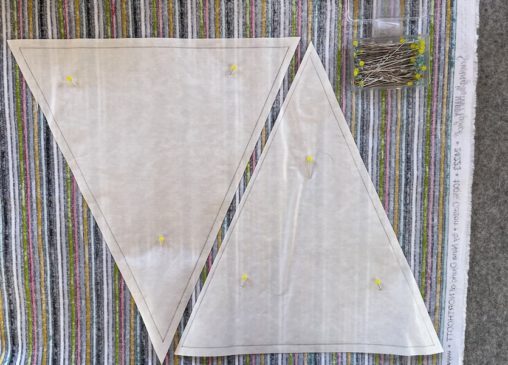
Trace Templates
For this project the templates do not need to be reversed seeing how they are geometric shapes. Usually the templates are reversed to ensure that the project turns out looking like the cover image. My Bargello Sunflower is an example of a project where the templates would be reversed.
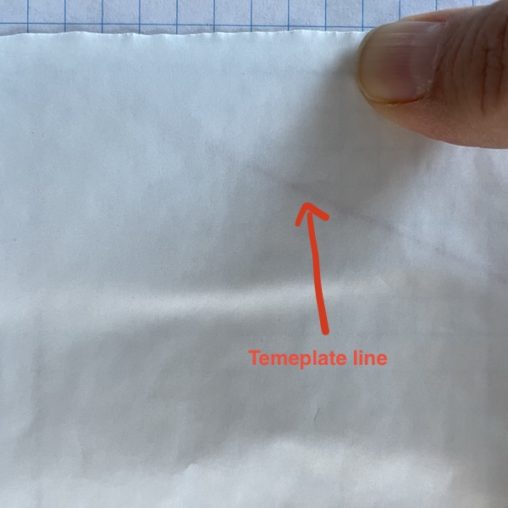
Depending how dark the template lines are they may be difficult to see through the fusible web. The template can be traced over with a Sharpie, taped to a window or can be placed on a light box to allow for better viewing of the templates through the fusible web.
Trace the pieces needed on the paper side of the fusible web. Leave enough space between shapes to cut them out with some white around the edge. If using Steam-a-seam trace on the side with the grid. I like to use a hard leaded pencil for tracing as it doesn’t smudge. Smudging can result in lead being transferred inadvertently over to the fabric.

Prepare Pieces
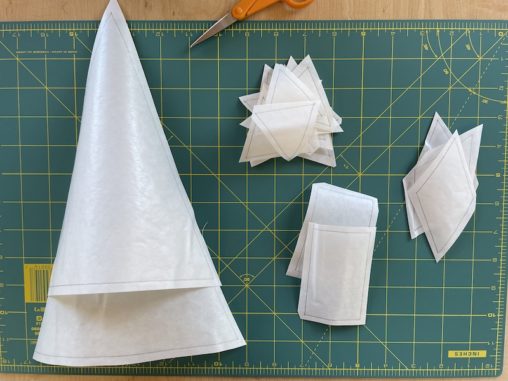
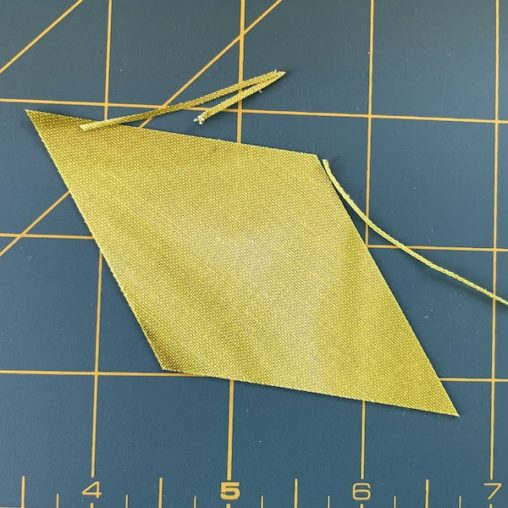
Once the pieces are traced cut them out leaving an ⅛ to ¼ inch of white around the line. Do Not Cut on the line at this time. The reason a bit of white space is left is so that the glue will be right to the edge of the piece once fused to the fabric – this will help prevent any fraying of the edges.
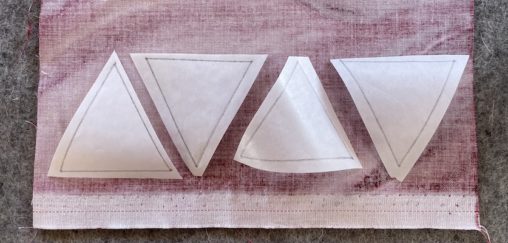
Place pieces on the wrong side of the fabric. I find it best to work on the ironing board for this step. If the shapes are curling they may need to be pinned to the fusible web and ironing board. Glass headed pins work best for this job as they can be ironed and won’t melt. If using Steam-a-Seam make sure to remove the paper from the wrong side of the piece before fusing to the fabric.
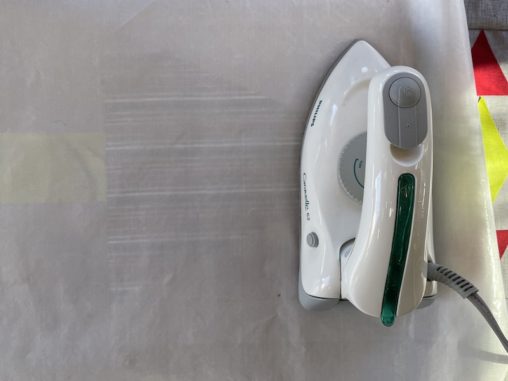
Cover with the Teflon pressing sheet or parchment paper. The reason for this is to prevent any of the glue getting on the iron and making a mess. If you do get glue on the iron a fabric softener sheet will take it off.
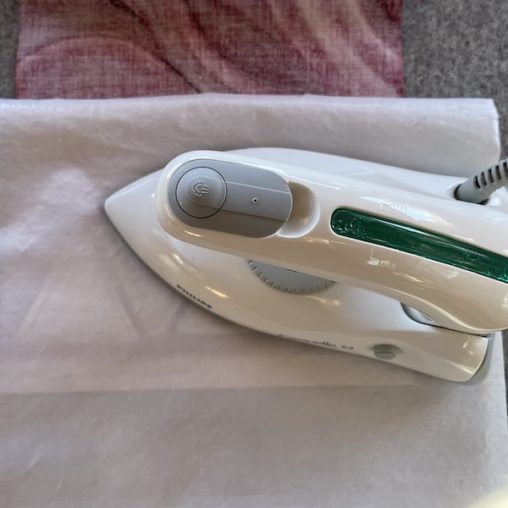
Hold the iron in place over a shape for several seconds. Make sure to read the directions for the fusible web being used. Nothing will burn. Don’t slide the iron over the pieces as they may move out of position or get wrinkled. Be careful as the Teflon sheets and parchment paper get very hot.
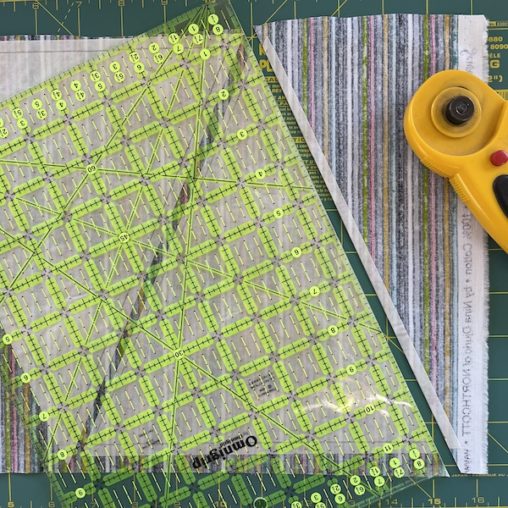
Let the pieces cool before cutting them out on the line this time. Use either scissors or a rotary cutter. For straight edge pieces like this a ruler rotary cutter work really well.
Fuse Pieces to Project
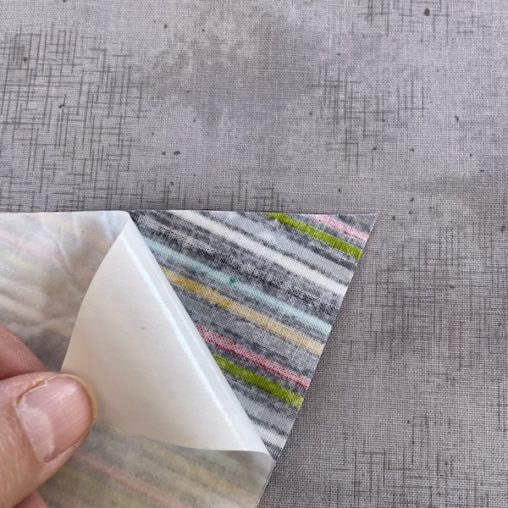
Remove the paper from the back of the pieces.
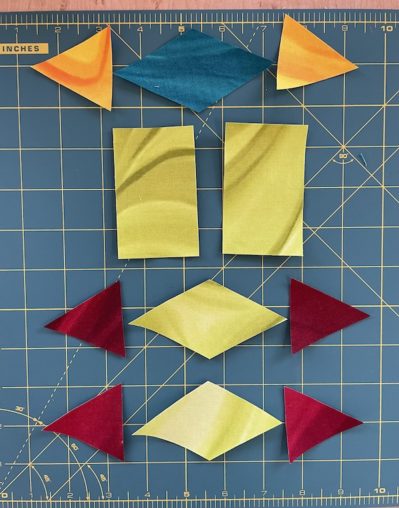
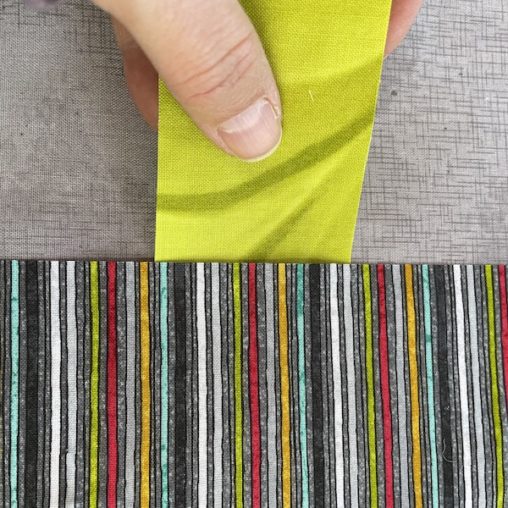
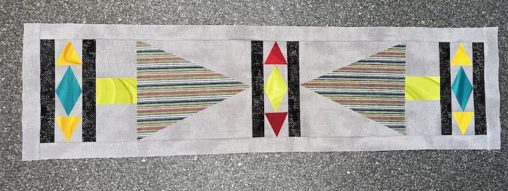
Align the tree and trunk in the middle of background. Align the diamond with the centre of the tree. Place triangles on either side of the diamond. Pieces should fit on the grey area. They can be trimmed if need be.
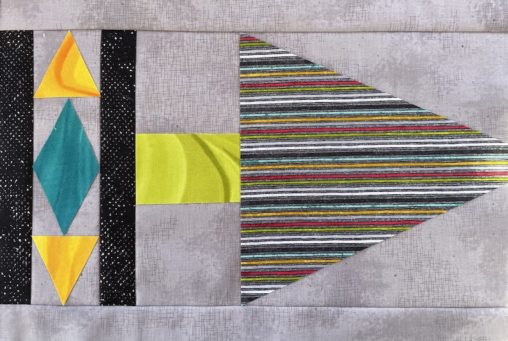
Make sure to slip the trunk under the tree slightly.
Cover with the pressing sheet and place the iron on top of the shapes. Hold in place for several seconds. Repeat until pieces are fused in place. Do not slide iron back and forth.
Stitching Around the Edges
Now that the pieces have been fused to the project the next step is to stitch the raw edge to the background. Because this is a small piece the stitching can also be used as the quilting.
Use your favourite stitch to secure the appliqué edge to the quilt. My favourite stitch is the free motion zigzag stitch. There are many stitches that can be used. Check out the different appliqué stitches found on most machines.
Choose a thread that either blends in or stand outs. Use any type of thread – cotton, rayon, polyester, variegated.
Follow these steps for fusible web appliqué and you will have success with all your appliqué projects.
Until next time…
Happy Quilting