
Welcome back to Quilts by Jen.
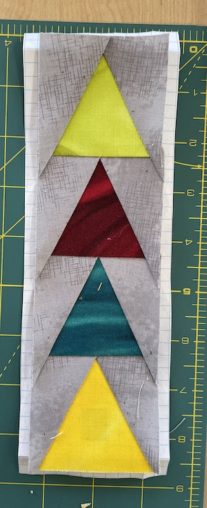
Today is all about paper piecing. Paper piecing is the perfect quilting technique for creating perfect points especially when the angles of the triangle are just a little bit off of 90 or 45 or 60 degrees.
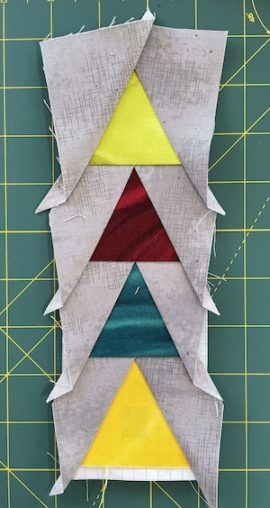
This tutorial came about because of a new pattern I have coming out and I thought why not do a picture tutorial for the pattern. The pattern is called Merry & Bright. Yep, you guessed it it is a Christmas pattern. Never too early to get started on those Christmas projects. As soon as the pattern testing is done and the final edits on the pattern are completed I will add it to my shop.
What is needed?
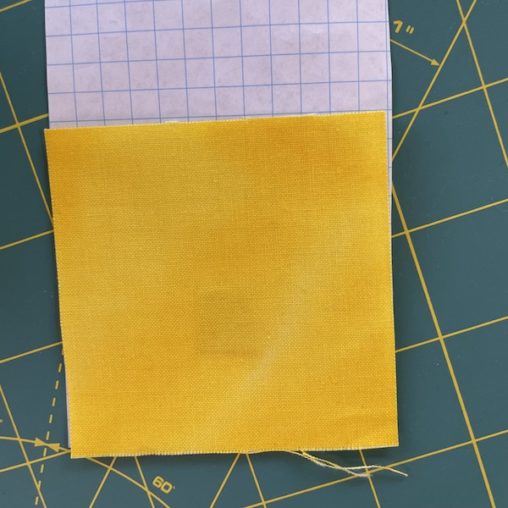
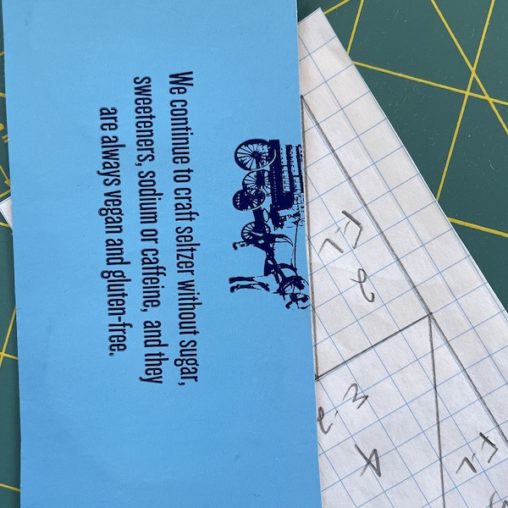
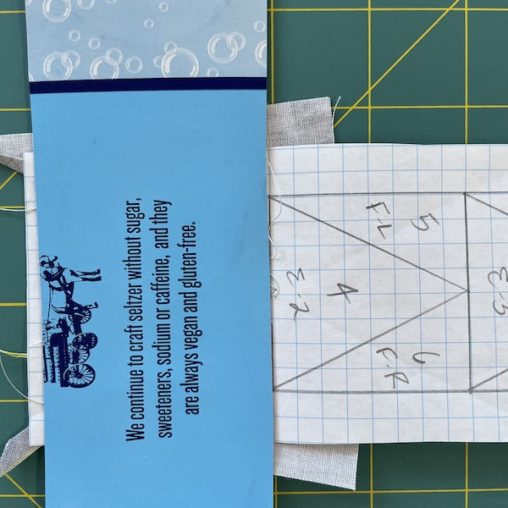
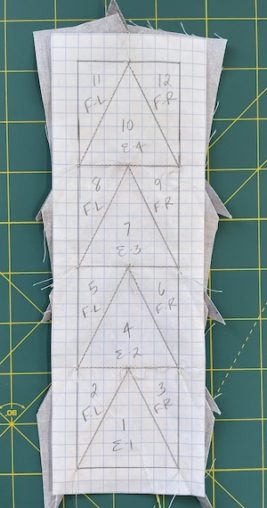
Templates for the paper piecing. They can be photocopied onto regular paper or onto paper made specifically for paper piecing. I drew the ones for this tutorial on graph paper as I didn’t have access to a printer when I was working on the tutorial.
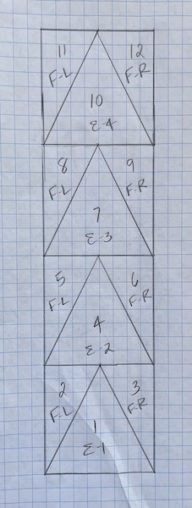
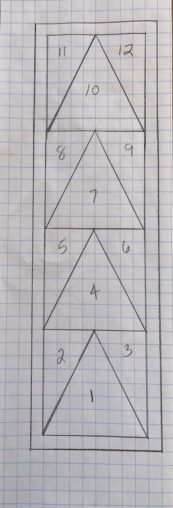
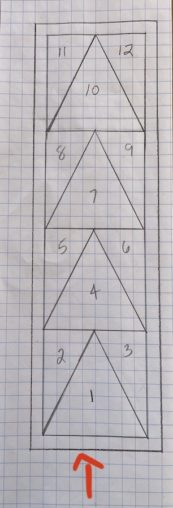
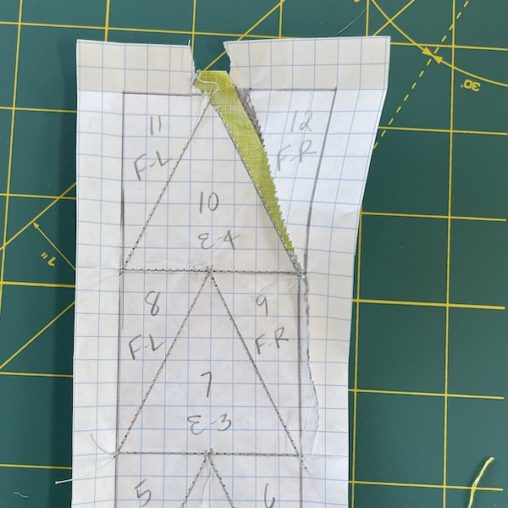
The template I am using in the tutorial is the one shown above but there should also be another set of lines around it creating a quarter inch border which is the seam allowance for the whole unit as seen in the image below. Each piece is numbered as to what order the pieces are sewn onto the template. They can also have the fabric piece number from the pattern written on as seen in the image above.
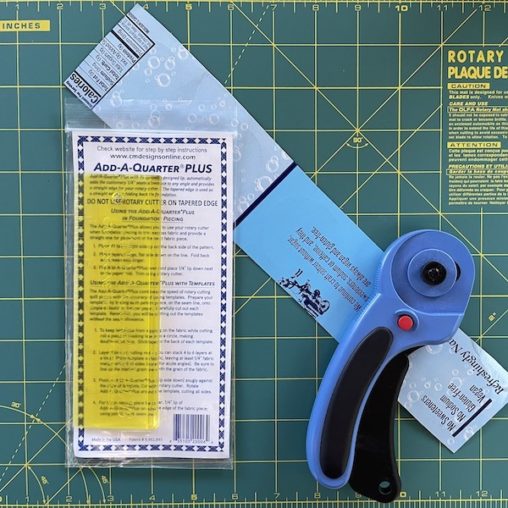
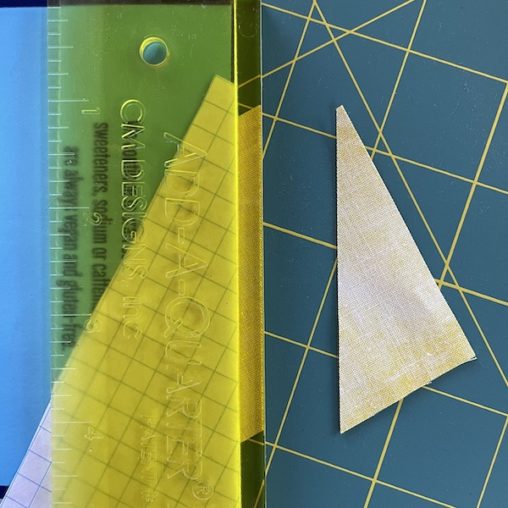
An Add-A-Quarter ruler is a wonderful tool to help with cutting and making sure that the seams are trimmed to a ¼ inch. The ruler has a lip on it that creates a quarter inch seam allowance for easy trimming of the excess fabrics. Along with the ruler a piece of box board or template plastic is helpful and will be explained how it is used further on in the tutorial. Doo not use cardboard for this as it will be too thick.
Fabric & Templates
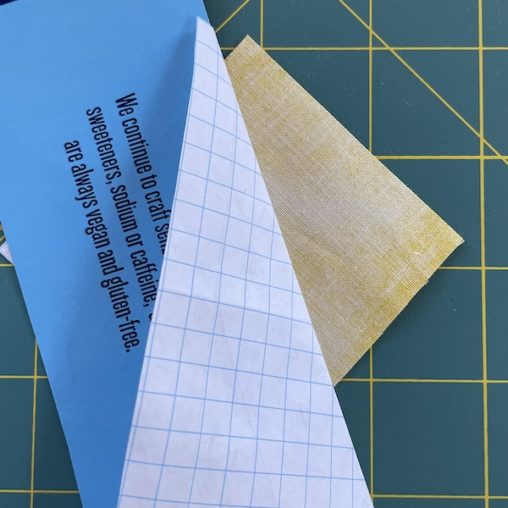
To start cut out the templates leaving some paper all the way around especially if there are more than one on the page.
Cut fabric pieces as per the cutting instructions in the pattern.
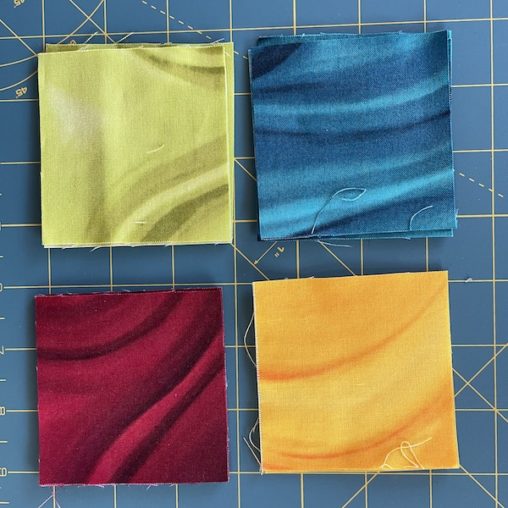
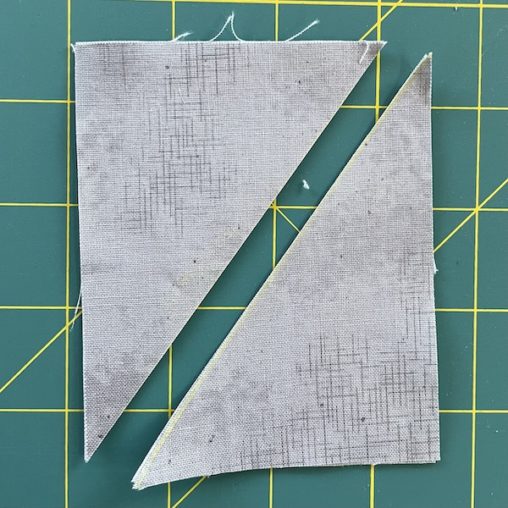
The background pieces will need to be further cut on the diagonal. Make sure that two rectangles are placed wrong sides together and then cut from corner to corner. By doing this there will be 2 pieces for the left and 2 for the right.
Paper Piecing Step by Step
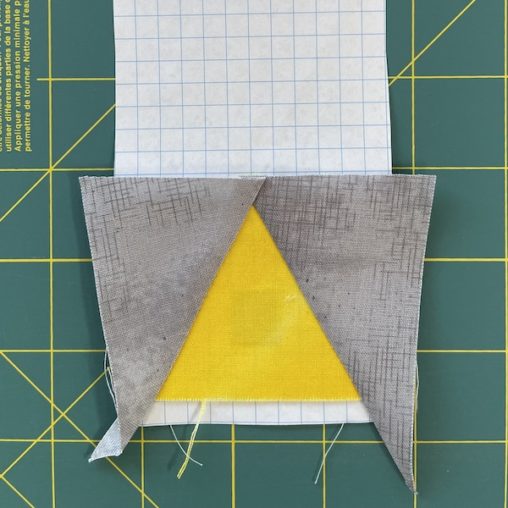
Step 1: To begin; tape (painters tape), pin or glue (fabric flue or a glue stick will work) a coloured square (piece E1) to the back side of the paper lining up with the triangle marked 1. The fabric will be right side up. The outline of the tape can be seen behind the fabric. Make sure that the fabric over laps at least a ¼ inch all the way around the triangle shape.
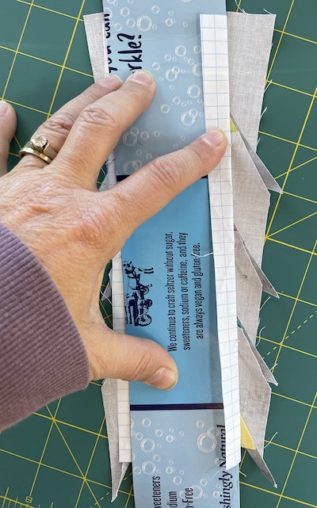
Step 2: Using the piece of box board or template plastic place it on the line of the triangle beside piece 2.
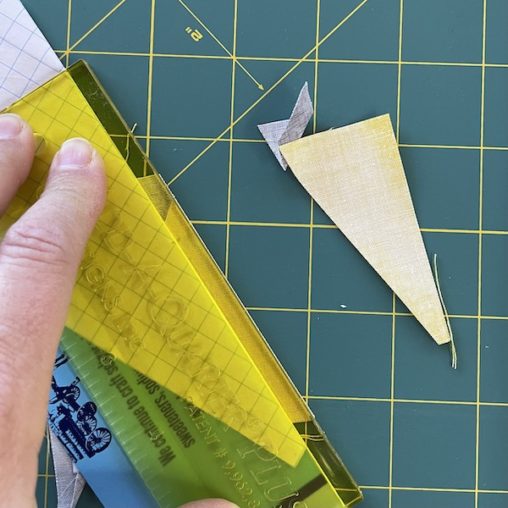
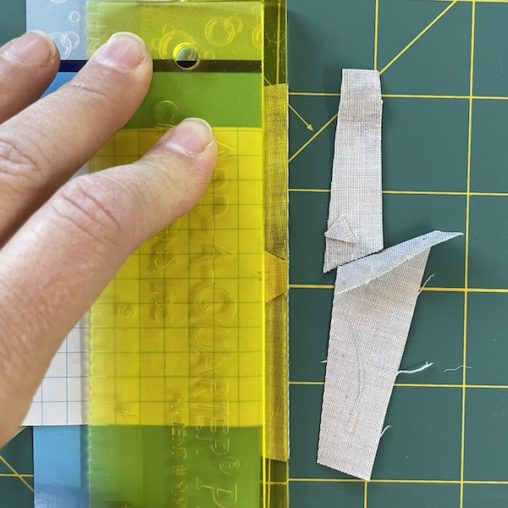
Step 3: Fold the paper over revealing the excess fabric that needs to be cut off to create a straight edge and the ¼ inch seam allowance.
Step 4: Place the lip of the add-a-quarter ruler along the box board and cut the excess fabric off.
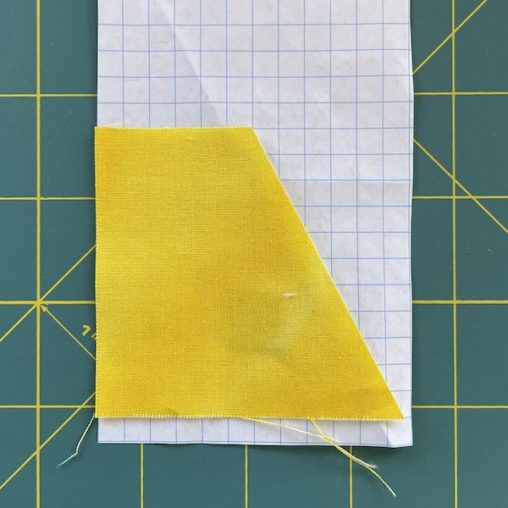
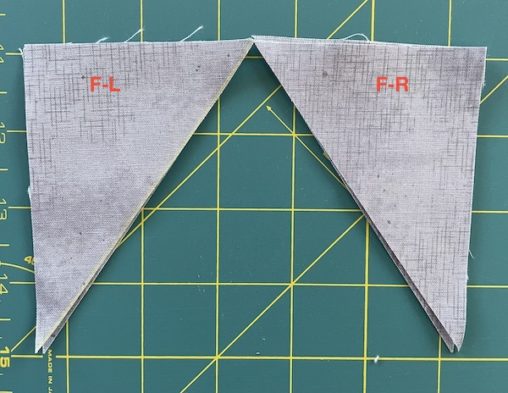
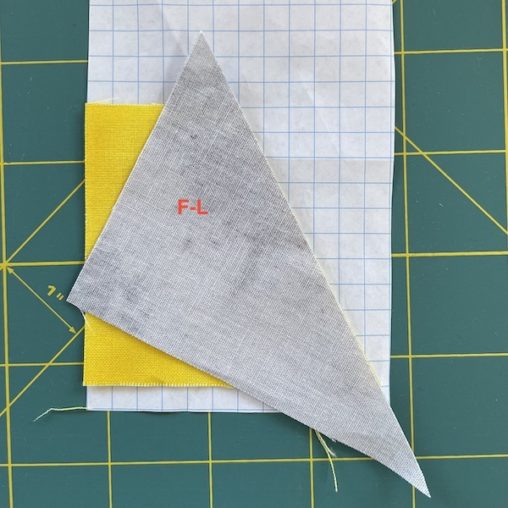
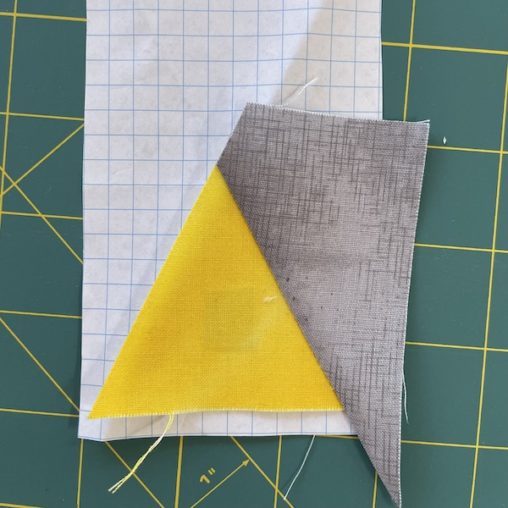
Step 5: Place piece F-L on the coloured fabric with right sides together along the straight edge just cut. The key is to make sure that the piece being added covers the template section it is being sewn to with enough over lap to cut a ¼ inch seam allowance.
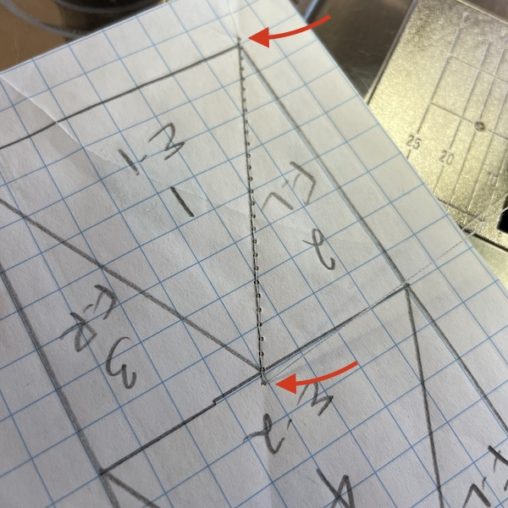
Step 6: Flip everything over so the lines on the paper are facing up. Place under the needle and foot and sew down the line. Make sure that all the pieces underneath are lying flat and in position. The stitch length can be decreased slightly if desired – this does make it easier to rip the paper off afterwards but not so handy if any reverse sewing (a.k.a. ripping out) is needed.

Step 6a: Start one stitch before the line and end one stitch past the line.
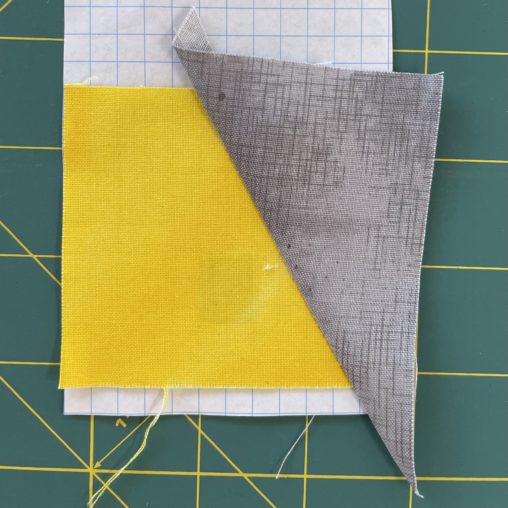
Step 7: Press the seam – use either an iron or a finger pressing tool.
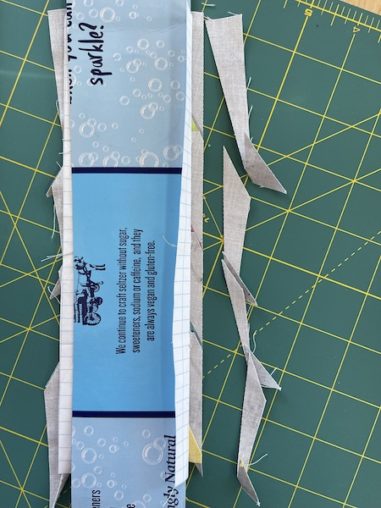
Step 8: Flip the piece over to cut off excess fabric. Place the piece of box board on the stitched line and fold the paper over revealing the fabric.
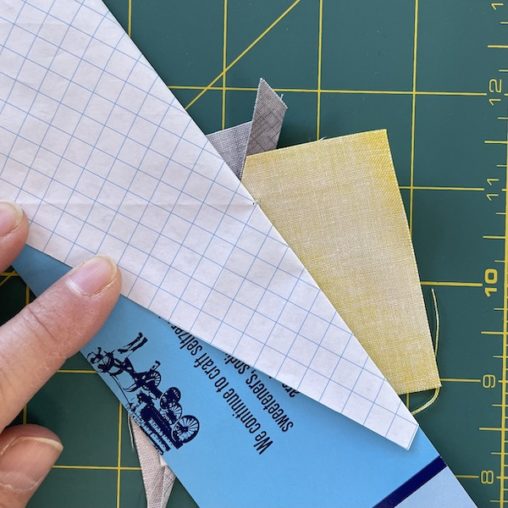
Step 9: Place the add-a-quarter ruler along the box board and cut off the excess fabric.
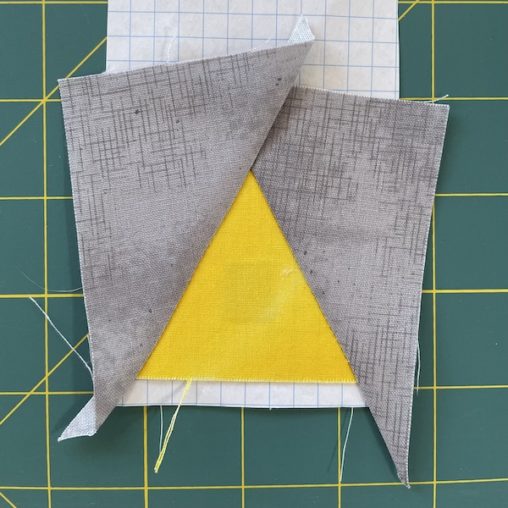
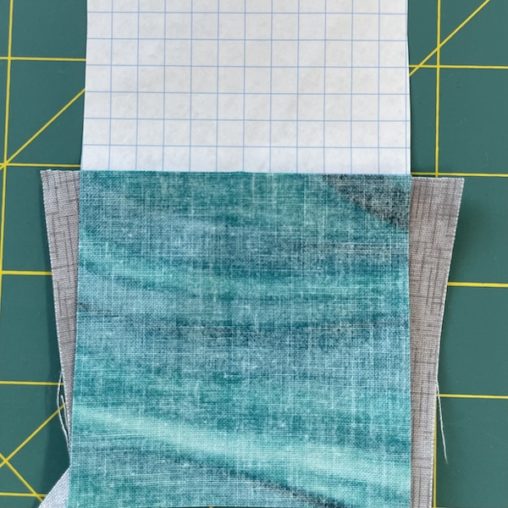
Step 10: The unit is now ready to add piece F-R.
Step 11: Repeat steps 5 – 9 for piece F-R.
Step 12: To move onto the next flying geese section the fabric from the unit just made needs to be trimmed. Place the box board on the straight line, fold paper over, place ruler in position and cut off excess fabric.
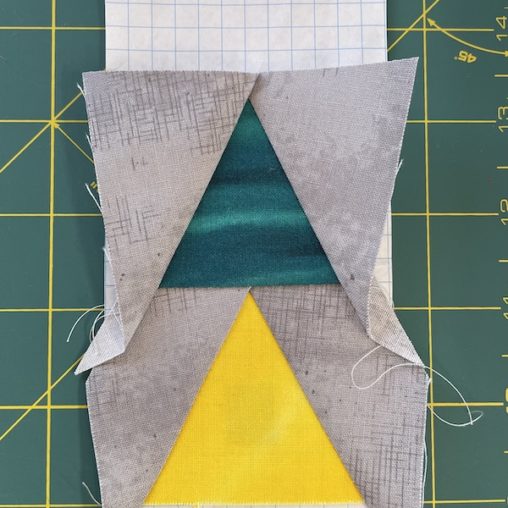
Step 13: Place the next coloured square (piece E2) in position and sew along the line.
Step 14: Repeat steps 2 – 13 to make the rest of the flying geese sections.
Step 15: Trim off excess fabric all the way around the unit. Using the templates from the pattern there will be another line all the way around the above template framing it. Place the box board along the line closest to the stitched lines. Fold over paper and trim with ruler and rotary cutter. The ¼ inch seam allowance has been made.
Step 16: Repeat step 15 for the other 3 sides of the unit.
Step 17: Alternatively a ruler can be placed on the outside line and paper and fabric can be trimmed all at once.
Step 18: Remove paper from unit starting with the last seam sewn. Going the opposite direction of sewing makes for easier removal of the paper as it can be done along the seam lines.
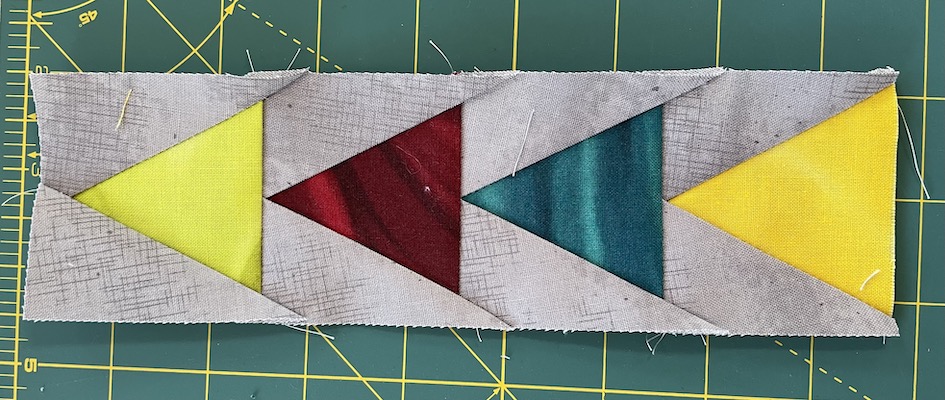
The unit is now ready to be sewn to another unit.
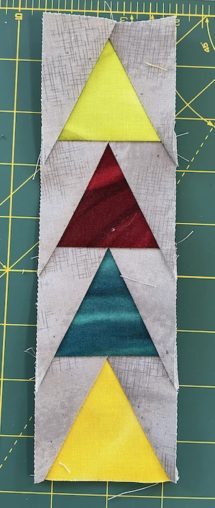
That is paper piecing in a nutshell. Pretty straight forward. Larger templates like the tree in Merry & Bright can be done with the same method.
Until next time…
Happy Quilting


Thanks for an excellent tutorial- one of the best for FG. As a new quilter, I was so challenged in making FGs the rotary cut way, as the seam allowances were not factored for in the traditional piecing method. I am sold on your method of PP to create FG- this helps me consistently get sharp, angular points and I also find there is enough seam allowance on top and bottom and side in order to them in rows as well as columns. As you pointed out, this PP technique allows one to easily alter the shape and size of triangles while creating FG.