Hey Everyone, welcome back to Technique Tuesday.
A few weeks ago I talked about squaring off fabric to cut strips well this week I am going to talk about squaring off strip sets.
What is a strip set?
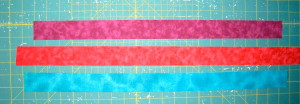
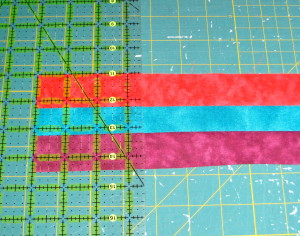
A strip set is set of strips sewn together which can be made up of 2 or more strips. The strips are usually of 2 or more fabrics. These strips can be the same size or different sizes. They can be of a run of fabrics from light to dark or contrasting fabric to make a checkerboard effect such as a light and dark. This 4 fabric strip set below was used to make the 16 patch block at the beginning of the post.
What is a strip set used for?
Strips sets are used to make different types of blocks or used in different techniques such as bargello.
Often when making a nine patch block or four patch block the fabrics will be sewn in strip sets – the strips are cut to the width needed by the WOF and then sewn together to make one unit. Once sewn together and pressed they are then sub cut into smaller strips to be sewn together again to create a block. Creating units this way is much more efficient and accurate than sewing a whole bunch of 2 inch squares together.
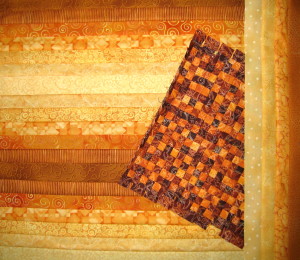
A large strip set with a small strip set that has been sewn in strips twice to make tiny little squares.
How to create a strip set.
Cut all strips from WOF. For example, the rail fence block I am making is a 6 inch block. The rails in the fence are 1 inch finished strips. The strips need to be cut at 1 ½″ to include the seam allowance. A 1 ½″ strip will need to be cut from each of the three fabrics being used.
Sew fabric A strip to fabric B strip RS together. If sewing more than one set of fabric strips then chain sewing can come in very handy. The strips may be longer or shorter than others – note all fabrics are the same width.
Sew fabric C to unit made above RS together.
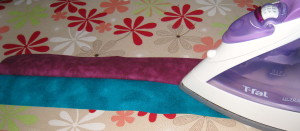
When pressing the seams press towards the darkest fabrics if possible. Also see my blog post on pressing – as long strips should be pressed from centre out to one end and then out to the other end to prevent warping.
Next square off the strip sets.
How to square off the strip set.
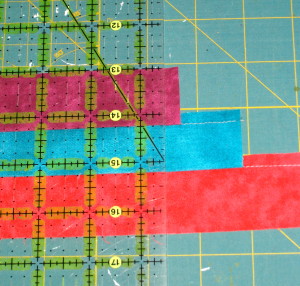
Once the strip set is created and pressed then place it on the cutting mat. The strips will be of varying lengths.
Place the ruler on the right hand end (left hand end if you are left handed) of the strip set aligning the lines on the ruler with the top and bottom of the strip set as well as the seam lines.
In the photo below see how line 13 is lined up with the top and line 16 ½″ lines up with the bottom. The seam lines are lined up with ¼″ lines.
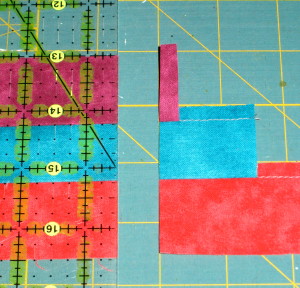
When happy that everything is aligned squarely then trim off the excess fabric to the right of the ruler.
Flip the strip set over on the cutting mat so the squared off end is at the left hand side (right hand side if you are left handed) of the mat.
If wanting 3 ½″ inch strips then align the 3 ½″ inch vertical line of the ruler along the squared off edge of the strip set. Also align a horizontal line of the ruler with the top of the strip set – this will ensure that your cuts remain square. Cut the strip along the ruler edge to create the piece needed.
Continue cutting until you have the amount needed.
Sew the squares together to create a rail fence block.
This is a very easy method to sew pieces together rather than sewing individual squares together. The strip sets are a lot more accurate and do save time.
Happy Quilting!


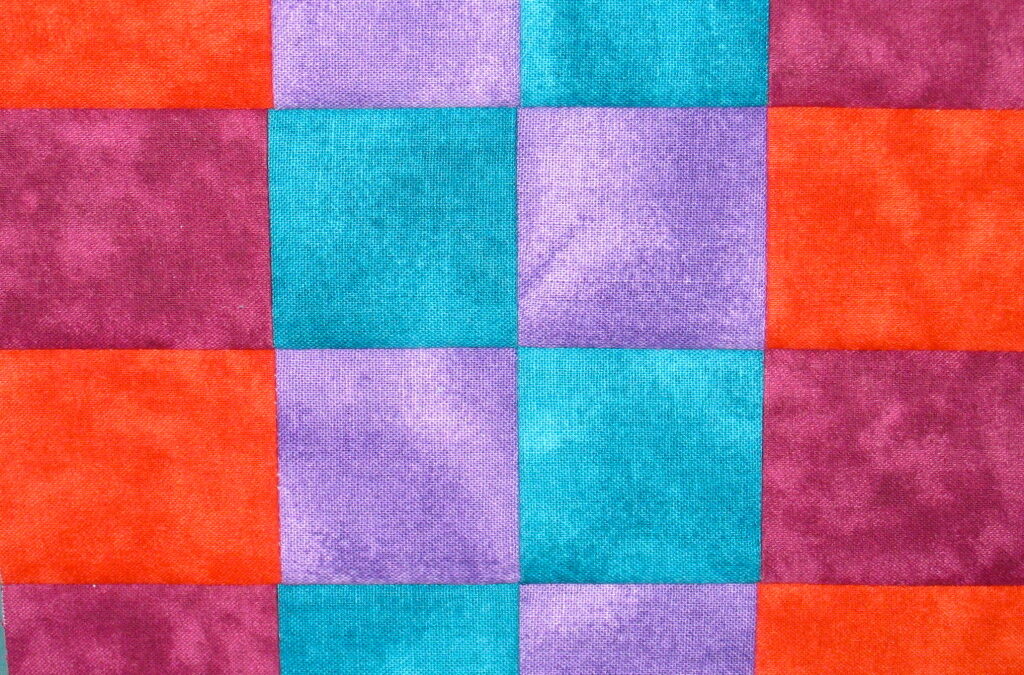
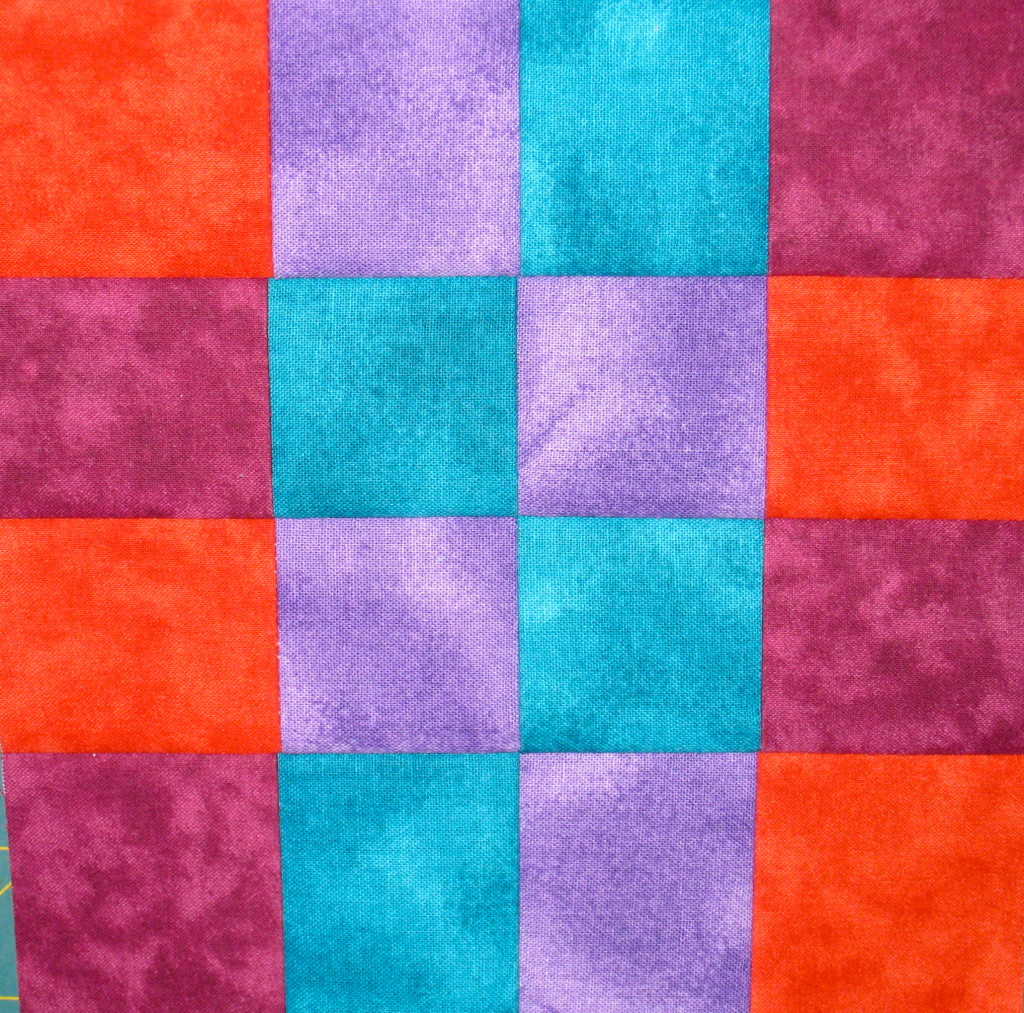




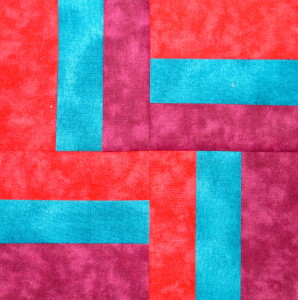


I like this and I know about strip piecing but I have been paying attention to the colour blogs and am unable to see what this combination is. What colours am I seeing here, on my monitor I have very bright red, blue green, red violet and violet. Completely baffled!! Help!
Hi Juliet
This set of strips are just random fabrics I pulled from my scrap bucket to make a demo strip set for this blog. Sorry I baffled you. Jen