

Hey Everyone, welcome back to Technique Tuesday on Thursday. In fact, this week’s Technique Tuesday is also a Tool Technique Thursday! Yep, doubling down here at Quilts by Jen this week as once again, Purely Canadian took up my Tuesday. I am very happy to say that it is now finished and the pattern is at the printers and will be ready by end of day today for pick up. If you are at Creativfest in Toronto this weekend stop by the Country Concessions booth and check it out as it will be hanging there.
This week’s technique is all about pressing. Do you use an iron, your fingers or a finger pressing tool? Most of the time I use my iron, but there are times when I use the finger pressing tool. Not very often is it that I use just my finger. I know there are some quilting instructors out there who advocate finger pressing of all seams until the final piece is attached to the block – I have not tried doing this so cannot really say how it works – might have to be one of the new techniques that I give a go.
The finger presser tool from Clover works wonderfully on long strips that have been sewn together. I used this tool to press all of my bargello strips for Freckle Frenzie by Pattie Carey and I must say that my strips were straight as [Ed: Jen picked up a few useful Aussie-isms living in Australia. Australia’s don’t waste time completing similes – why bother wasting breath on “Straight as an arrow” when “Straight as” says the same thing!] and the tube came out completely square. It is definitely a bit more time consuming than pressing with an iron but I certainly was very happy with the results.

Clover Finger Presser
Using the pressing tool is easy – lay your piece to be pressed on a flat, hard surface – open up the piece the way you want the seam to go and then use the tool and run down the seam at a 45 degree angle to the seam. It comes out flat as a pancake. I suspect I will be doing all my Bargello projects this way from now on.
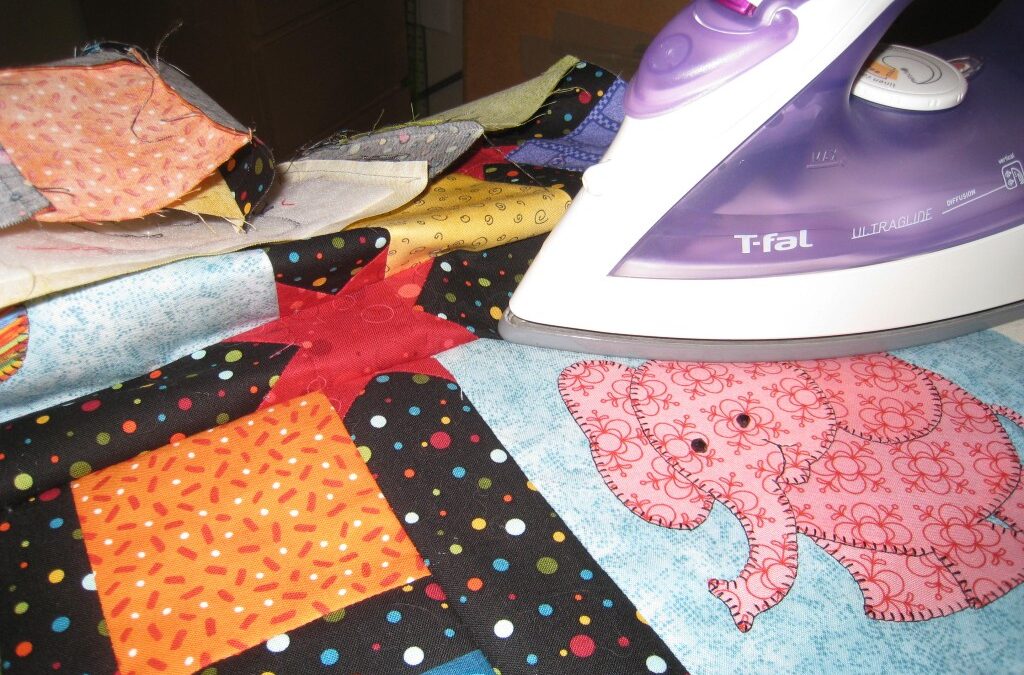
Third, the conventional iron is the most widely used tool for pressing. So here are a few tips for pressing with an iron which I have found useful over the years.
- set the seam first by just pressing the seam with the two pieces lying RS together as they came off the sewing machine – this will set the stitches and fabric allowing for a flatter seam

Set the seam
- press towards the darkest fabric as this will ensure that the seam allowance does not show the dark fabric through a lighter fabric – to do this use the edge of the iron butted up against the edge of the piece to be pressed

Press the seam towards the darkest fabric.
- when pressing long strips, rows or borders start in the middle of the section and work out one way then return to the middle and work out the other direction – this will help to eliminate waves in the seams
- press the seam to the side with the least amount of bulk if there are several seams in the area
- when seams need to butt together it is best that the seams have been pressed in opposite directions so that they will nest together – this helps ensure the join of the two seams on the top of the quilt will be perfect

Nesting seams
- use a dry iron when pressing seams as steam can distort the fabric and change the shape of the block
Do I ever use steam? Yes, but only after the block, row or section has been made. If something isn’t lying as flat as I like then I will use steam to help it lie a little flatter. And of course I always use steam to press my fabric initially before cutting to get all those creases out from being folded in the bag or drawer.
Pressing, many ways to get the job done and definitely a must to have a quilt top that lies flat.
Do you have other tips and tricks for pressing? I would love to hear about them – just post them in the comment section.
Until next week, Happy Quilting.
![]()


Trackbacks/Pingbacks