
 Hey Everyone, welcome back to Technique Tuesday.
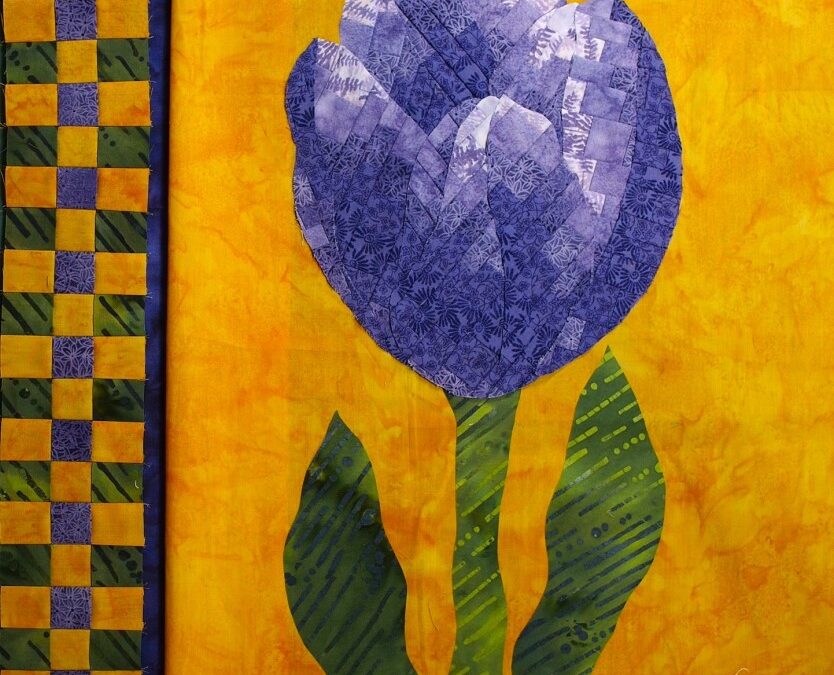
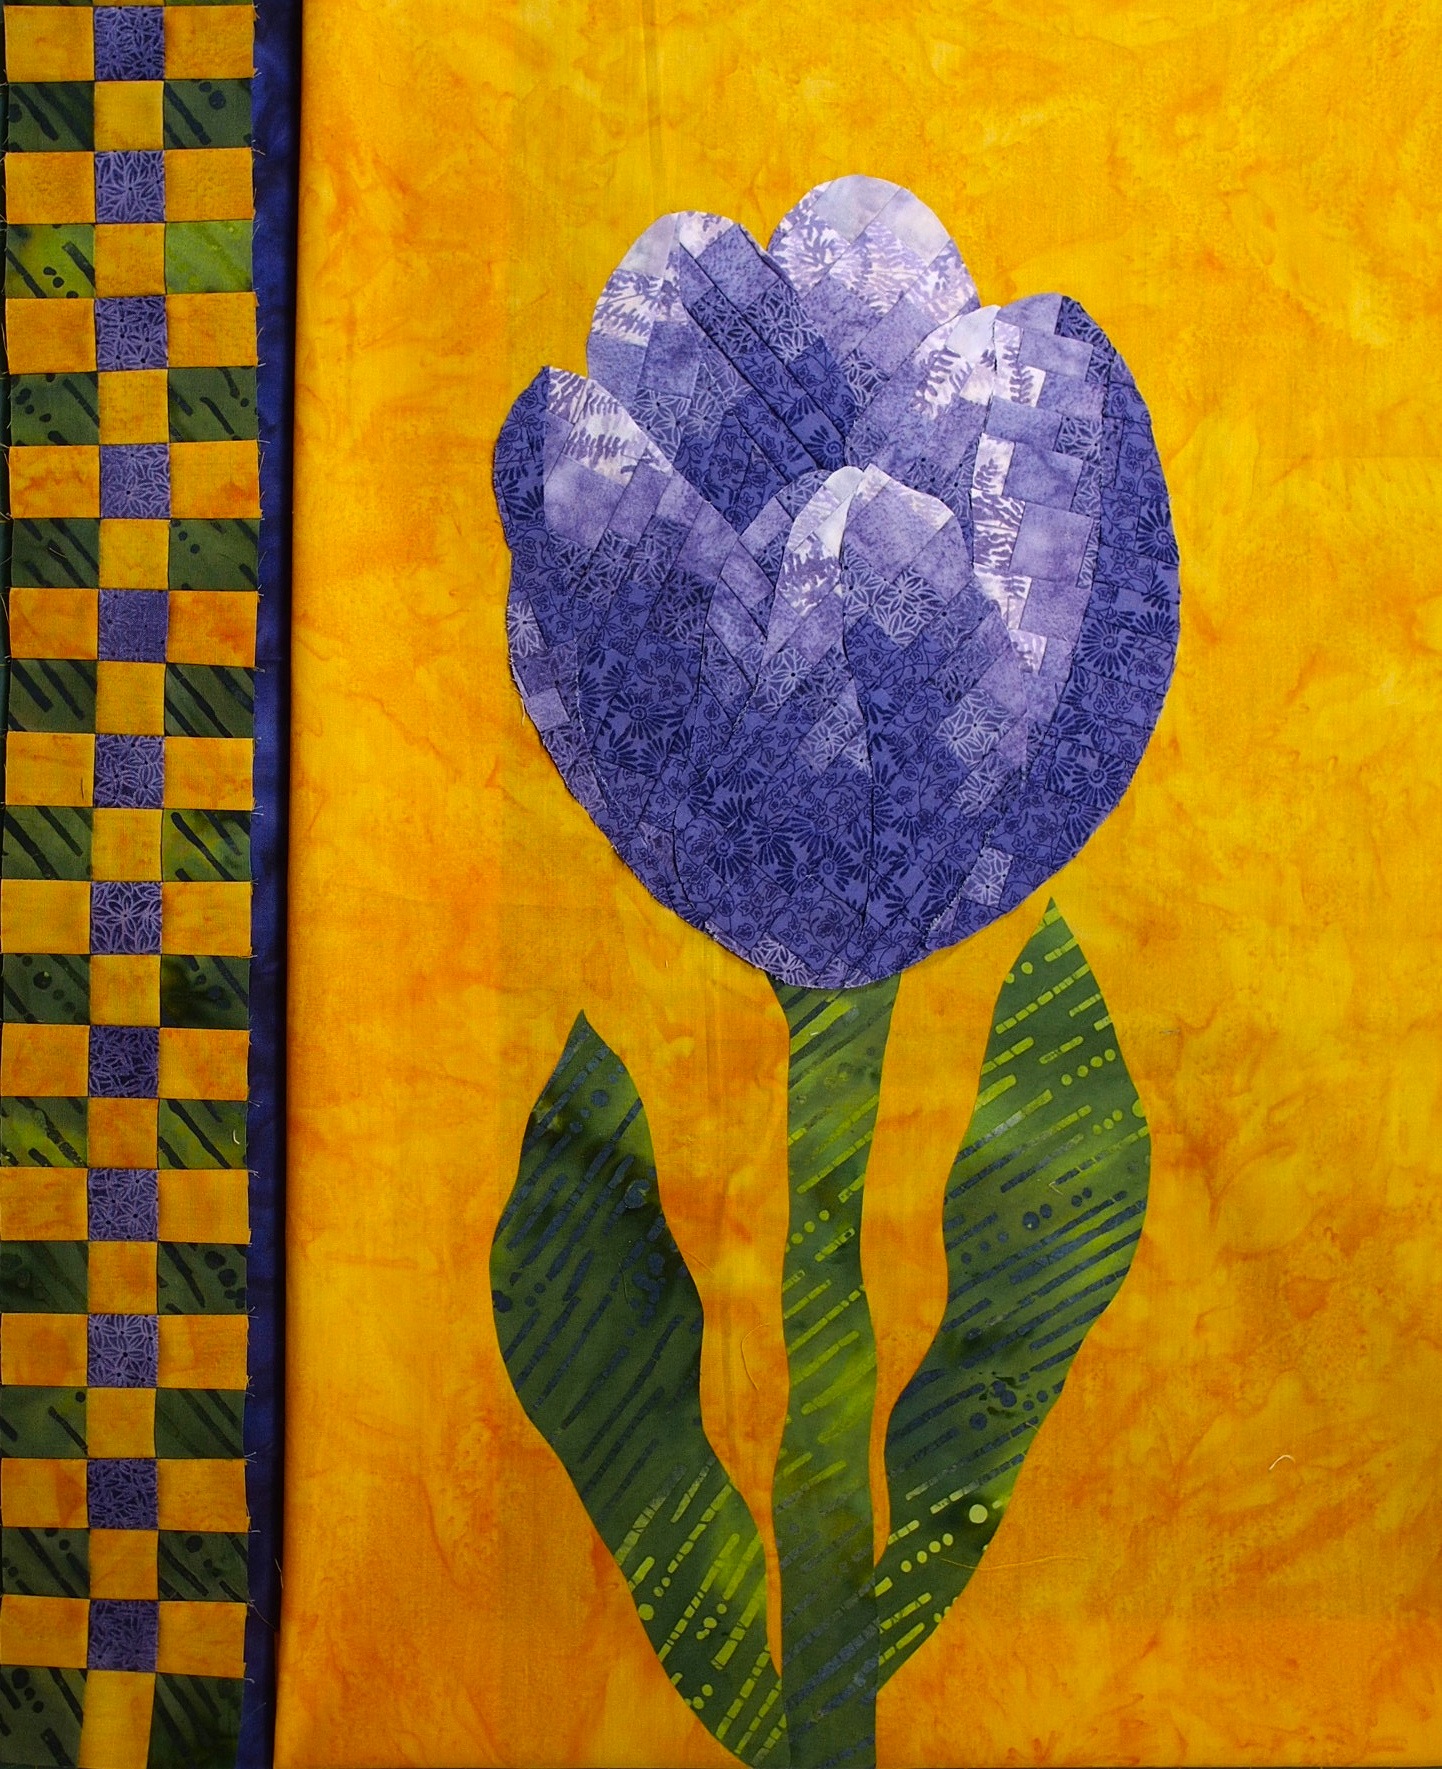
This past weekend I taught my Bargello Flower class and one of my samples, The Sunflower Quilt, has a checkerboard border on it. It is a bit different than the standard checkerboard as I added in some negative space areas. One of the students suggested I do a Technique Tuesday post on how to make a checkerboard border so here it is. This one is for you Susan.
What is a Checkerboard Border?
Basically it is a pieced border that looks like a checkerboard. It can be made of 2 or more fabrics. The squares can be any size to fit around the quilt top. Normally it is stripped pieced rather than sewing all the tiny little squares together – the strip piecing is much faster.
To Begin
Measure the piece that the checkerboard border is going on. Once measured, decide what size the squares in the checkerboard are going to be and make sure that this number divides into both the vertical and horizontal lengths of the quilt evenly.
For example: the piece I am working on has a vertical measurement of 25 inches and a horizontal measurement of 15 inches. I have chosen to make the squares in the border 1 inch each. I could have gone with 2.5 or 1.5 as both of those go into each measurement evenly as well.
Top Tip: Make sure you check both the horizontal AND vertical measurements, not just one or the other!
Decide how many fabrics are going to be in the border. I am using three – the orange background fabric, a purple and the green of the leaves.
Cut strips 1 ½″ wide by WOF. For this piece I cut 6 – orange strips, 2- purple strips and 4 – green strips. As you might have noticed these colours are the secondary colours from the colour wheel and also make up a triadic colour scheme.

Strips cut and ready for sewing in appropriate groupings
Creating the Checkerboard
Note: All seams are a ¼″ and all pieces are sewn with right sides together.
1. Sew an orange strip to a green strip and an orange strip to a purple strip. Press the seams towards the green and purple fabrics.

An orange strip sewn to a purple and a green strip from each set of strips
2. Sew a second orange strip to the purple strip and a second green strip to the green/orange unit. Press the seams towards the green and purple fabrics.

Strip sets complete – one orange/purple and one green/orange
3. Square off the strip sets and sub cut into 1 ½″ x 3 ½″ units. See my post on how to make strips sets for instructions on squaring off and sub cutting strip sets into smaller units.

The strip sets sub cut into small units
4. Sew a green/orange unit to an orange/purple unit taking care to match seams. The seams will nest together as they have been pressed in opposite directions. Press the seams towards the orange/purple unit. Chain sewing will certainly speed up this process.

Sew a green/orange unit on either side of the orange/purple units
5. Sew another green/orange unit to the other side of the orange/purple set in the unit from step 4. Press the seam towards the orange/purple set. Now a nine patch has been made. For my vertical border I made 6.

Create a nine patch
6. Sew a orange/purple unit to the bottom of each nine patch made in step 5. Press the seam towards the orange/purple unit.

Sew an orange/purple unit to each nine patch
7. Sew the units from step 6 together until one long border is made. Press the seams towards the orange/purple units.

Sew units together
8. One last orange/purple unit will need to be added to one end of the border to make it measure the length needed.

One complete border
The checkerboard is really quite easy to make and gives a stunning effect. It can be made with any size of squares and any number of squares or rows with any combination of colours, fabrics, etc. The border can be put all the way around the piece to create a symmetrical border or can be used on one, two or three sides to create a different look and not quite as symmetrical.
Pieced borders are great to add design and detail to the quilt. I love using them as they can give the quilt just that little pizzaz it may be missing. Yes, they do take a bit longer to make and a little bit of math is most likely involved but the time and effort will pay off.
Looking for more on Borders?
There are a lot of great resources out there for borders and one of my favourite books is The Border Workbook by Janet Kime.
Happy Quilting!

Disclosure Note: I buy and use the products mentioned in this post and write about them without influence from the designer or any other commercial interests. I have included links to the products on Amazon.com and may receive a small commission if you purchase from these links. This doesn’t cost you any more to purchase these items but it does help me maintain this website, so I hope that you will please use these links.
I shared this at The Needle and Thread Network WIP Wednesdays, Freshly Pieced WIP Wednesday, Richard and Tanya’s Link a Finish Friday, Thank Goodness It’s Finished Friday, Off The Wall Friday, and Freemotion by the River.


Gorgeous piece…I love the checkerboard border and the beautiful flower
I love chequerboards too!,
This was really helpful! I am still trying to learn so much. The border looks great, and really compliments the flower, and I love that flower!
Very cool! Thanks for sharing it!
This was really helpful! I have to make a checkerboard for the applique quilt I am making so I will be looking back here for ideas. Your quilt looks stunning!
Thanks Darlene, so glad this was helpful.
Beautiful piece and I always love a checkerboard border. Great tutorial! Thanks for sharing.
Freemotion by the River Linky Party Tuesday
Looks great! Checkerboards do add a lot.
Dropped by from FBTR – great tute, thanks for sharing 🙂