

Hey Everyone, welcome back to Stitch Along Sunday.
My sewing machines are both in working order again and so I can now continue on with my stitch along piece and everything else I need to work on. The one was a real easy fix and if only I had remembered that I had changed a setting at the class I took before leaving on vacation I would not have had to drag the machine to the sewing machine doctor. Boy did I feel silly.
In Stitch Along Sunday – May Week 3, Part 1 I appliquéd the hearts to the background and then cut them up. Now it is time to piece them back together again.
I sewed a set of pieces together and wasn’t very happy with the results. This is what it looks like.
The pieces sewn together
I didn’t like how much the heart had shrunk and that the outline pieces didn’t fit together very well. They were off a bit when I made the three cuts and looked okay but now that they are sewn together it looks like I forgot to match up the edges of the heart. To me it looks sloppy and not quite right.
What to do about it
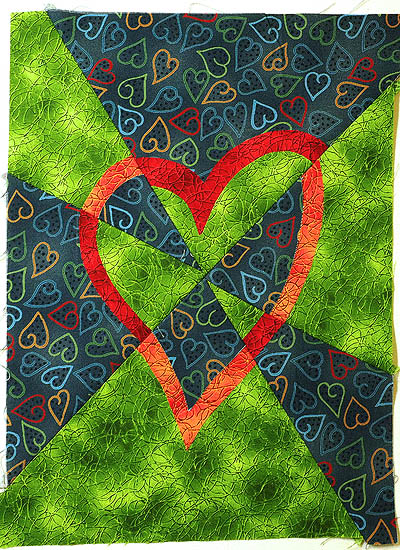
I ripped everything apart and decided to fuse the pieces to a background so that everything would remain the size it originally started out and in pretty much the same position.
Once ripped out I placed the pieces onto a piece of fusible interfacing. I’ve had this interfacing since I lived in Australia and had taken Dena Crain’s Structured Fabric class. And hopefully one day I will finish the piece as it is on the UFO list.
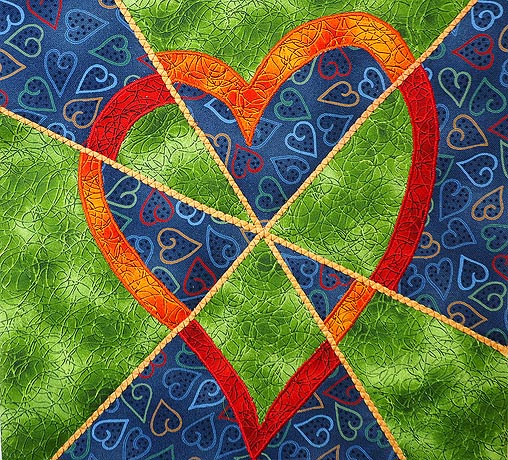
Then I stitched around the appliqué as the rules for Week 3 asked us to do. I decided to use a small satin stitch to give a bit more definition to the outline of the heart. The width I set at 2.0 and the length at 0.10 so that the stitches would be nice and close. The fusible interfacing provided a great stabilizer for the stitches.
Satin stitch complete around hearts
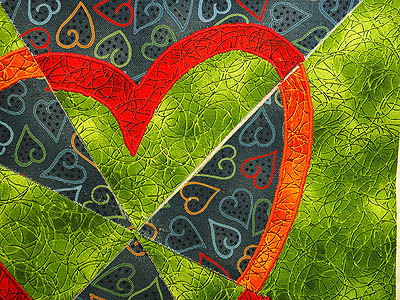
Close up of satin stitching
With the outlining of the appliqué complete I needed to do something with the raw edges of the pieces where I made the 3 cuts. I decided to couch a flat yarn over them to cover up the area. After a bit of searching and looking at my yarns I decided on one that I hadn’t originally put into my first week picks.
Couching in place to cover up raw edges
A lighter colour was needed to brighten the piece up and provide some contrast. This colour also brings out the light orange hearts in the blue fabric. I used a metallic thread to hold down the yarn and also had the zigzag width quite close together which results in seeing the stitching more rather than just the yarn.

Close up of couching
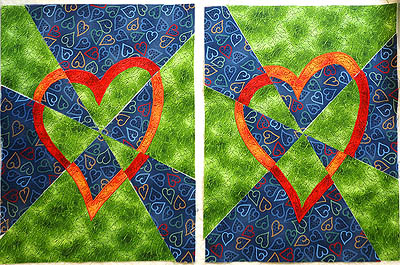
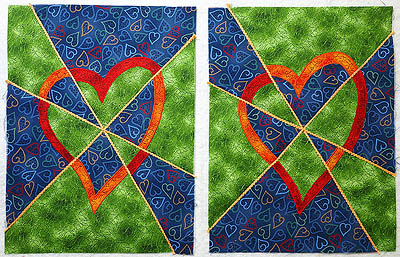
Now that I have these two made I have decided that I am going to make 2 more and put them all together into one piece. I am thinking that there will be some cool shapes made within the design because of the cuts. Now to make sure I get the cuts exactly the same on the next two. Oh boy!
Week 4 may have to wait a bit.
Happy Quilting!


My goodness what a saga, how persistent you are and well rewarded for it, the end result is great!
Juliet it certainly has been a process and I am very happy with the results – so much so that I am going to make 2 more sections and put the 4 together. I wish I had enough fabric to do more but I don’t unfortunately.
Jen, as a relatively new quilter I am enjoying you explaining your process. The lesson, just enjoy the process and the final result is truly your own creation.
Marnie I am so glad you are enjoying my blogs. Yes it all really is a process and each piece has a different way to get to the end result. It may be a conventional way or not so conventional. I love to see how things will turn out if I do this or that.
Jen, I think the block looks very vibrant – the color and fabric choices are gorgeous. You could call it “Fractured Heart” or Broken Heart”. Beautiful!
Thank you Kathy. I like the name “Fractured Heart” – I might just use it. Thanks.