Hey Everyone, welcome back to Technique Tuesday.
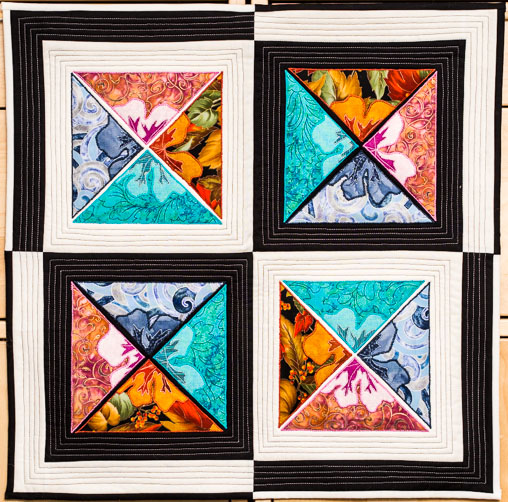
Finally I finished my October Stitch Along Sunday piece. There it is at the top of the page all bound and hanging. I didn’t do the traditional hanging sleeve this time but rather just tabs. Much faster and less hand sewing with tabs.
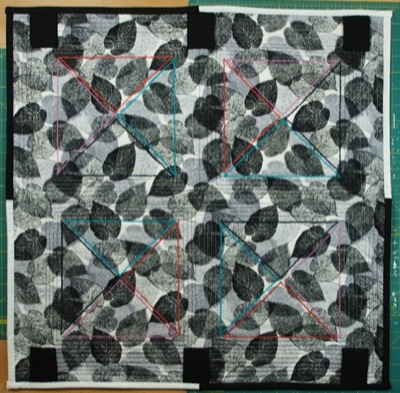
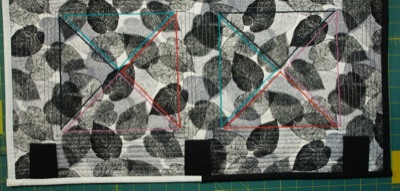
This is what they look like on the back of the quilt. Normally I would have done them in the same fabric as the backing to blend in but I wanted them to stand out in the picture hence the black.
To back up a tad I bound the piece using the same method I did with my September Stitch Along Sunday piece and pieced the binding together to match up with the front of the quilt. This method extends the quilt into the binding and I was able to continue alternating the black and white around the quilt.
How to Make the Tabs
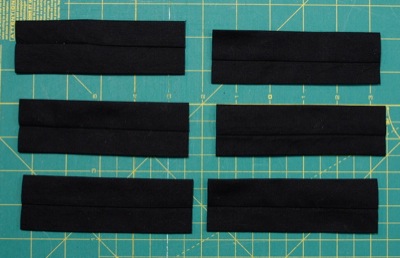
1. Cut a piece of fabric 5″ x WOF and sew one edge to the other right sides together to make a tube.
2. Turn the tube right side out. The fabric tube turner is the perfect tool for this job.
3. Cut the tube into 5 ½″ pieces.
How to Attach the Tabs
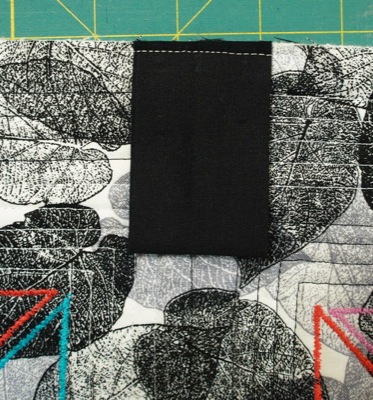
1. Fold in half with the seam to the inside and pin to the back of the quilt along the top edge and bottom edge. I put 3 on each edge as the piece is only 24 inches wide. One at each end about an inch from the binding and the third one in the middle of the quilt.
2. Sew the tabs in place with an ⅛″ seam allowance.
3. Hand sew the bottom of the tabs to the back of the quilt once the binding is in place.
4. Insert rod into the tabs and hang your masterpiece for all to see.
The tabs are much faster and require less hand sewing and are great for small items. I am not sure how well they would work with a large quilt – many would be needed so a hanging sleeve may be easier.
Happy Quilting!








Thanks! This was very helpful, even in 2017. lol
Bre, you are most welcome. Happy Quilting