

Hey Everyone, welcome back to Technique Tuesday.
Adding a hanging sleeve to quilts is really quite simple and easy. There are no specified requirements when hanging a quilt at home other than the sleeve needs to be large enough for the rod to slip through. Hanging quilts in a quilt show is a totally different story and the show will have a specific set of requirements for the size, position, etc of the sleeve on the back of the quilt.
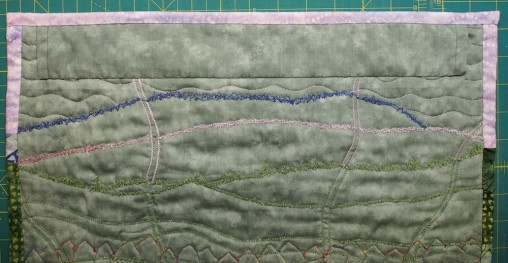
The instructions below will work for any quilt with a straight and even edge.
Most of the time I use the same fabric as the backing for the sleeve unless I have no backing fabric left and then I try to match something as close as possible so it blends in. It just looks tidier and more professional. I also put hanging sleeves on both the top and bottom of the quilt. By putting a rod in the bottom of the quilt it just hangs smoother and straighter against the wall.
The hanging system I use is metal bars that are only an ⅛″ thick and magnets. This system works like a charm.
To begin: the length of the fabric should be cut the same as the width of the quilt. If the width of the sleeve is to be 2 ¼″ on the quilt, the fabric will be cut at 4 ½″. Always cut the width double what is seen on the quilt.

Sleeve cut to the same length as the quilt
Fold over the ends of the fabric approximately a ½″ and press in place. Use a steam iron to get a good press.

Press fabric over once at each end
Fold over another ½″ on each end so the ends have a double fold and press in place.

Fold a second time and press
Stitch these folds in place with thread that matches the fabric so it blends in. Note: I used thread that was darker for demo purposes.

Folded ends stitched down
Fold the piece in half lengthwise and press with a steam iron.

Fold in half lengthwise and press
Centre the sleeve on the back of the quilt leaving equal amounts on either side – about an inch. Pin in place.

Centre on back of quilt
Sew the sleeve to the top of the quilt with an ⅛″ seam allowance. This will ensure that the stitching is covered up by the binding. When the binding is sewn in place there will be a second set of stitching to secure the sleeve as well.

Sleeve sewn to quilt with a ⅛″ seam allowance
Hand sew the bottom of the sleeve in place the same as you would the binding.
Sleeve hand sewn in place
This sleeve is flat to the piece. Sometimes a pleat may be required. Putting in a pleat just gives the sleeve a bit more room for a rod or bar.
To put in a pleat pinch up the fabric. An equal amount all the way along.

Fabric pinched up for a pleat
Press the pinched fabric flat on the surface of the sleeve.

Press pleat flat to fabric
Fold the sleeve in half and press. Secure to the quilt the same as above.

Sleeve pressed in half with a pleat near the bottom
Now your quilt is ready to be hung and shown off to the world.
Happy Quilting!


Thank you!! This is so helpful. I have a quilt made by my great grandmother that I am restoring and hope to hang. I will definitely use this technique.
thanks, Jen, great description. great idea to put an “approved” sleeve on all your hanging quilts….I ended up entering some of mine in a show and had to stop the presses to add sleeves to them all! Would have been great to have them already done.
specific hanging system you’ve used that is successful?
thanks! always enjoy your posts.
Thanks Jen. I just finished my Florence Nightingale quilt and I used your tutorial to add a hanging sleeve.
Laura that’s great. Congrats on finishing your quilt. Would love to see a pic of it. Jen