
Hey Everyone, welcome back to Stash Blasting Wednesday. This week I am still focusing on 4 patch blocks as there are a number of them that appeal to me. These are quick and easy to make up which results in a fast and easy quilt top.
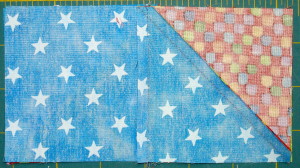
This week’s feature quilt block is called Birds in the Air. The block calls for three coordinating fabrics and once again I have chosen bright fabrics that i have a lot of to reduce the load on the shelves. I think that I may to have to make a lot more blocks to do that, though.
Creating the Block
1. Pick your fabrics – 3 are needed for this block.
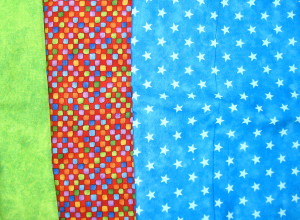
Three fabrics are needed for this quilt block.
2. Cut the following pieces. The quantities below will make one 6″ finished block. There is a total of 4 pieces to cut.
- Cut 1 – 3½″ square from each of the green fabric and the blue fabric
- Cut 1 – 4¼″ square from each of the red fabric and the blue fabric
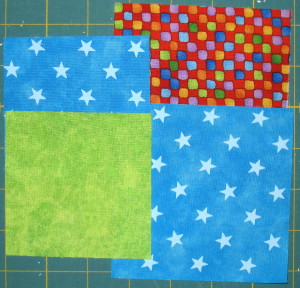
Four squares to make the block.
3. Make TWO (2) half square triangles or HSTs from the 4¼″ squares of the red and blue fabric. See my post from Technique Tuesday on How to Make Half Square Triangles.

Make 2 HSTs.
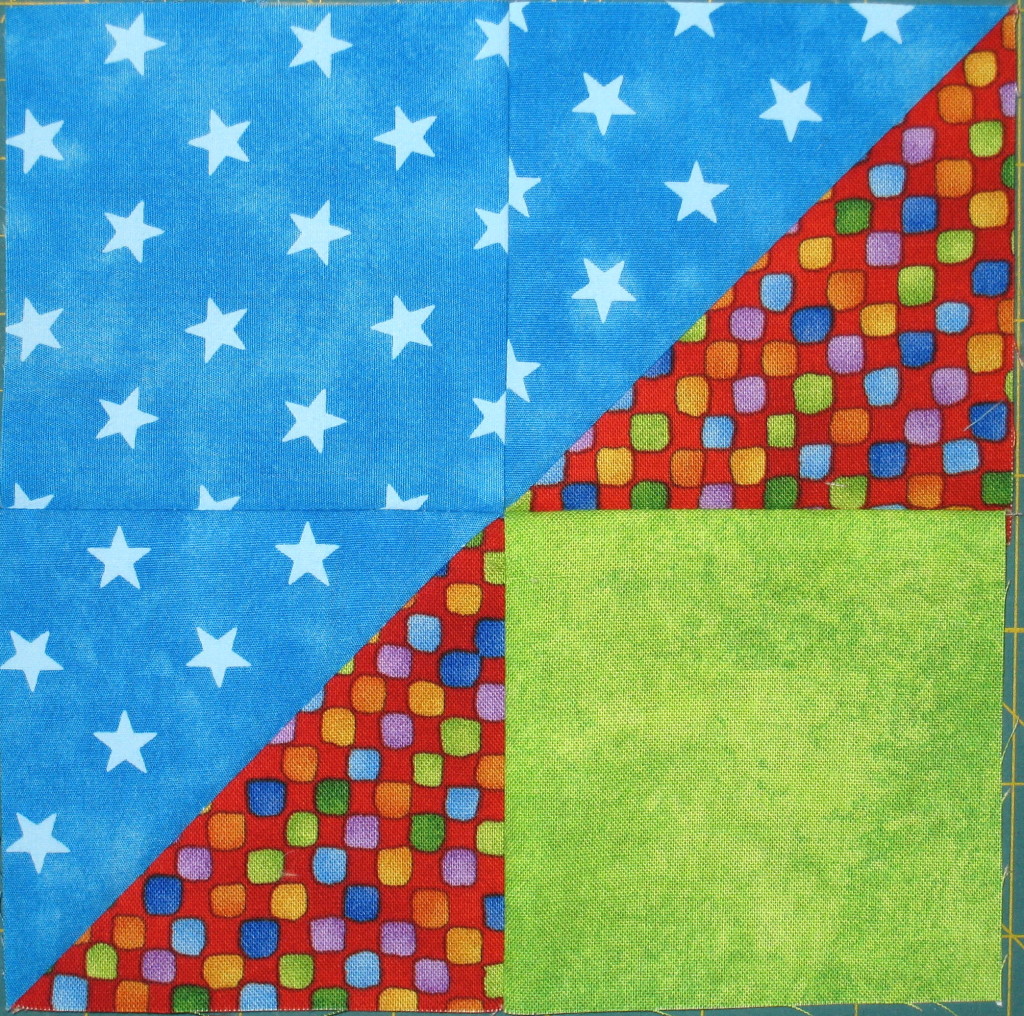
4. Lay out the 3½″ plain squares and HSTs in their proper placement. It always helps to lay out the block pieces to ensure that all are facing in the proper direction. See photo of block at the top of this post for placement of pieces.
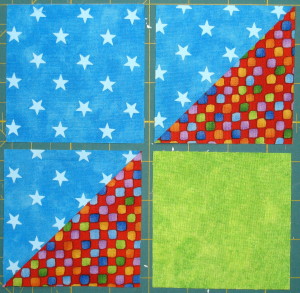
Squares in proper order.
5. Place the right hand square from each row on top of the left hand square right sides together. Sew these pieces together to create each row. When sewing these squares together I make sure to start at the end that has no extra seams and just plain fabric as sometimes sewing machines have issues with extra bulk when starting out. Rows will measure 3½″ x 6½″.
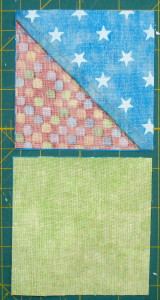
Place squares right sides together from each row.
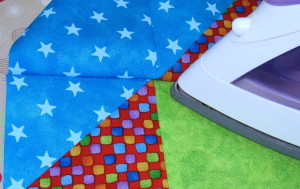
6. Press seams towards the plain square away from the HST. Pressing the seam in this direction means there will be less bulk and the seams will sit flush together when the rows are put together. When pressing use a dry iron. For more info on pressing check out my post on pressing quilt seams.
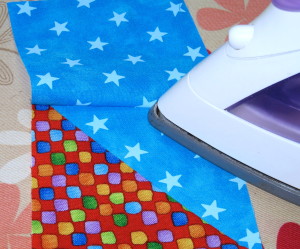
Press towards the plain square.
7. Lay out each row to ensure proper placement.
Lay out rows in proper orientation.
8. Flip the top row over onto the bottom row with right sides together. Take care to match the seams, they should butt up together nicely as they should be pressed in opposite directions. Pin the seams if you wish. For further info on pinning see my post To Pin or Not to Pin. Sew the rows together.
Top row and bottom row right sides together.
9. Press the seam in either direction. If you are making more than one block and want to sew them together you will want to press half the seams in one direction and the other half the opposite just so they all mesh together nicely when sewn together.
Press seam in either direction.
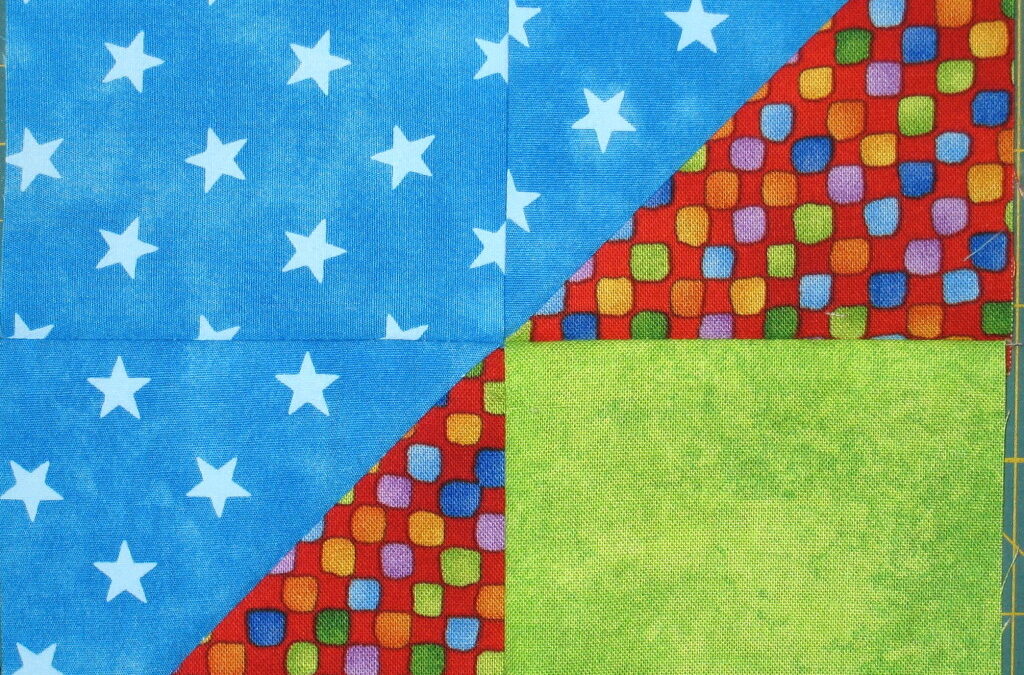
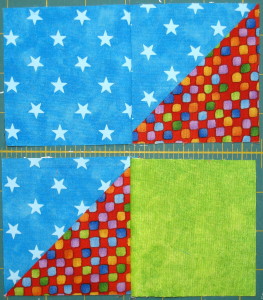
10. A completed Bird in the Air quilt block. Block will measure 6½″ square.

Birds in the Air quilt block.
I wonder what a whole bunch of these blocks together would look like? I think I’ll save that for another day and another post.
If you have any questions or are having difficulties please feel free to contact me, I am happy to help and only an e-mail away.
Happy Quilting!


That’s so totally cool Jen, but how do you stop from going blind when doing this?? I hope you give your eyes a few breaks or do you wait until they fall out on the fabric? You’re sickeningly talented BTW…