
Hey Everyone, welcome back to Technique Tuesday. The Santa Sac production has come to an end for another season seeing the completion of 23 sacs and 4 stockings. Since I have been using so much fusible web these past few weeks I figured I might as well share a little bit about it with you.
Fusible web is used to stick appliqué pieces to a fabric background. There are many different products on the market and they all essentially do the same thing but my favourite fusible web is Steam-a-Seam 2 Lite from The Warm Company. The difference with this fusible is that the glue is sandwiched between 2 pieces of paper rather than just having paper on one side.
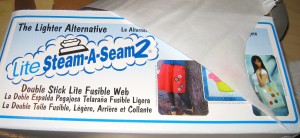
A box of Steam-a-Seam 2 Lite
How Steam-a-seam works.
To begin check and see which side of the paper separates away from the glue the easiest. The paper side that doesn’t pull away easily is the side the tracing should be done on.
Trace out all pieces onto the web. Leave enough space around each piece so that they can be easily cut out with white space around them. Use a hard leaded pencil such as a 2H pencil to prevent lead smudge that comes with a soft leaded pencil. A fine point sharpie can also be used but unfortunately it is hard to erase when an oops is made so I recommend a pencil.
A light box is helpful to place the pattern onto for tracing – a window will work as well. Make sure to number all of the pieces as per the pattern sheet. You should check to see your pattern needs to be reversed before tracing. You may have to trace from the backside if the templates have not been reversed for you – this is crucial if the design needs to face a certain direction.
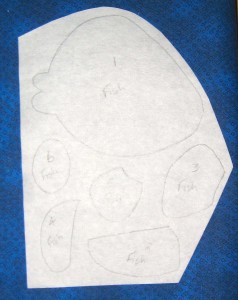
Trace all pieces onto fusible web
Cut out the pieces with about a quarter inch of white space around the drawing.
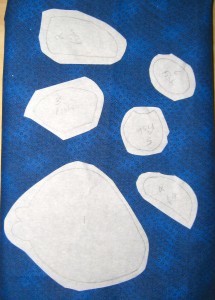
Cut out pattern pieces with white space around each piece
Pull off the back paper and place on the wrong side of the fabric.
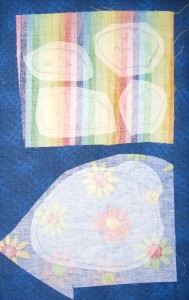
Place pieces on wrong side of fabric.
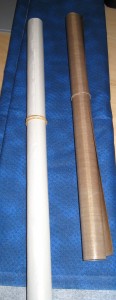
Place a Teflon appliqué pressing sheet or piece of parchment paper over the fabric and fusible web. I like the cream coloured Teflon sheets as they are easier to see through making it much easier to see the pieces underneath.
Set the iron down on top of the piece and hold for 15 – 20 seconds using a bit of pressure. Pick the iron up and place back down on the next section – repeat until all pieces are fused down. It is not recommended to slide the iron back and forth as the pieces can get moved which is not a good thing.
Be careful as the Teflon sheets get very hot.
As well, I tend not to use steam for this as the iron just spews hot water droplets and steam at you as it sits on top of the Teflon sheet.
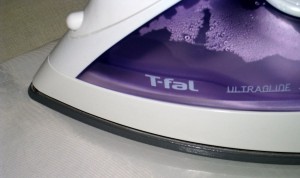
Heat set fusible web in place.
Parchment paper or a Teflon sheet is used so that the glue does not get on the iron as it really is a pain to get off. I did learn a new trick the other day from Sue at Thimbles & Things on how to get the glue off. Place a fabric softener sheet on your ironing board (doesn’t matter what brand) and rub the hot iron over it – this will remove any unwanted glue or black marks. True – it does work – I saw it with my own eyes.
Now cut out the pieces along the drawn line.
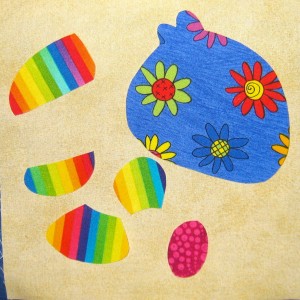
Cut out pieces on the line.
Remove the second piece of paper.

Remove the paper backing from the pieces.
Place all pieces where you want them on the right side of the background fabric. Use the pattern template or photo of quilt as a guide for placement. The beauty of Steam-a-Seam is that the pieces can be moved if you do not like the placement.

Put pieces in place on background fabric.
Once placement is good, press in place as before with a Teflon sheet and iron. Remember not to move the iron back and forth but rather set in place and hold for 15 – 20 seconds.
If an error is made in placement of pieces and they are already fused in place it is very difficult to remove the piece and usually not with very good results – just trust me on this, it is best to start over.
Now the piece is ready for stitching – that’s another post for another week.
Until next week, Happy Quilting!





Trackbacks/Pingbacks