

Hey Everyone, welcome back to Stash Blasting Wednesday.
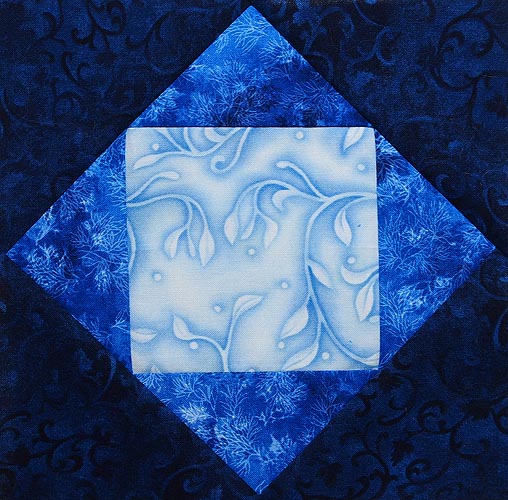
Last week at QUILTsocial one of my old posts on turning orphan blocks into pot holders was posted. The orphaned blocks I had were square-in-square blocks leftover from when I was creating my pattern called Woven Stars for Arbee Designs. I had a reader ask how to make the square-in-square block and so today that is what stash blasting Wednesday is all about.
First things first pick your fabric. This block works best if there is high contrast between the fabrics. I have used a light, medium and dark valued fabric in the blue colour family for my block today. Woven Stars was created with a monochromatic colour scheme in different values of green. I have also created this quilt with an achromatic plus colour scheme.
Cutting Instructions for an 8 Inch Block
Light fabric cut one 4 ½″ square.
Medium fabric cut one 5 ¼″ block and then cut on the diagonal twice to create 4 triangles
Dark fabric cut two 4 ⅞″ blocks and then cut on the diagonal once to create 4 triangles
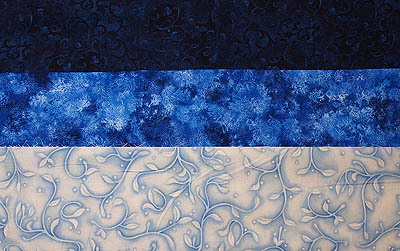
Fabric choices
Building the Block
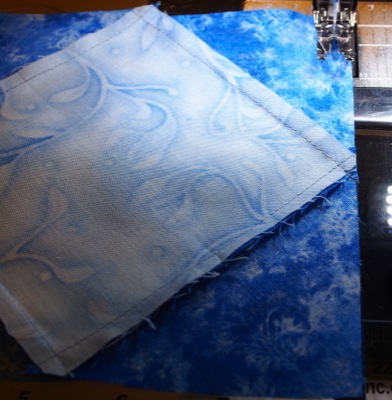
All seams are a ¼ inch and all pieces are sewn right sides together.
Remember the blocks that have been cut on the diagonal are now all on the bias and so you do not want to manipulate them too much otherwise they will stretch out of shape.
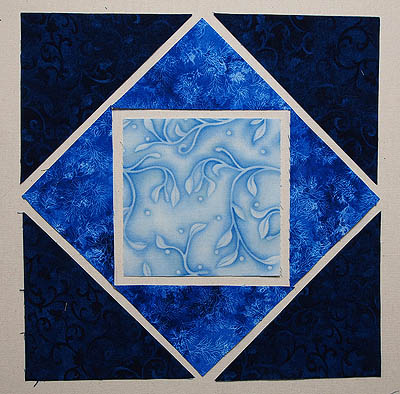
The pieces of the block
1. Fold the light fabric square in half with wrong sides together and finger press a crease at each end. This will help line up the triangle piece in the middle.
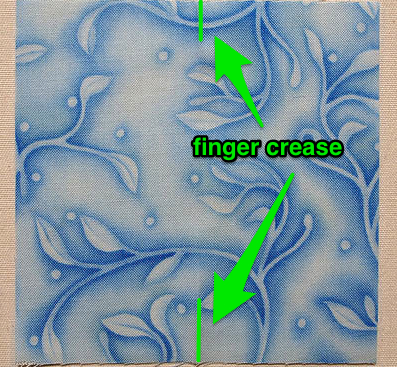
Crease lines on either side of the square
2. Fold medium fabric triangles in half right sides together and finger press a crease at the corner.
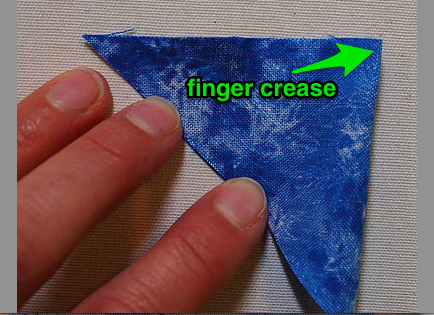
Creasing the triangles
3. Line up the crease in the triangle with the crease on the square.
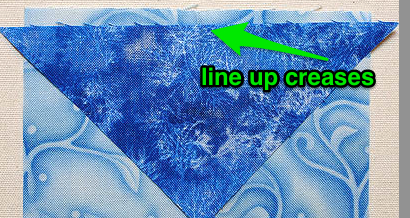
Lining up the pieces
4. Sew triangles to two sides of the square. Press the seam towards the triangle.
Two triangles in place
5. Fold the unit from step 4 in half with wrong sides together and finger press a crease in the square again on each end.
Fold unit in half to make creases
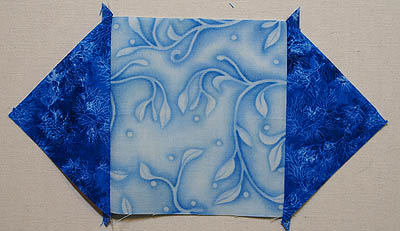
6. Sew the other two medium fabric triangles to the unit. Press the seam towards the triangle. Trim off the dog ears.
Four triangles in place
7. Line up a dark fabric triangle on the unit from step 6 making sure that an even amount of the triangle hangs over each edge.
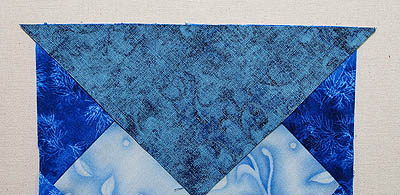
Place dark triangle on unit and align to centre
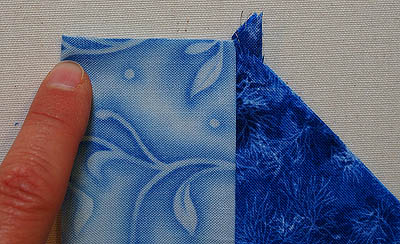
8. Sew the triangle to the unit with the unit side up. This will ensure that you do not cut off the point of the square as you can see where the seam lines are.
Sew with triangle on the bottom
9. Press the seams towards the triangles.
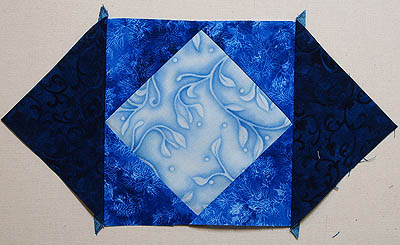
Two large triangles in place
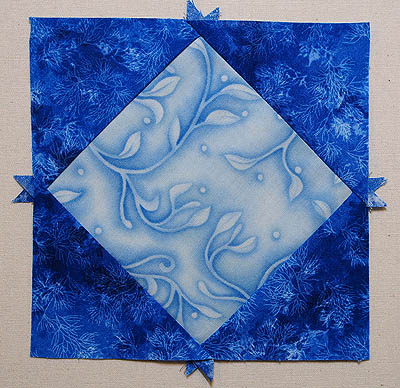
10. Sew the remaining two triangles in place to create an 8 ½″ unfinished block. Make sure to trim off the dog ears.

Block complete
I even used fabrics that I have plenty of just in case I want to create more of these square-in-sqaure blocks to make another quilt with.
Happy Quilting!


