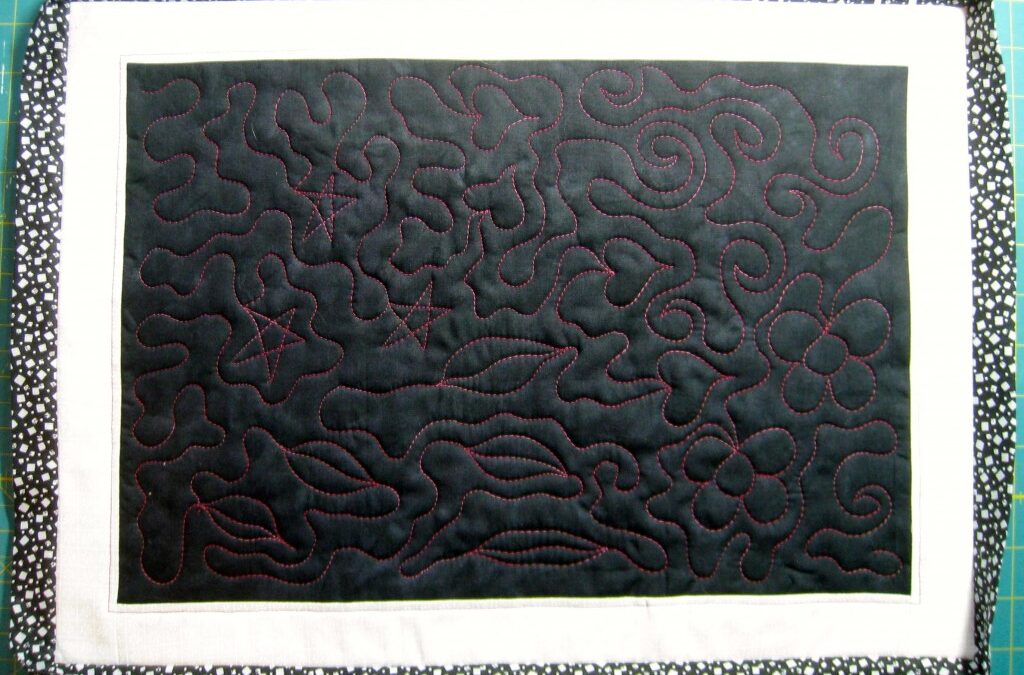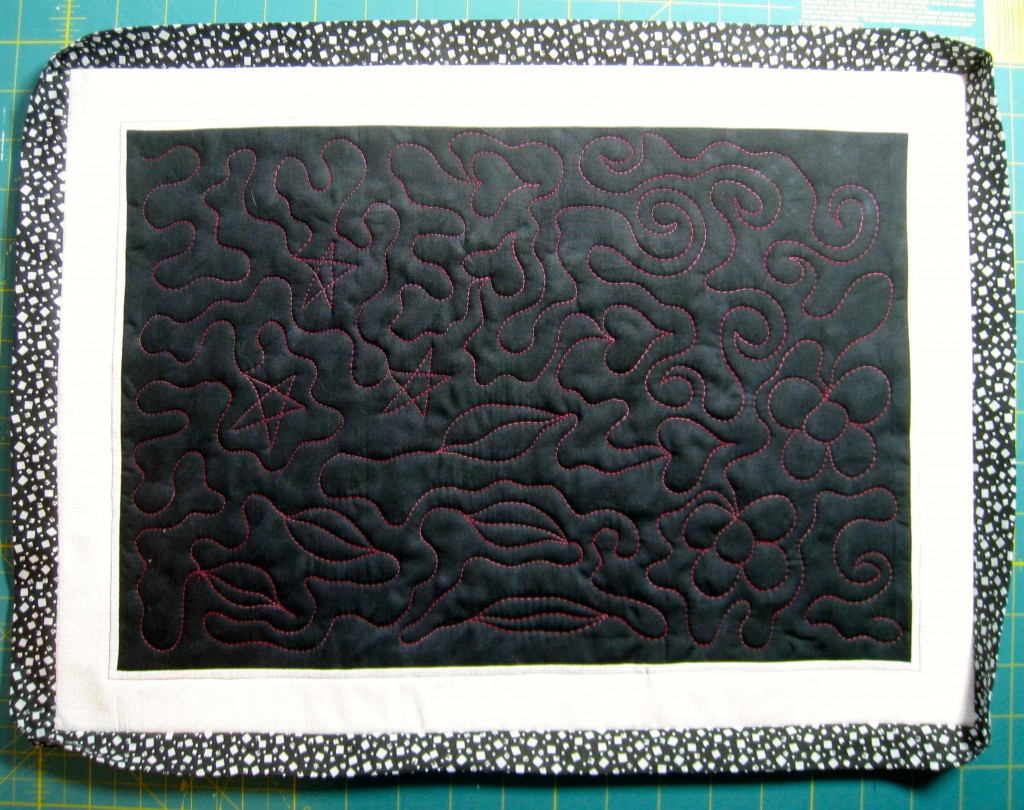
Hey Everyone, welcome back to Technique Tuesday. Last week I talked about how to make a binding. This week I am going to show you how to attach that binding to the quilt.
Squaring off the quilt
Before we begin, we need to ensure the quilt is squared off with all the extra backing and batting removed. Do this by placing a long ruler at the edge of the border or quilt top. An easy way to keep your cutting straight is to line up one of the lines on your ruler with a sewing line, for example, where the border attaches to the main part of the quilt. Doing this ensures the quilt will be square when the extra bits are removed.
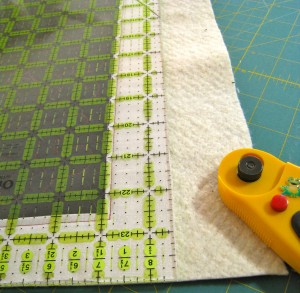
Square off the quilt.
Attaching the binding
Attach the binding to the front of the quilt by starting in the middle of one of the sides. Don’t start with the very end of the binding strip, instead make sure you leave a leader of binding, about 8 inches long, not attached to the quilt. This will be needed for attaching at the end.
I always use either a walking foot or dual-feed foot to put the binding on as there are several layers of fabric under the foot and these feet will move it all along nicely preventing any puckering and small tight stitches.
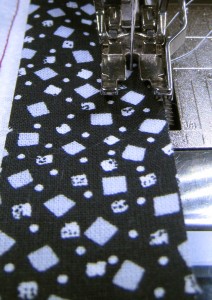
Start sewing in the middle of a side.
Sew to the end of the side stopping a ¼ inch from the edge. Remove the needle and turn the quilt to start down the other side. We are going to make a mitred corner with the binding so fold the binding so it is at a right-angle from the direction you just finished sewing and the strip is going off the top of the quilt.
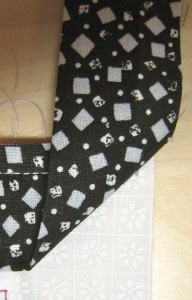
Fold binding over at an angle to the corner.
Keeping this angle, fold the binding strip back over top of the fabric so it sits flush with the edge of the quilt. Stopping a ¼ inch from the edge in the previous sewing step is what allows the binding strip to fold flush to the next edge of the quilt. The fold of fabric will be under the binding and will not be visible.
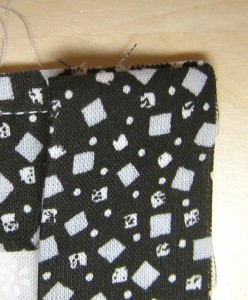
Fold back over flush with edge of quilt.
Continue sewing the binding in place. Repeat this process at all the other corners.
On the final side stop about 12 inches from where your started sewing on the binding.

Leave about 12 inches of space.
There will be 2 dangling pieces of binding. Trim them off so that they overlap by 2 ½ inches.
[Note that we overlapped by 2 ½ inches because our binding strip is 2 ¼ inches wide, leaving us with a ¼ inch of wiggle room in the final steps. If you choose a different binding width when you fabricated your binding strip, you will need to use a different overlap length!]
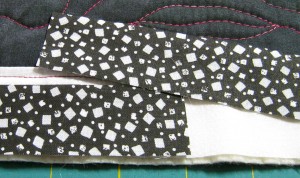
Trim off excess fabric – one will overlap by 2 ½ inches.
With the quilt front facing you – very important that the front is facing you otherwise the binding will be twisted when sewn together – place the two pieces right sides together at a right angle leaving a ¼ inch overlap on the ends. Pin in place so they do not move.
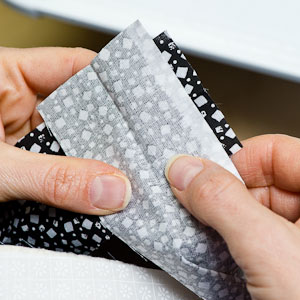
Place the 2 ends together at right angles.
Sew from the upper inside corner to the lower outside corner as you did when making the binding.
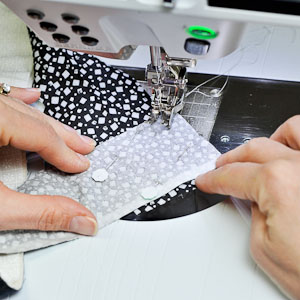
Sew from upper inside corner to lower outside corner.
Check to see if the strips form a continuous strip with no twisting. If they did twist then they will have to be picked apart and sewn together again. Often twisting happens when the quilt front is not facing you when you put the ends together.
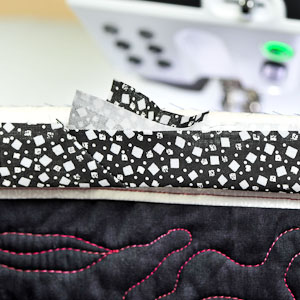
Make the two ends did not twist when sewn together.
If there is no twisting then go ahead and trim off excess fabric leaving a ¼ inch.
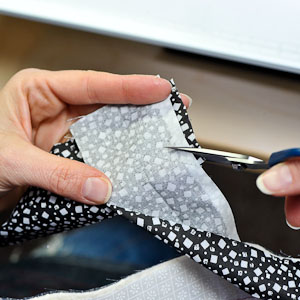
Trim off excess fabric to a ¼ inch.
Finger press seam flat and attach the rest of the binding to the quilt.
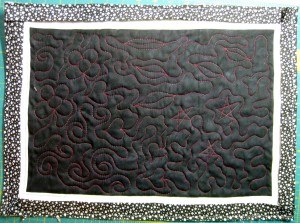
Binding fully attached.
Press the binding over the edge of the quilt with a steam iron. This makes for a nice flat binding and it folds over to the back much nicer.
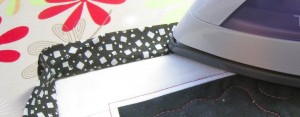
Press binding over quilt edge.
Hand sew the binding to the back of the quilt. This method of making and attaching binding can be used for any size of quilt.
Now that the binding is on the quilt go ahead and snuggle up with it, have a cup of hot cocoa and enjoy a really good book – job well done, you deserve a break.
And remember, if you just finished a UFO and you’d like me to feature it here on my blog, I welcome you to send me a couple of photos and a few words about your quilt (what inspired you, who you made it for, any special fabrics you choose, whatever!) and I’ll feature it here in one of my UFO Spotlight posts.
Until next week, Happy Quilting.

