
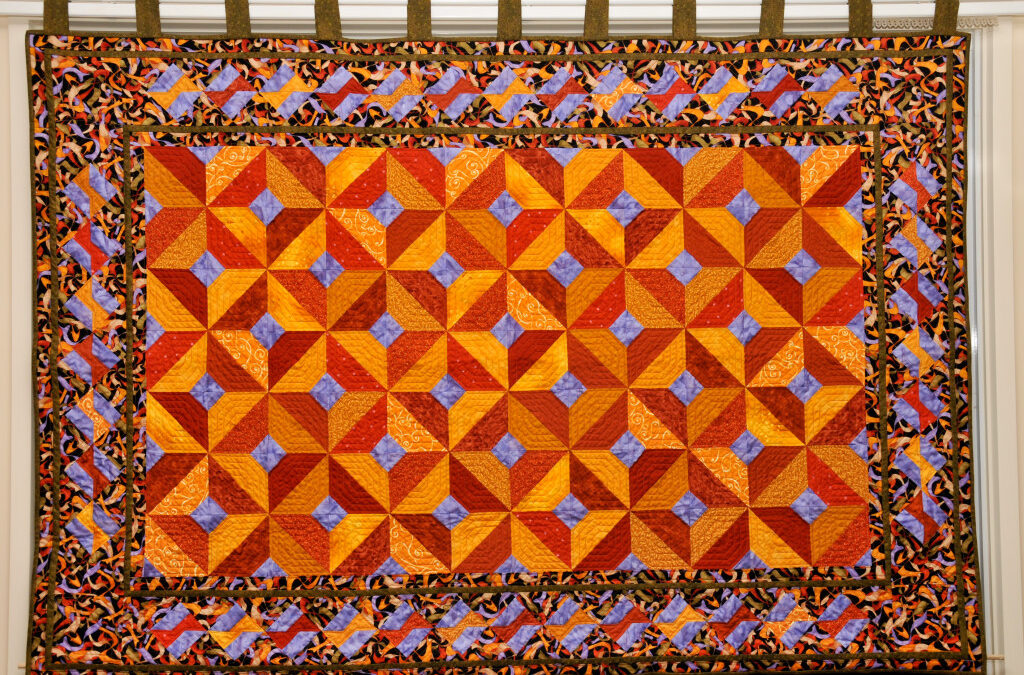
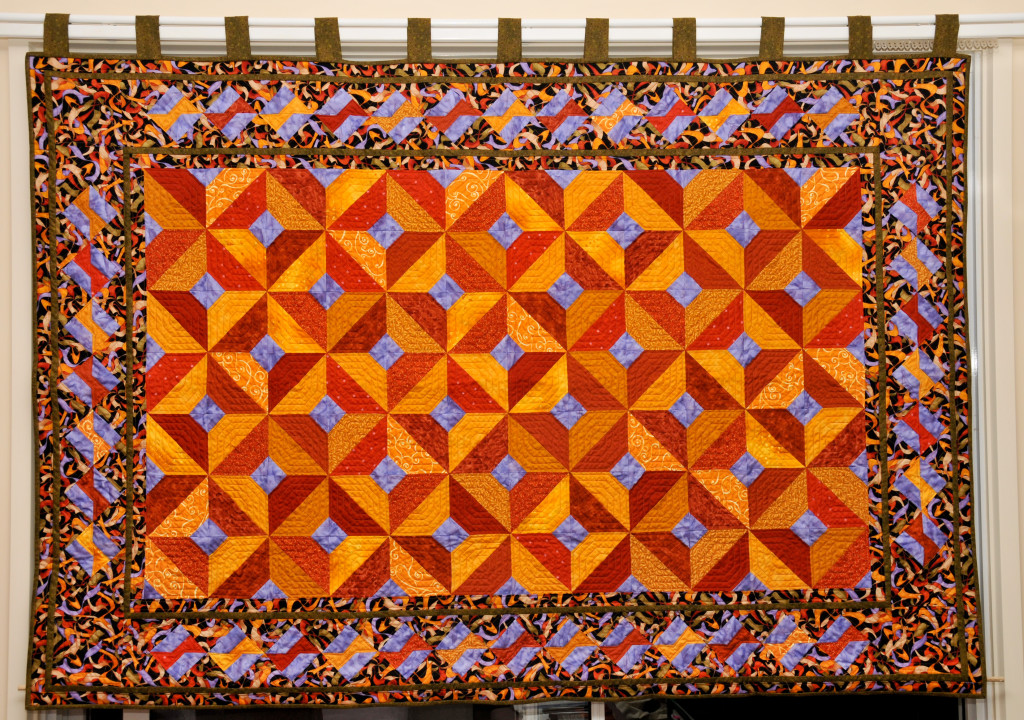
Hey Everyone, welcome back to Story Time Monday. Yesterday, I gave you a little tease of the quilt that I am telling the story of today by showing you what inspired the colours of the quilt. The inspiration came from the red dirt of the Australian Outback – not my favourite colour but I had decided to step out of my comfort zone for this class.
I signed up for this class with Judy Hooworth called Quilts On the Double. The class, based on her book Quilts On the Double, was held in Adelaide and arranged by the Quilters Guild of South Australia. Prior to class I had to pick all of my fabrics, cut up the strips and I do believe go to class with them sewn together – a fair bit of pre-work to do but I was a good student and did it all.
Triangles, Triangles and More Triangles
In class we proceeded to cut up all of our strips into triangles – this meant that everything was cut on the bias and everyone knows if you are not careful those bias edges can stretch out of shape so easily. We had enough triangles for an army by the time we were done – a couple of different sizes and fabric configurations.
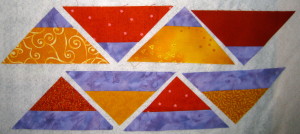
Some of the left over triangles.
Some Options
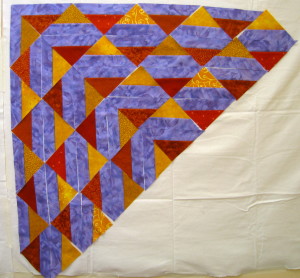
Once the triangles were cut it was then time to play on our design walls and lay them all out to see which pattern suited the fabric choices best or which layout was our favourite. I played for quite a while until I settled on the layout in the quilt above. I love how the 2 fabrics make the design look like it is popping off the quilt.
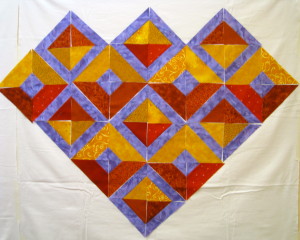
A design possibility.

Another design possibility.
And another one.
Borders
Once the design was finalised then we auditioned fabrics for the border. I had brought several different ones in the colour palette I was using. All of these fabrics I had purchased one year at Quilt Canada. When I purchased them I had no idea what they would be used for but knew one day they would find their way into a project. I chose the ribbons for this quilt.
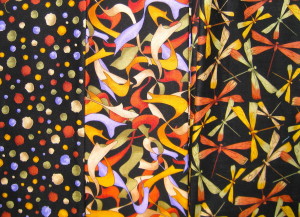
Border fabric options.
And from all the end cuts smaller quilts could be designed as well. I chose to use the end cuts to make an interesting border. I wanted to try and mimic the ribbons in the border fabric with these little squares.
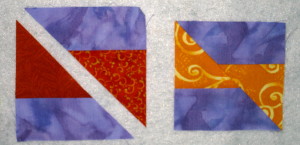
The ribbon blocks.
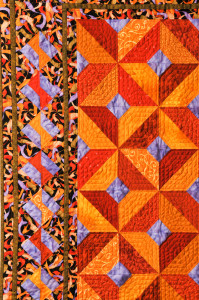
Closeup of border.
Once I returned home, I finished putting the quilt top together and quilted it a few months down the road. It is very heavily quilted which gives the quilt an added dimension to the overall result. It was all quilted on my Bernina QE153 with a walking foot – this time it was all straight stitching and there were hundreds of ends to be pulled through and tied off.

Close up of quilting.
The quilt was bought by someone who wanted tabs on it to hang it on a fancy rod – long story short the quilt never made it to the owner as she skipped town before getting the quilt. One day, in my spare time I might take the tabs off so the quilt can be used as a quilt. [Editor’s Note: I think it would look magnificent hanging over the bed in our east wing.]
These colours are still not my most favourite to work with but since living in the Outback I do use them more often and they are growing on me. [Editor’s note: perhaps one day Jen will tell you how she really feels about Yellow! Haha]
Sometimes it is good to venture outside of our comfort zone – one never knows what they might learn or find.
At this point you are probably wondering why the name of this class was Quilts on the Double. The design intent with this technique is to design two different quilts out of the same set of strips… But another day, another time for that quilt.
I still have a huge stack of triangles left – whatever am I going to do with them?
Happy Quilting!


