Hey Everyone, welcome back to Technique Tuesday.
A couple of weeks ago when I was teaching my Bargello Sunflower class at Thimbles & Things in Orillia, ON one of my students was wearing this really nice scarf. I asked her where she got it and her reply was that she made it with fabric from the shop. I tried it on and was in love because you see the fabric was Minky Blanket.
Now if you have never seen Minky it is just so soft and wonderful and those of you who have seen know what I am talking about. It is commonly used in baby quilts but as a scarf it is divine. One of the great things about it as a scarf is that it is quite lightweight and doesn’t pull on your neck.
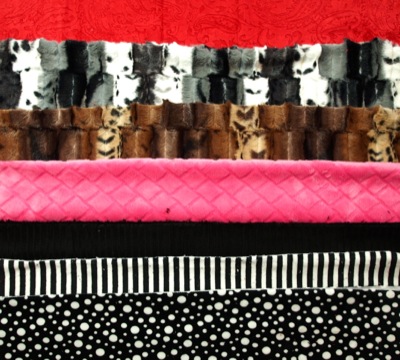
I of course bought some Minky in some different colours and textures to make a couple for myself and maybe a few gifts too.
To make one scarf you need 0.35 metres or approximately 12 – 13 inches x WOF. Minky is about 64 inches wide.
Here’s how to make one step by step.
Step 1
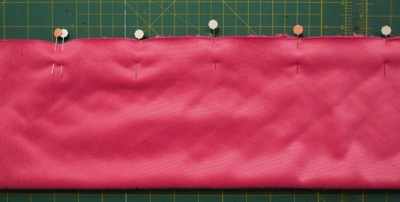
Fold the fabric in half with right sides together. Pin the edges together and be generous with the pinning as Minke tends to be quite slippery.
Step 2
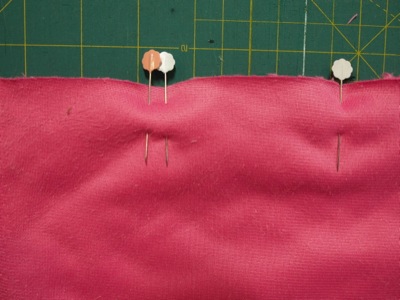
Start sewing 2 inches or so in from the edge and stop 2 inches from the end. I tend to mark where I am to start and finish with 2 pins to remind me so I don’t start and stop at the edges and have to rip out.
It is a good idea to use a walking foot or a dual feed foot to sew Minke together because it is so slippery. I also use a ½″ seam allowance to ensure I catch the underneath fabric just in case it slips.
Step 3
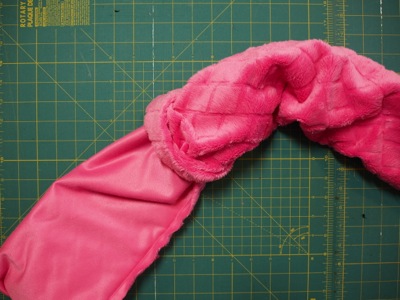
Once sewn together turn right side out.
Step 4
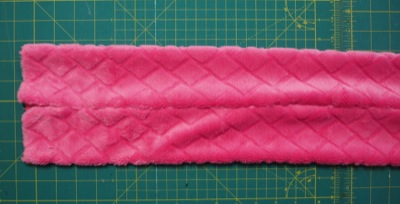
Lay the piece flat on a table.
Step 5
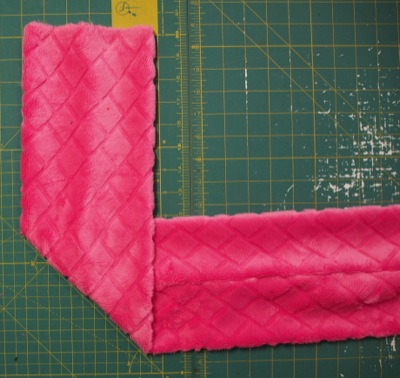
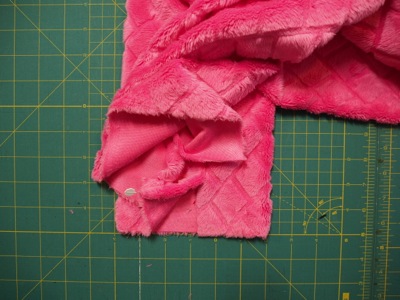
Fold one end up over the scarf creating an angle.
Step 6
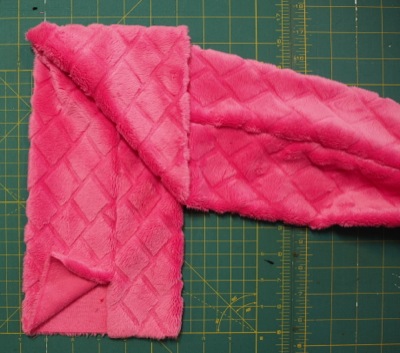
Fold the end that is over the scarf back under scarf creating a triangle with the fabric. This is what gives the infinity scarf a twist.
Step 7
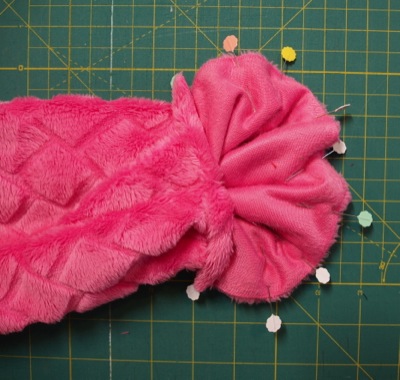
Place the 2 open ends of the scarf together.
Step 8
Pin the ends together.
Step 9
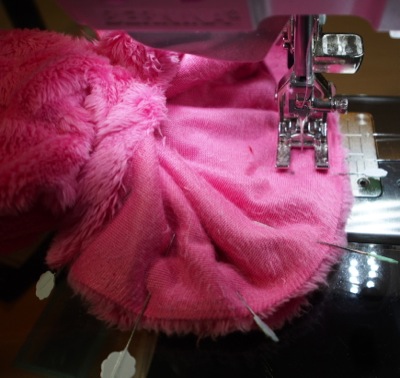
Carefully sew the to ends of the scarf together with a ⅝″ seam allowance to ensure the selvedge edges of the piece are hidden in the scarf.
Step 10
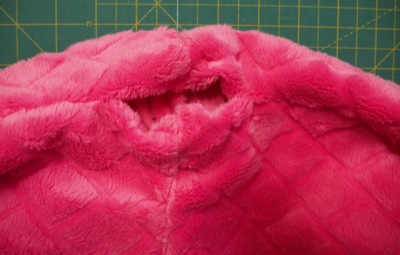
Once sewn together the scarf will have a small opening in it which will need to be hand sewn closed with a blind hem stitch or slip stitch.
Step 11
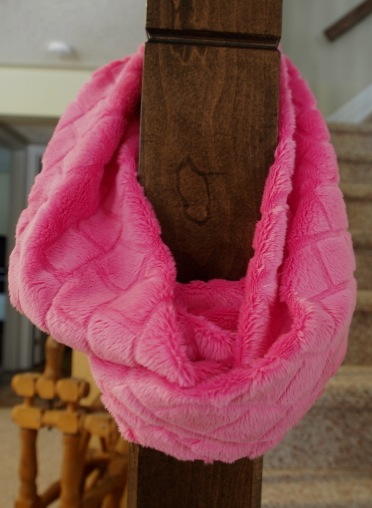
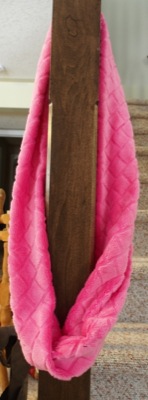
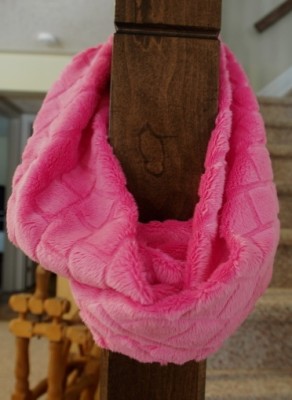
Your scarf is now ready to wear. They are long enough to wrap around your neck twice. I didn’t have a model so the banister post had to do.
These scarfs are so fast and easy – the longest part is the pinning.
How many are you going to make?
Happy Quilting!





Thanks so much for sharing this, Jen. I love it and plan to try it. You made it look easy!
Your welcome Mary. It is very easy to make and takes no time at all. Jen
Thanks Jen — will have to make this. Too late for this year but might be next year’s Stocking Stuffers.
Have a very Merry Christmas
Hi Jen:
Going to make the infinity scarf for sure.
Once again I have a new e-mail address:
Enjoy your e-mails.
fultonbarrie@gmail.com
Thanks
Shirley
I got a great tip from the shop I bought my Minky from. As you know it sheds a lot. They recommended throwing the piece in the dryer for a few minutes after cutting(I carried it to the dryer in a plastic bag. Knocks most of the loose pieces out and into the lint filter and makes it much nicer and cleaner to work with.
What a wonderful tip. I will try that next time I sew with Minky. Thanks for sharing it with me. Happy Quilting Jen