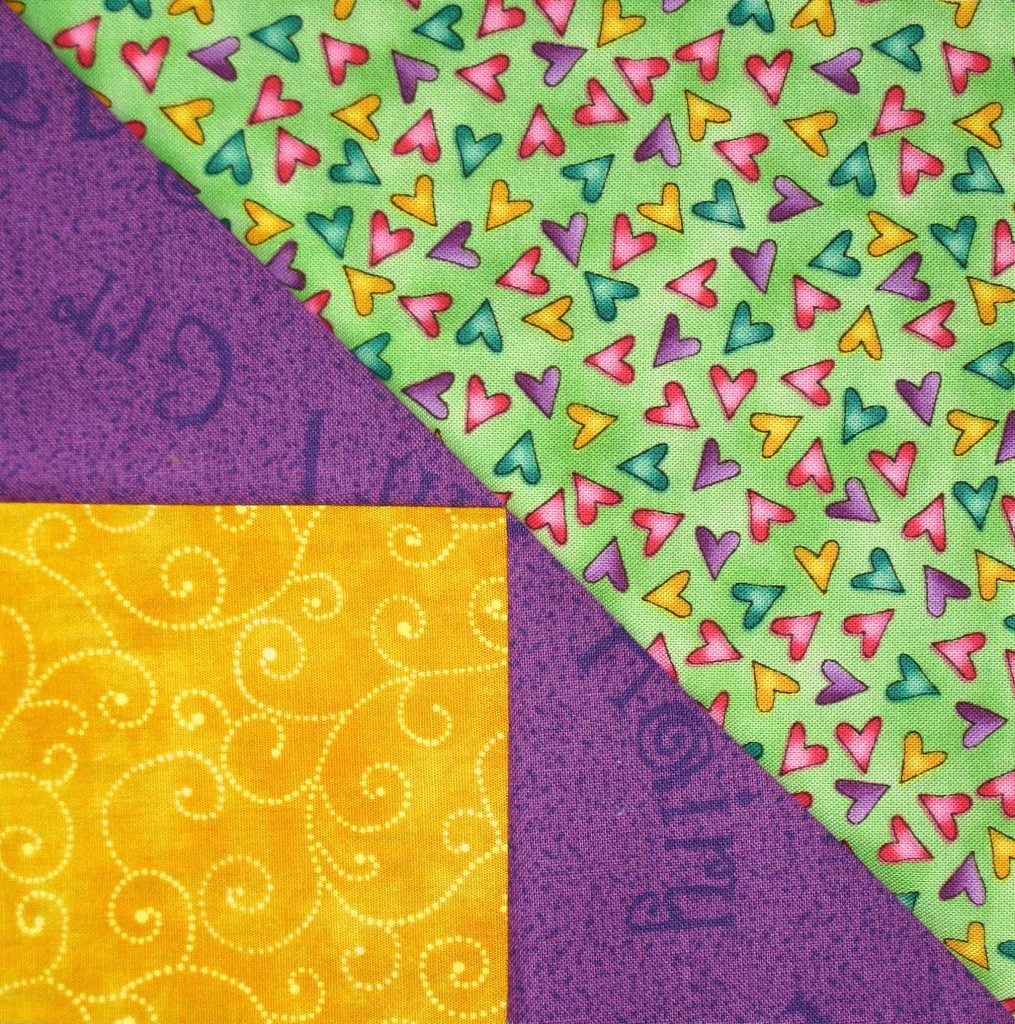
Hey Everyone, welcome back to Stash Blasting Wednesday. This week I am featuring a block that looks very much like the Birds in the Air block I featured a couple of weeks ago.
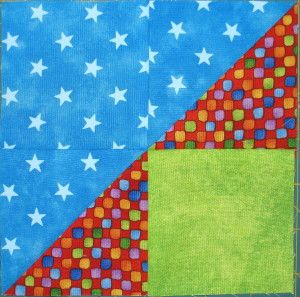
The Bird in the Air block – notice the similarities.
The block is called Grandmother’s Choice. This is another 4 patch block and I must say that I am really enjoying making these 4 patch blocks – just wish I had made them all bigger to whittle down the stash a bit faster. The 6 inch block size I chose to make is great to get rid of small bits and pieces in the stash though.
Can you see the difference in the two blocks?
The Same but Different
What is the difference between these two blocks as they do look essentially the same? Well, Grandmother’s Choice is made with triangles rather than half square triangles. The half square triangles are much easier to work with as nothing is cut on the bias and only square edges are being sewn together.
The end result is that the large triangle in the Birds in the Air block is made up of 3 different pieces by using squares and half square triangles where as the one in the Grandmother’s Choice block is only one large triangle. The other two triangles in each block are created differently as well – once again half square triangles versus a triangle shaped piece.
When working with bias pieces they tend to stretch and loose their shape often causing the block to be the wrong dimension when finished so care needs to be taken not to handle too much and pin pieces together to prevent pulling and stretching of the pieces. Some people recommend spraying the bias edge with starch to give it more stability and less chance of losing its shape. I suspect Mary Ellen’s Best Press would do the job.
Getting Started
Pick three coordinating fabrics for your block. Once again I have picked out some bright ones.
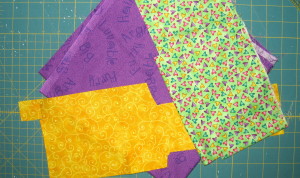
My three fabrics.
Cut out the pieces needed. The cutting instructions I have included will make a 6 inch finished block.
- yellow fabric – cut 1 – 3 ½″ square
- purple fabric – cut 1 – 3 ⅞″ square and then cut it once on the diagonal to create 2 triangles
- green heart fabric – cut 1 – 6 ⅞″ square and then cut it once on the diagonal to create 2 triangles
Note: only one of the green triangles will be used so if you want to make 2 blocks then cut another set of yellow and purple pieces.
Lay out pieces in the proper configuration prior to sewing – this helps to keep everything aligned and sewn in the proper place.
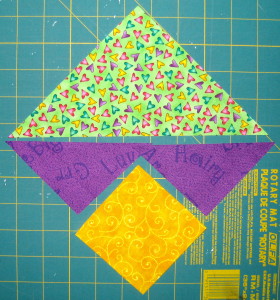
Pieces cut and ready to sew.
Making the Block
Note: all seams are a ¼″
Place a purple triangle so it’s right angle corner is matched up to a corner of the yellow square. Fabric should be RS together. The ends of the triangle will be hanging over the edge of the square. Sew together along the vertical side of the triangle.
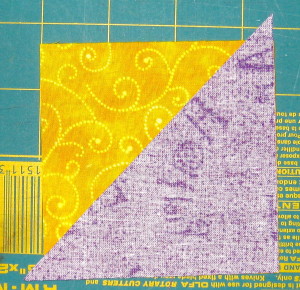
Line up purple triangle and yellow square at right angle corners.
Press seam towards the purple fabric.
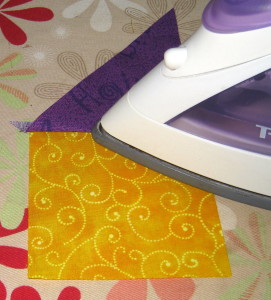
Press towards purple triangle.
Purple and yellow pieces sewn together.
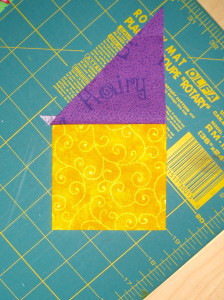
Purple and yellow sewn together.
Place the other purple triangle on the other side of the yellow square matching the right angles of the triangle and square. Note: The long edge of the triangle will be facing down towards the right angle of the first triangle. Sew together.
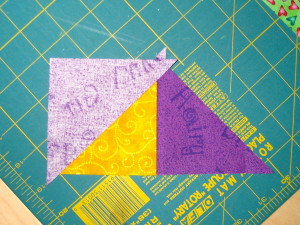
Placement of other purple triangle.
Press seam towards purple fabric. The two purple triangles along with the yellow square now make a large triangle.
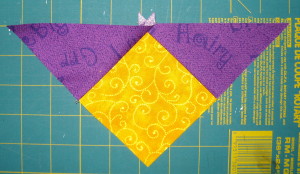
The purple triangles sewn to the yellow square.
Place the green triangle on top of the triangle just made RS together matching up the 3 points.
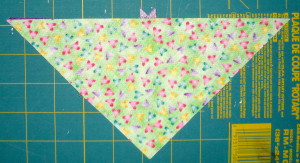
Green triangle matched up to purple/yellow triangle.
Flip over so the pieced triangle is on top – by sewing with it on top you will be able to see where the other 2 seam lines intersect to form the point. Sewing through where these two seams intersect will ensure a perfect point. Pin pieces together as they are both bias edges and this will help to prevent any stretching. Sew together.
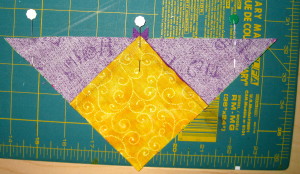
Pin in place.
Press towards the green fabric. Trim off dog ears – dog ears are those little triangles that stick out beyond the block once it has been pressed. You can use scissors or rotary cutter to trim them off.
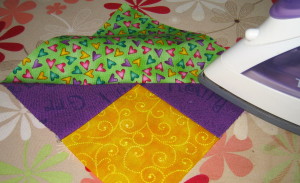
Press towards green fabric.
And presto a Grandmother’s Choice Block.
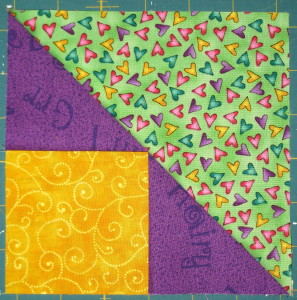
Grandmother’s Choice block – sure looks the Bird in the Air block – just made a bit differently.
If you have any questions or are having difficulties please feel free to contact me, I am happy to help and only an e-mail away.
Happy Quilting!


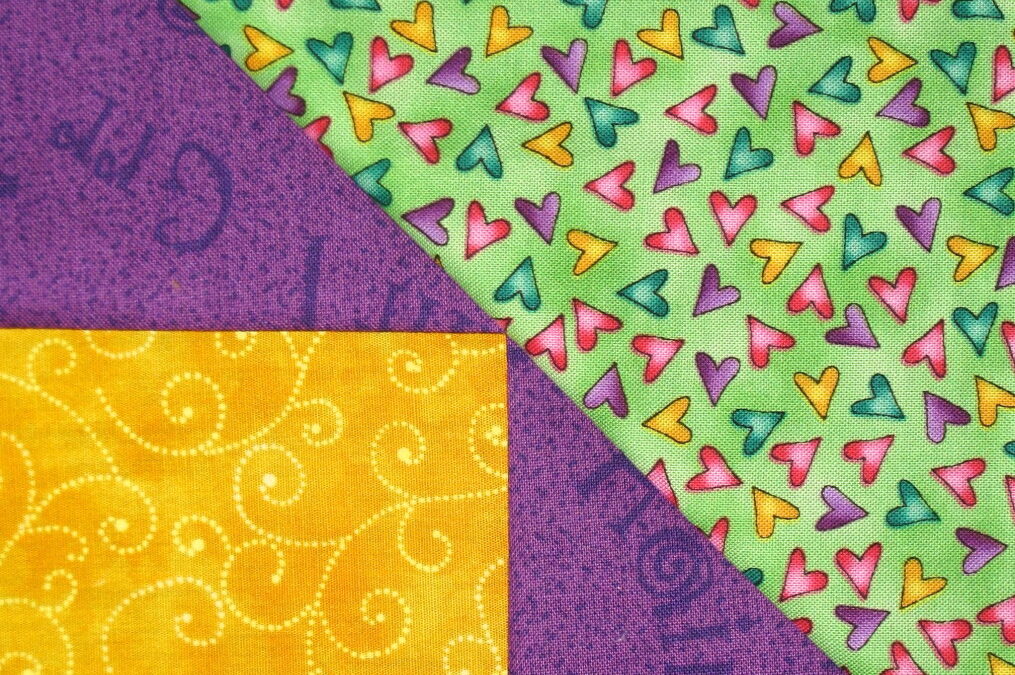


I love this block! Will use it for the baby quilt I’m getting ready to start. Thank you for sharing this pattern.
A lucky baby. It will look adorable in baby fabrics. Happy Quilting Jen