Hey Everyone, welcome back to Stitch Along Sunday.
Last week I asked for all of you to vote on which bright print I should use for my feature fabric and I had a fantastic response. Thanks everyone for adding a comment and voting for your favourite. If you missed week one you can find it here, Stitch Along Sunday – September Week 1.
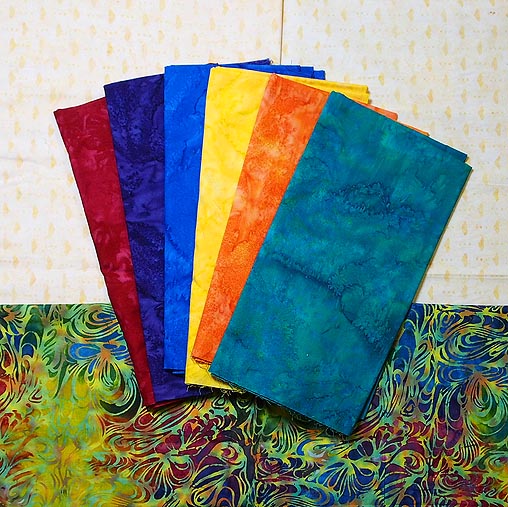
It was a toss up between the zigzag print and the swirls. I decided to go with the swirls as you can see from the photo above. And after having a sneak peak of the rules for the next couple of weeks I knew I had made the right choice. As well, I had to change my wool fabrics to plain cottons. I don’t have a lot of each wool fabric and didn’t want to waste them in piecing but I will use them for week 3 – can’t tell you how right now as that would spoil the surprise for next week.
Ruth has the complete set of rules on her blog – September Rules Week 2. And if you go back to September Week 1 of her blog you will find all of the cutting instructions for each fabric and her rules for which fabrics to cut for each piece.
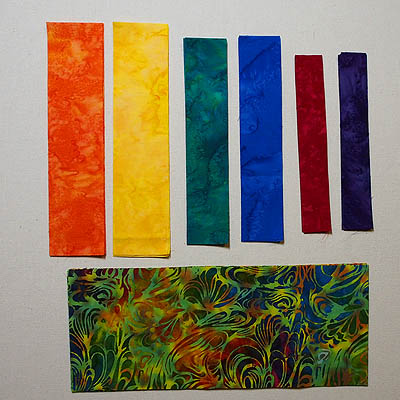
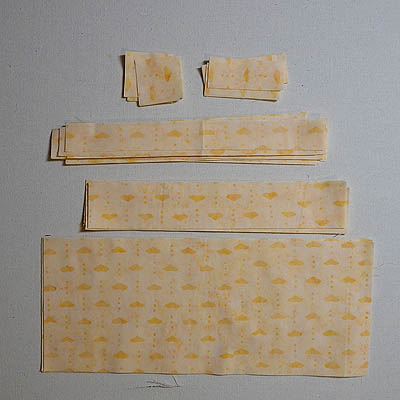
I started out by cutting up all of the pieces I would need.
Brights
1. From your favourite 2 colours cut from each: 1 – 2″ x 8 ½″ rectangle
2. From the 2 that least go together cut from each: 1 – 1″ x 6 ½″ rectangle
3. From the remaining 2 cut from each: 1 – 1 ½″ x 7 ½″ rectangle
4. From the feature print cut: 1 – 4 ½″ x 11″ rectangle
Background
5. Cut 2 – 1 ½″ x 8 ½″ rectangles
6. Cut 5 – 1″ x 8 ½″ rectangles
7. Cut 2 – 1 ½″ squares
8. Cut 2 – 1″ x 2 ½″ rectangles
9. Cut 1 – 4 ½″ x 11″ rectangle
Putting it All Together
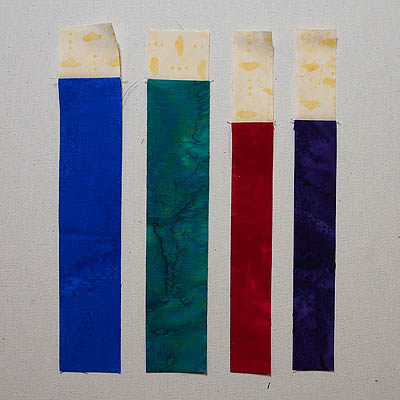
To begin with I sewed the small background pieces to the appropriate bright strip – #2 with #8 and #3 with #7.
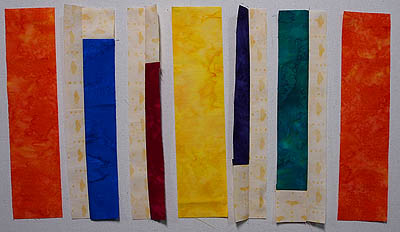
Then I laid out the pieces to see what configuration of strips I wanted to use.
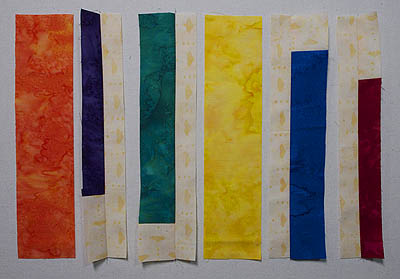
A second possibility.
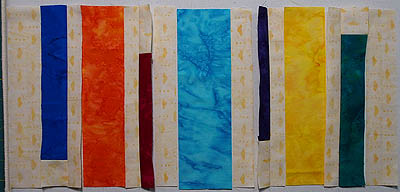
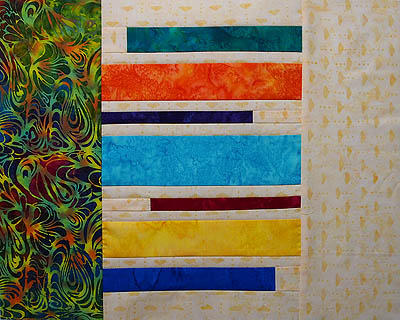
I came to the conclusion that I wanted a 7th colour and I added in a turquoise strip to go in the middle. Cut at 2 ½″ x 8 ½″.
I also realised that I had the primary colours and secondary colours in my palette of strips so I grouped each together on either side of the turquoise strip.
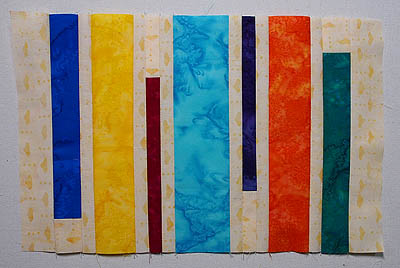
Finally I added the two large rectangles. I love the look of it – a bit of a modern design to this mini art quilt challenge.
I am looking forward to next week as I know I am going to have fun with the wool fabrics I originally picked for this project.
Make sure to drop by and check it out. See you next week.
Happy Quilting!





I love this is colorful and chear ful did u have a pattern or did as u go???
Thanks Carrie. I had guidelines for cutting and then arranged the strips to my pleasing. The cutting instructions are in the post and you can follow along to if you like. The more the merrier. Jen