Hey Everyone, welcome back to Stitch Along Sunday on Tuesday.
Well, it is the last day of June and I’ve managed to finish my piece just in the nick of time. Now I’ll be all set to start July’s piece in only a few short days.
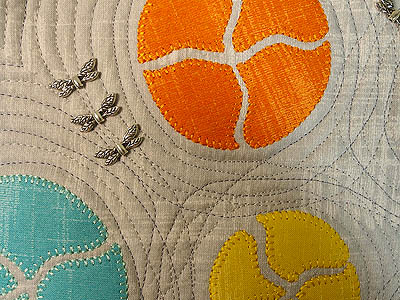
Week three was all about the words “echo and sparkle”.
This week’s rules can also be found on Ruth’s blog – June Week 4 Rules. They are very simple this week – just finish off the piece with whatever method you wish.
Easy peasy. I’ll add a binding and call it done.
Well, not quite as easy as I had hoped because I decided to put rounded corners and curved edges on this piece which means I need to make bias binding rather than regular binding. Although at a recent class I took with David Taylor, he told us that he only puts bias binding on his quilts. He also only cuts his strips 2″ wide as opposed to the 2 ¼″ that I cut mine. The 2 inch strips make for a nice full and firm binding which is what the judges are looking for in a juried show.
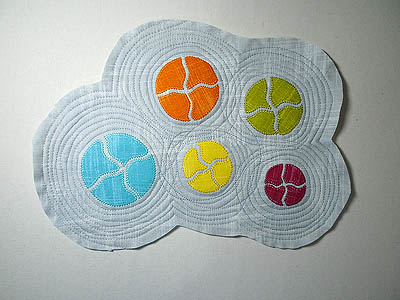
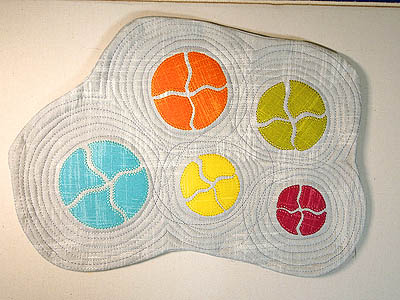
The rounded edges I made free form with my rotary cutter – no templates or rulers just cut with the rotary cutter and hoped for the best.
I am going to cut the bias strips at 2 inches and see how it goes.
After cutting the pieces I stitched them together and then attached them to the quilt. The bias binding makes it really easy to fit the binding around the curves since it has a bit of stretch but I still managed to get a couple of puckers in it.
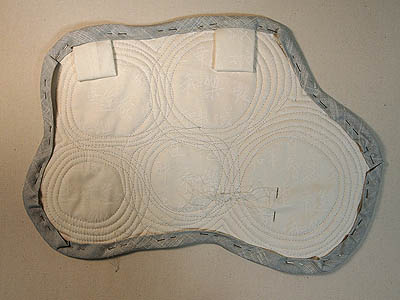
Instead of a hanging sleeve I used hanging tabs. After putting them on the wrong edge I ripped them out and attached them to the correct side for the orientation that I want to hang the piece. I suppose I could have left them off and used the piece as a mug rug. Actually I think I like that idea even better. It can still be a mug rug with the tabs on it.
I also forgot to add my label which goes in with the binding. That’s okay I’ll use a fabric marker which I picked up last week at H.A. Kidd to label the piece.
So with the binding and hanging tabs in place I pressed it and then flipped it over to the back and well it looks more like a facing than a binding.
With it looking like a facing it hides the puckers. I’ve pinned it in place ready for hand stitching.
Boy this had a few more hiccoughs than expected because I didn’t really expect any but you know how it is when you expect everything to go as planned.
About that sparkle………
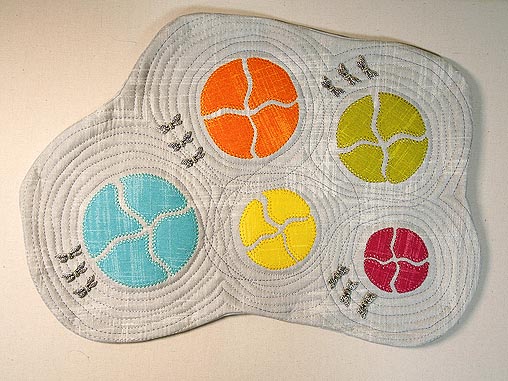
I found some cool dragon fly beads in my stash and they are flying around and around in the vortex of the cosmos. Full image at top of page.
Now that the stitch along piece is done I can move onto making another mug rug or two since I seem to be a bit behind on my Mug Rug Monday posts as well.
Happy Quilting!




Thanks for the comment about using 2″ binding! I read in a Diane Gaudynski book that she cuts her binding to that width. I’ve been doing it for years and agree that it gives a firm, full edge.
Laura, do you cut your strips on the bias or the with the WOF?