

Hey Everyone, welcome back to Technique Tuesday.
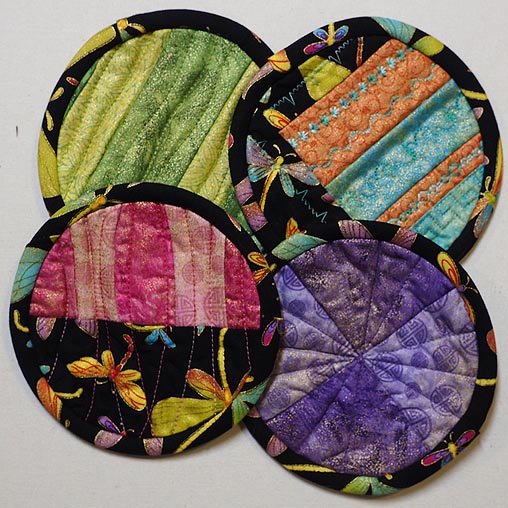
I made my first round quilt last month to go with the placemat project I did for QUILTsocial. Now these round quilts were not very big – in fact only coaster size. About 5 inches in diameter. Being so small made the binding a bit tricky.
When binding something round or curved the binding needs to be cut on the bias so that it has give and can be placed smoothly and evenly along the curve with no puckers or gaps.
How to Make Bias Binding
Since the coaster was not very big a 6 ½″ wide strip of fabric would be wide enough to cut the bias strips from at a 45 degree angle.
To begin place the ruler on the fabric at a 45 degree angle and cut off the end of the fabric which will be a triangle shape.

45 degree angle line of ruler on bottom edge of fabric
Next place the 2 ¼″ ruler line on the diagonal edge of the fabric with the 45 degree line of the ruler on the bottom straight edge and then cut the strip.
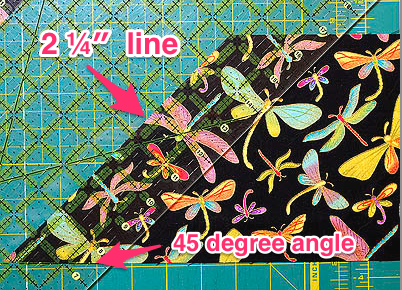
Place the 2 ¼″ line of the ruler along the diagonal edge of the fabric
Continue this process until all strips needed are cut.
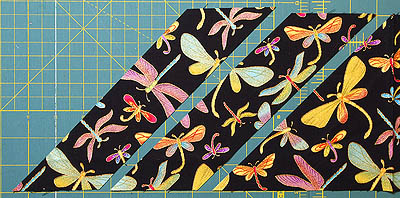
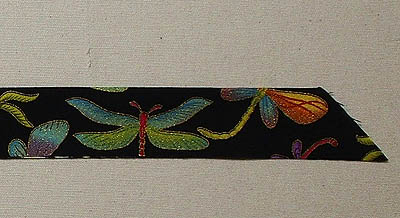
Bias strips being cut
Sew the two strips together to make a continuous strip of fabric. Align with approximately a ¼″ of fabric hanging over at each end – this will ensure the strips line up when opened up and be straight. Pin strips if you wish since they are on the bias and may stretch.
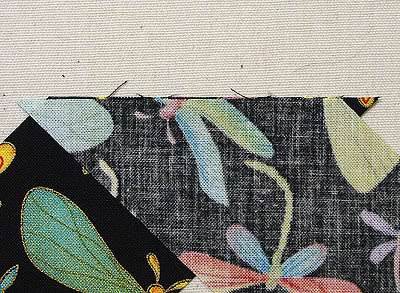
Sew strips together
Press it in half with wrong sides together. The ends will be on the diagonal. Now it is ready to sew onto the coaster.
Press binding strip in half
Attaching the Bias Binding
Start sewing in a bit from the end of the strip – about 2 inches. Leaving this tail of fabric free at the beginning makes it easier to attach the ends once the binding is in place. As well cut the diagonal edge to a straight edge.
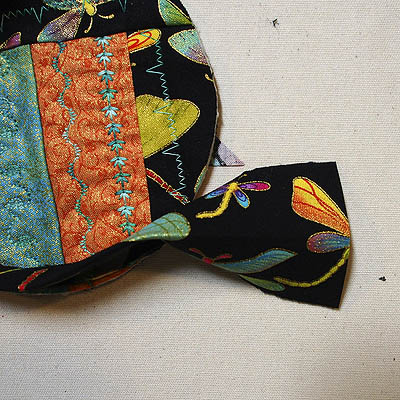
Leave a tail when starting to sew to quilt
Slowly sew around the curved edge easing the binding into place. I use the ¼″ foot for this. Stop about 2 inches from the beginning of the binding.
Since this is such a small piece modifications were done to how I normally finish off the binding.
Fold over the end of the start of the binding a quarter inch so no raw edge is showing.
Press over end of the beginning of binding
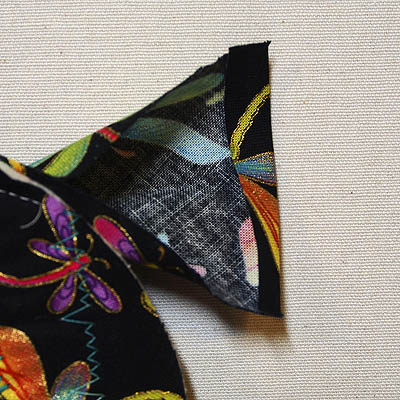
Trim off the other end of the binding keeping it on the diagonal so that there is about 1 ½″ past the end of the stitching.
Trim end of binding off at an angle
Tuck the angled end of the binding into the beginning of the binding. They should sit flush together with no bunching or overhang. If not then trim a bit more off the end of the diagonal edge.
Ends of binding tucked together
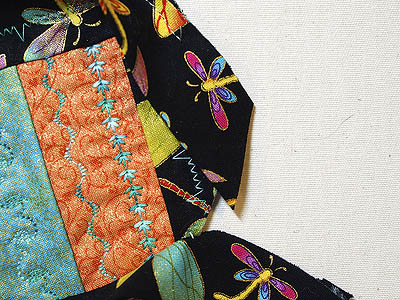
Once nicely tucked in continue sewing down the binding to the coaster.

Binding sewn on
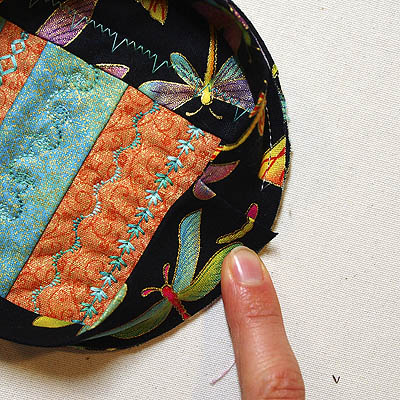
Turn binding to back of quilt and hand sew in place. The little red Wonder Clips from Clover work great to hold everything in place when hand sewing.
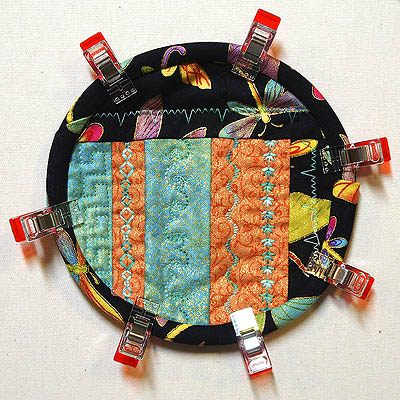
Wonder clips holding binding in place – top view
Something this small can be a bit fiddly but it looks great when done.
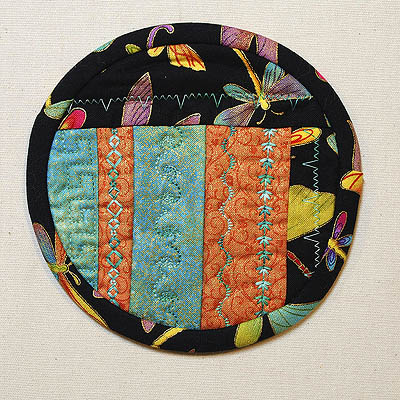
Completed coaster
Happy Quilting!


Trackbacks/Pingbacks