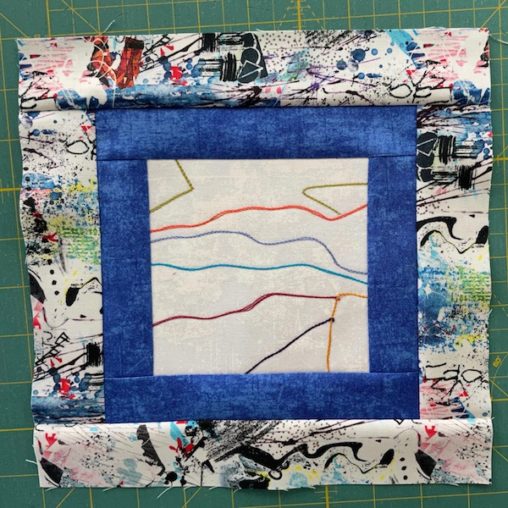
Hey there, welcome back. The to do list became kind of massive this month and I didn’t get back to my quilt challenge until yesterday when I managed to finish up the challenge with the squiggle fabric pieces. I did start the quilting process back at the beginning of September but only completed the black line piece using a stitch and flip quilt as you go method.
The other three blocks I moved around my studio I don’t know how many times until finally I said enough is enough get these pieces finished.
The guidelines were to use 3 different quilting techniques in the challenge. Check out Ruth’s blog to see what techniques she used in her piece. Number one was the stitch and flip and the next one is stitch in the ditch. Now I have never been a fan of stitch in the ditch mainly because it is so easy to go off course and end up out of the ditch. Really this is the only time you want to stay in the ditch most of the time we don’t want to be in a ditch. I have been doing more and more stitch in the ditch and getting much better at it but my mind cannot wander while I am doing otherwise the stitching is no longer in the ditch.
To begin the seams need to be pressed nice and crisp.
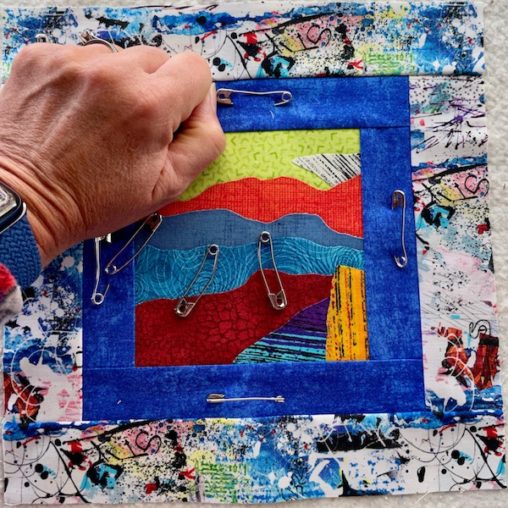
Then sandwich the block with batting and backing. I use curved basting pins to hold the layers together and I like them to be about a fist width apart. A spray baste can also be used to hold the layers together if you prefer.
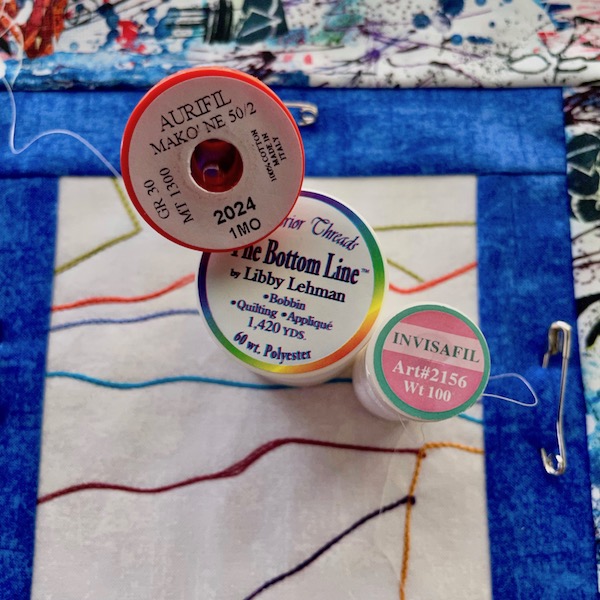
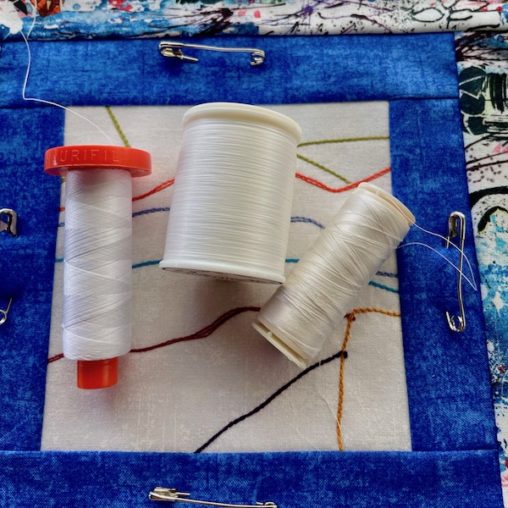
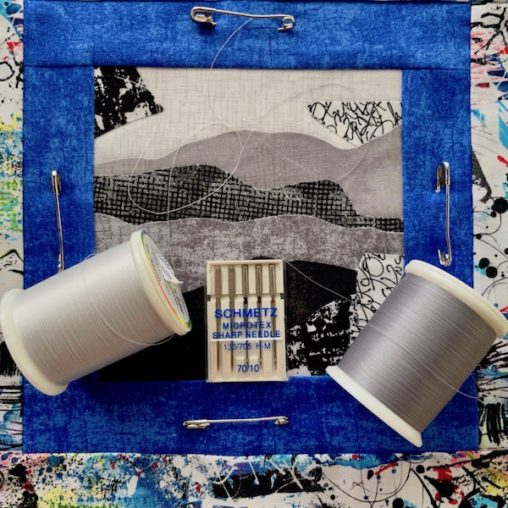
Next step is to pick a thread that is going to blend into the background which in this case is white. That was easy since white is white. But what weight of thread should be used? The lighter the weight of thread or finer the thickness of the thread means it will disappear into the ditch more and not be seen. I have three choices. Aurifil which is a 50 weight thread, Bottom Line which is a 60 weight thread or Invisafil which is a 100 weight thread. For more info about thread check out my blog post The Thick and Thin of Thread.
Another thing to remember when using lighter weight or finer threads is to change the size of your sewing machine needle. A 70/10 for the 60 weight thread and a 60/8 for the 100 weight thread.
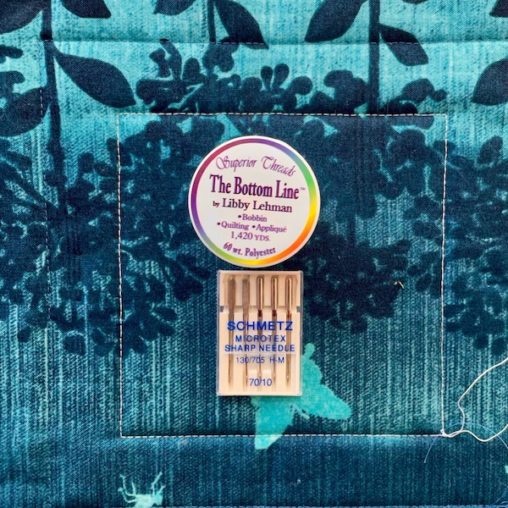
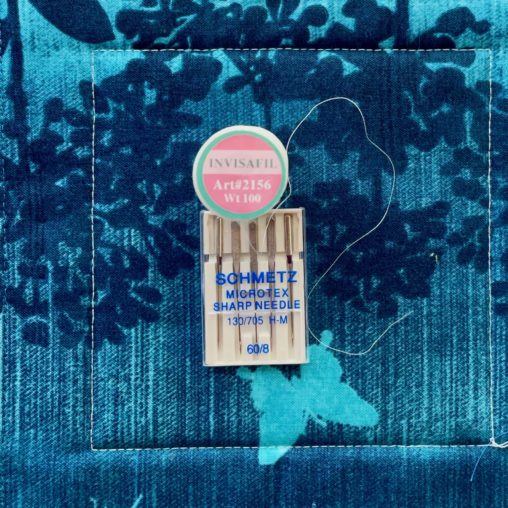
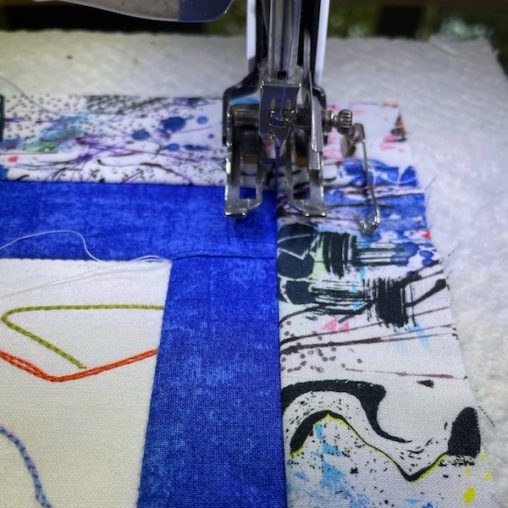
In the end I chose the Aurifil thread which is a 50 weight cotton thread to stitch around the coloured line piece. I begin in one corner and put my 80/12 needle into the fabric making sure it is butting right up against the fabric that is crisply pressed over. Using a walking foot helps to move the fabric along even and smoothly over the feed dogs. Some walking feet even have a stitch in the ditch plate. Mine does but I have never used it – maybe I should try it someday. Then begin sewing slowly and increase speed as you get more comfortable or just stay at a slower speed. No need to change the stitch size but do make sure that your tension is appropriate for the thread and fabric layers.
What thread did I use in the bobbin? The same thread as the top.
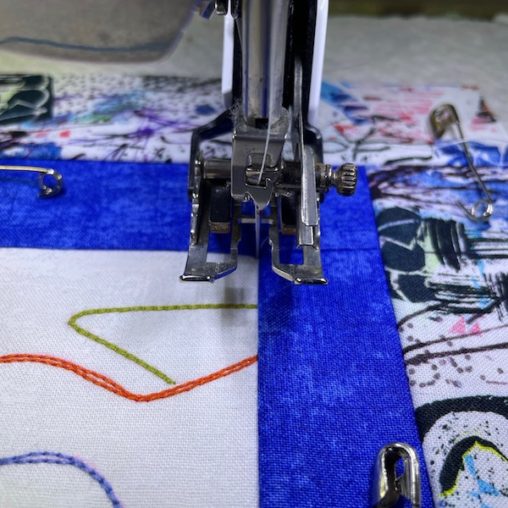
This is what one side looks like. The stitches are pretty much buried in the ditch of the seam just the way you want them to be.
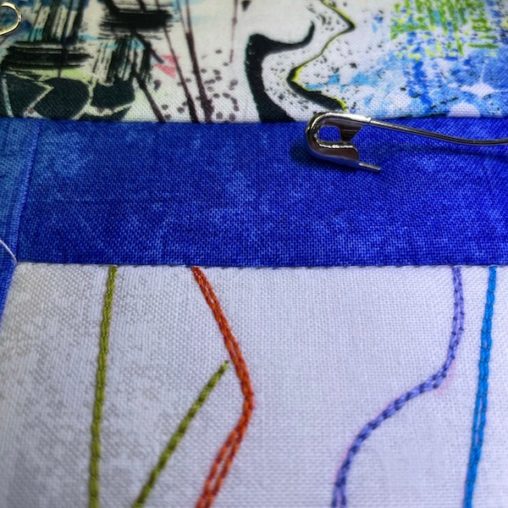
Stitch in the ditch is a great way to anchor sections of your quilt top so that they don’t move when other quilting is done in the square. It can also be used as the main quilting for a piece. There are times when you don’t want to see the quilting at all.
After completing the white section I moved onto the blue sashing and found a blue that matched and repeated the above steps once again starting in a corner.
For the greyscale square I went with the Bottom Line thread and used the darker grey as I thought it blended better with all the different fabrics in the square. In the bobbin I used a 50 weight grey cotton thread.
Stitching is done and you can hardly see it except for on the black in the lower left corner it stands out a bit – I think I lost my concentration and swerved out of the ditch a bit – it happens.
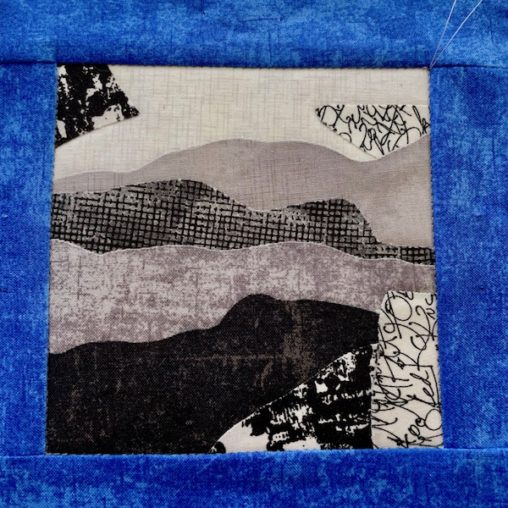
Well, that’s it for quilting technique number 2 – stitch in the ditch.
What will quilting technique number 3 be?
Until next time…
Happy Quilting


