
What do you do with old linens especially ones that have been embroidered on by a loved one. I had this bag of embroidered pieces to do something with so in November 2020 I pulled them out and added them to the big stash of fabrics I took to my pandemic abode for the winter of the lockdown.
I’ll back up a bit and give you some background on the embroidery. My sister gave me a bag of embroidered tea towels, table cloths and dresser scarves way back when that her mother-in-law had stitched many years ago. Instead of throwing them out or sending them to Goodwill she wanted to do something with them. They sat in my back room for a long time and then when we downsized they moved with me to the cottage. Finally we came up with an idea of what to do with them.
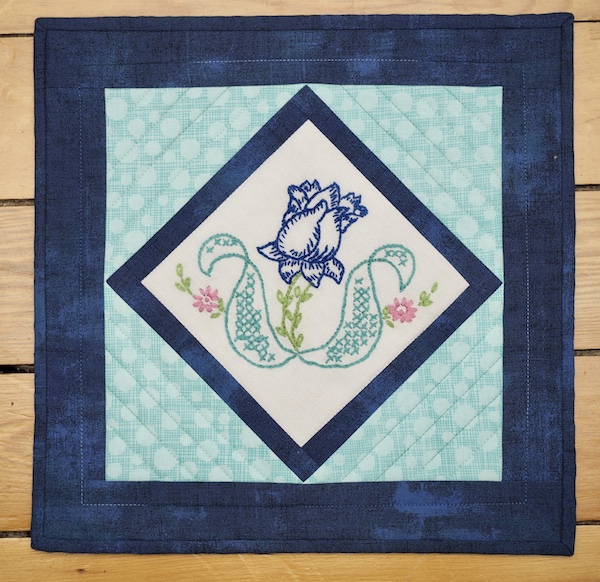
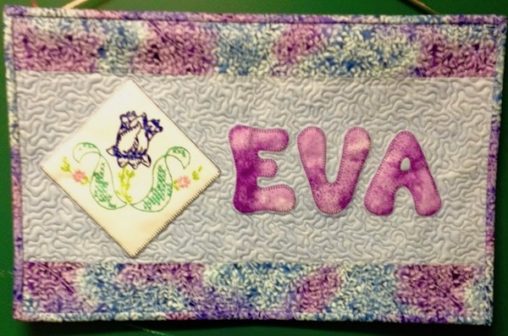
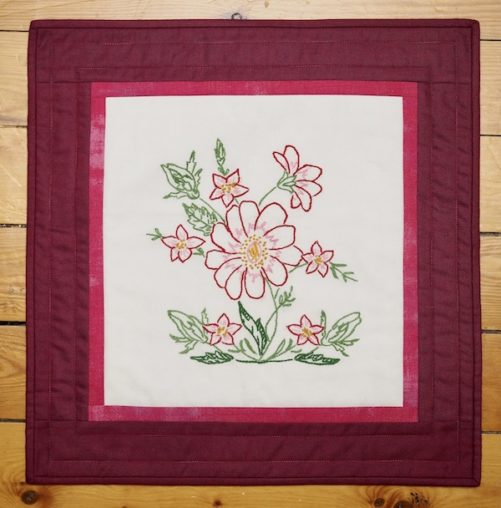
Although when I first received the bag of linens I did use one small flower to create a wall hanging with Eva’s name on it for her door in the nursing home. As you can see it’s mate is at the top of the page which is a more accurate depiction of the tulips colour.
At one point we had thought about making a lap quilt for Eva with all of the flowers but then my sister decided that they should be made into individual wall hangings to be given to all of Eva’s children and grandchildren. A great idea I said. How many do I need to make? 24 you say! Best get on that. Thank goodness I had lots of time on my hands during that first winter of the pandemic.
The challenge was bringing enough fabric to my winter abode and the right fabrics for all of these different embroideries. I threw fabric bits in cause they were the right colour only to discover that how in the world did I think a 4 inch strip was going to be enough to frame a piece 12 x 20 inches. What was I thinking! I clearly wasn’t. Thank goodness I had brought a few bins of fabric with a multitude of colours and textures.
It was definitely a process.
Step 1 – cut out embroidery sections.
Step 2 – audition and pick fabrics.
Step 3 – cut fabric and sew on borders.
Step 4 – sandwich the three layers after cutting backing and batting – I was able to use up so many small pieces of batting that I sewed together with a zigzag stitch.
Step 5 – quilt with simple straight line quilting to echo the seam lines and stitch in the ditch on the white.
Step 6 – bind and add hanging sleeves.
Step 7 – photograph.
Step 8 – put in the post to Saskatchewan.
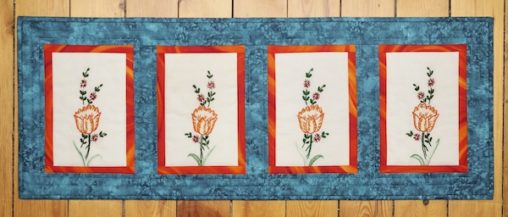
It was an excellent way to keep the embroidery and to disperse it to family members as a remembrance of their mother or grandmother. Eva was not my biological grandmother but I did call her Grandma and I have this one below that I had made for her using my favourite complementary colour scheme of orange and teal.
These are just a few of the pieces I made. I ended up making 26 in total and using up 15 metres of fabric at least – definitely a good way to blast the stash.
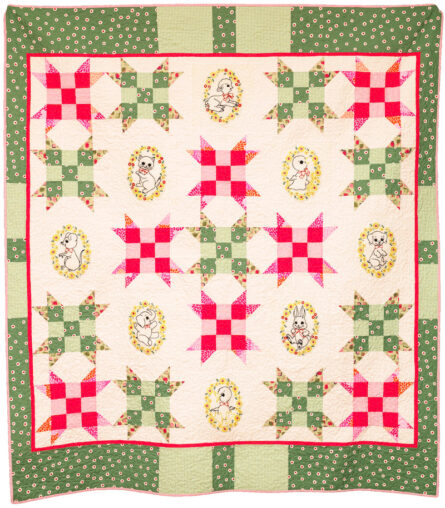
Many years ago I created a memory quilt for someone with embroidery pieces. They had also provided the fabrics to go with it and so I made this symmetrical piece highlighting the embroidery. I think it turned out great.
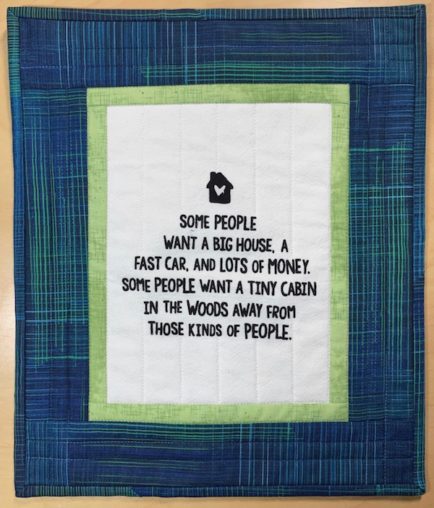
A friend recently gave us a tea towel and I knew I wasn’t going to use it as a tea towel so I decided to turn it into a wall hanging. She gave it to us because we have a cottage on an island in the woods and thought the saying was perfect.
Hopefully this post has given you some ideas of how to reuse/repurpose some of those old linens that your mother and grandmother handed down and you just can’t part with but they sit in a drawer so why not create a wall hanging or pillow and enjoy their memories everyday.
Until next time,
Happy Quilting

Love using hankies and embroidered bits in quilts!