Hey Everyone, welcome back to Technique Tuesday.
Leading are narrow strips of fabric used in some quilt as you go methods to link the blocks or rows together.
The top leading strips are usually sewn on by machine but occasionally may need one edge sewn down by hand while the bottom letting piece always has one edge sewn on by machine and one on by hand.
There are many ways to add leading. Here is one method. The leading strips are pink.
The Front Leading Strip
For the top leading strip I cut the strips 1 ⅛″ in width times the length needed. For this little project I cut a piece 1 ⅛″ x 5″. The blocks I am using were made with the quilt as you go technique called stitch and flip and are about 5 ″ square.
Use a ¼″ seam unless otherwise stated.
Step 1
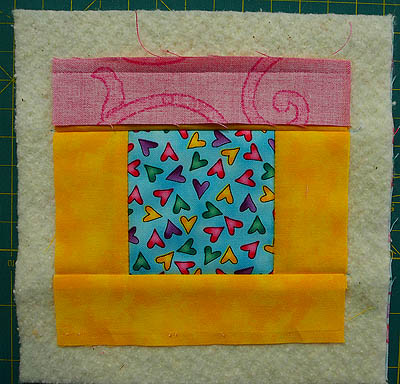
Place the leading strip on one side of the block right sides together and raw edges lined up.
Step 2
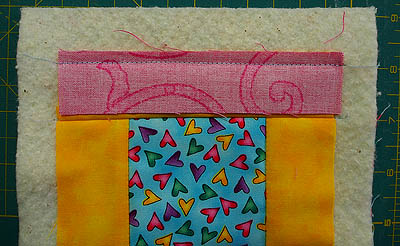
Sew the leading strip to the block through all 3 layers.
Step 3
Press the seam towards the leading strip.
Step 4
Trim off the extra batting and backing to edge of leading strip.
Step 5
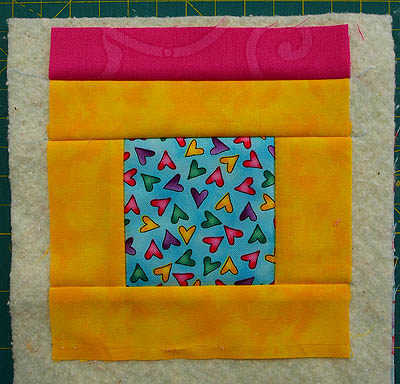
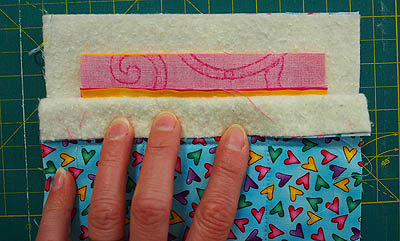
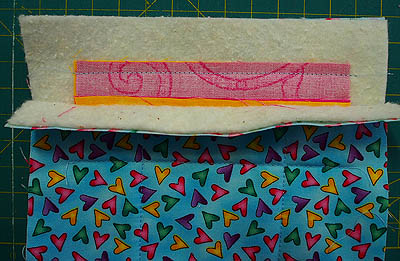
Place the leading strip on top of the second block matching raw edges of the yellow fabric. Pulling back the batting and backing will help you to see.
Step 6
Sew the leading strip to the second block through all 3 layers.
Step 7
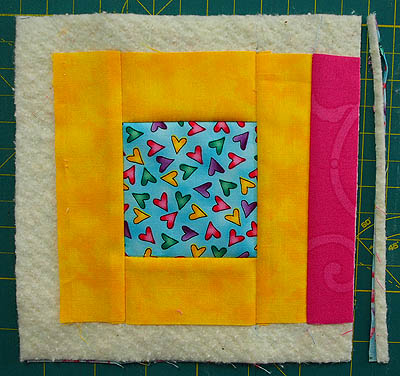
Press the seam towards the leading. At this point there is bulk of batting and backing behind the leading strip which will be trimmed when the back letting piece is added.
This piece is approximately 5″ x 10″.
The top leading piece is now in place and the project is now ready to be turned over to add the bottom leading which I will demonstrate how to do next week on Technique Tuesday.
Happy Quilting!




I don’t know if it was the color of the blocks, and the fact that everything was almost the same color and the blocks were not different from the strip, but I was thoroughly confused. I really would like to know how to do this but I did not get it.
Daynora thank you for your comment. I have updated the pictures and they are much clearer now as well as fixed the error in the process. I hope this is now more concise and understandable.
OK, now I can see what you are saying and it makes so much more sense. I cannot wait until next week to see how to do the next part. Thanks for the great tutorial!
Excellent Daynora. You are very welcome.