

Hey Everyone, welcome back to Technique Tuesday.
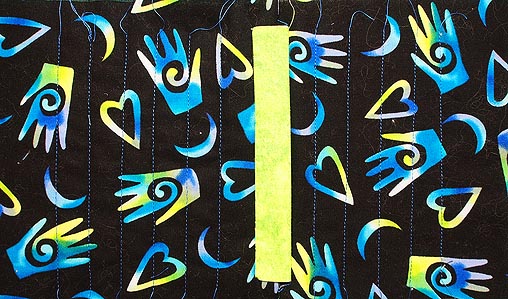
Last week I discussed how to attach leading strips to the top side of quilt as you go blocks. These blocks that I made were specifically done with the stitch & flip method of quilt as you go. I have been having lots of fun with this method of quilt as you go and made a piece called Merging Traffic.
I will be doing a presentation on this method and technique at CreativFestival Friday and Saturday, april 25 & 26 at the International Centre. Make sure to drop by and check it out.
Okay back to the task at hand – adding the leading strips to the back of the blocks or row.
The Back Leading Strip
To begin I cut a 2″ x 5 ¼″ strip or the length needed then folded it in half with wrong sides together and pressed flat.
All seams are sewn at a ¼″.
Step 1
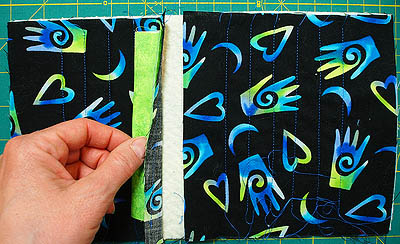
Trim the two pieces of batting so that they meet in the centre.
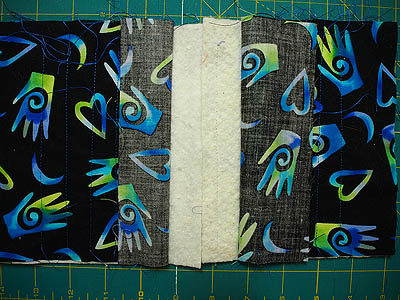
Batting trimmed and meeting
Step 2
Whip stitch them together using a loser whip stitch as you do not want the pieces to bunch up and cause a ridge. I used a contrasting coloured thread so you could see.
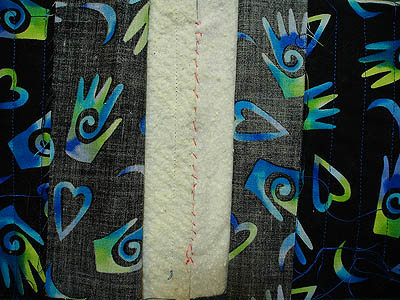
Batting whip stitched together
Step 3
Trim the left hand piece of backing so that it sits a ¼″ to the left of the whip stitching.
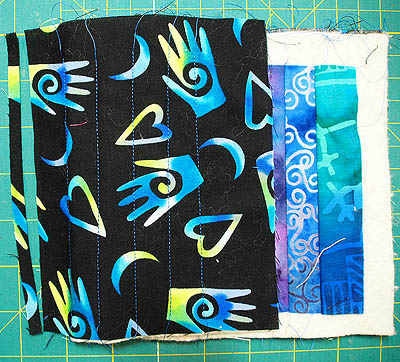
Backing trimmed
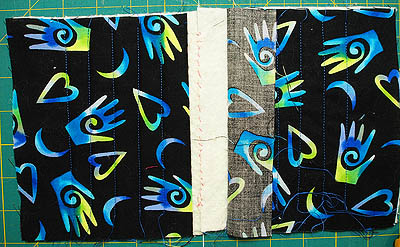
Backing a ¼″ to the left from centre
Step 4
Place the leading strip along the edge of the left side backing piece with raw edges together. It is easier to fold the other block under so that the edge of the backing is over hanging as this piece is only sewn to the backing.
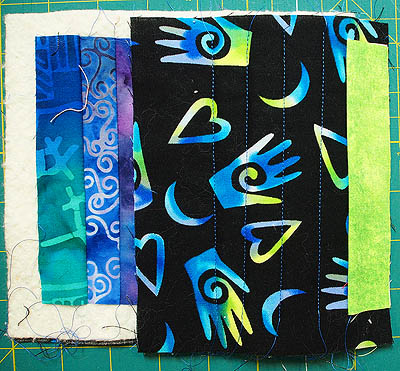
Leading strip lined up with edge of backing
Step 5
Sew in place to the backing fabric only.
Leading strip sewn in place
Step 6
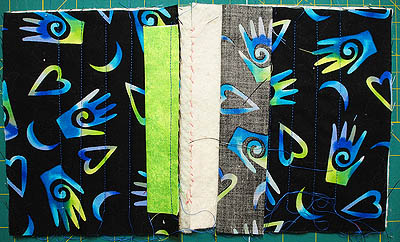
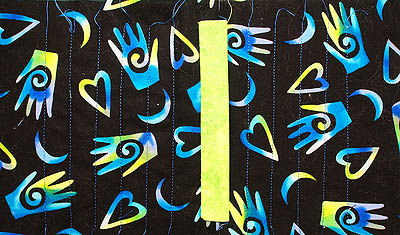
Press leading strip over towards whip stitching.
Press leading strip towards centre.
Step 7
Trim the other backing piece if needed – it should cover the whip stitching by a ¼″ and meet up with the edge of the other backing piece.
Backing covering the whip stitching
Step 8
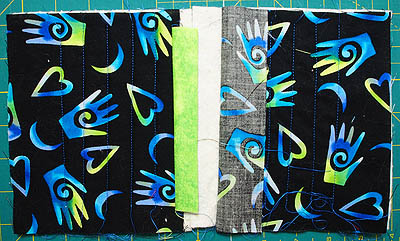
Pin the leading strip down so it is covering all raw edges.
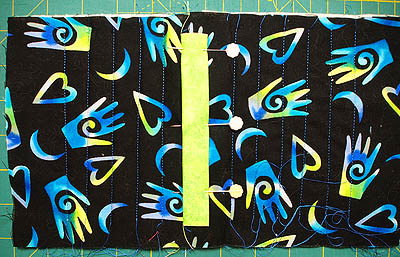
Leading strip pinned in place
Step 9
Hand sew in place with matching thread using a blind hem stitch.
Hand sew leading in place
Now the piece is ready to add on more block/rows or trim and bind as is.
Happy Quilting!


Just wondering what is LETTING.. never heard the term before… but I have seen similar technique… but I think it was called sashing by the demonstrator. THANKS for the explanation.
Nonnie, letting is a type of sashing used to hold quilt as you go blocks together – usually it is quite narrow. When I took my first quilt as you go class this is what it was called. The piece can be called either sashing or letting. Jen
Actually its correct spelling is ‘leading’ pronounced ledding. It refers to the space in between two pieces. It comes from where spaces between glass are filled by a ‘lead’ line and also like in print–the space between lines.
Thank you Meme for correcting me with the correct word and spelling as well as the origin of the word. This makes perfect sense.