Hey Everyone, welcome back to Technique Tuesday on Thursday.
In the last couple of weeks I have been madly getting ready for CreativFest with set up day only a week away there are still many things to be done. Will I get it all done – I sure hope so but if not the booth (#500) will still look good as I have several new quilts to hang.
And that brings me to the focus of this post – hanging sleeves – in particular adding a pleat to them so that they hang nicely and smoothly off a round bar on a quilt stand. I usually hang my quilts with flat metal bars on the wall and so I rarely add a pleat to the hanging sleeve as it isn’t needed. Michael has a set up to accommodate the metal bars on the quilt stand and hence no pleat needed.
The new quilts I have for the show are all larger than the metal bars that we own so I needed to add a pleat. I have always stressed over adding a pleat thinking that I need a masters in physics to be able to do so. The other day a huge light bulb went on in my head and I mean huge about how easy it really is to add a pleat with no extra ironing and no extra folding. Quantum physics became simple physics in a matter of seconds.
I am sure there are a few of you out there laughing at me but that’s okay as I’m sure I am not the only one who has struggled with this concept.
Make the hanging sleeve just as you would any hanging sleeve. I used an 8 ½″ width of fabric and ironed it in half with wrong sides together.
Then I attached it to the quilt back with a ⅛″ seam. I sew my binding on first then do the sleeves – not sure if there is a proper order to do this but it works for me.
Now for the easy part.
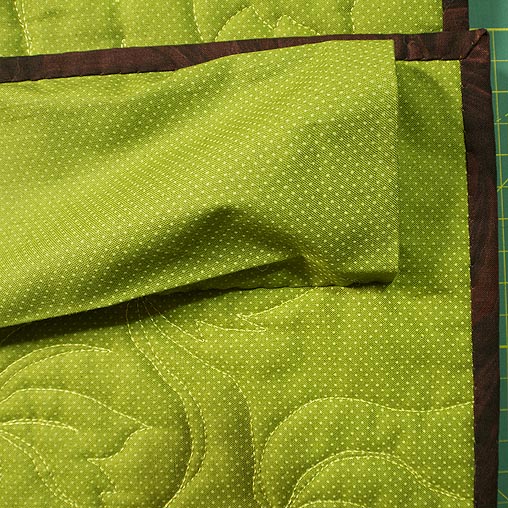
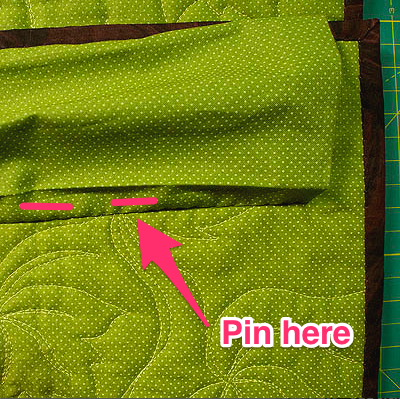
Lift the folded edge up and with some give in the sleeve pin it to the quilt about a half inch from the new bottom of the sleeve.
Hand sew the edge in place.
The sleeve will now lay flat over the sewn edge creating a sleeve with slack for a round rod. Before the lightbulb went off, I use to iron in a pleat and it always showed on the back of the quilt and I didn’t like how it looked. This new to me method, not so new to others I am sure, doesn’t show and I love it.
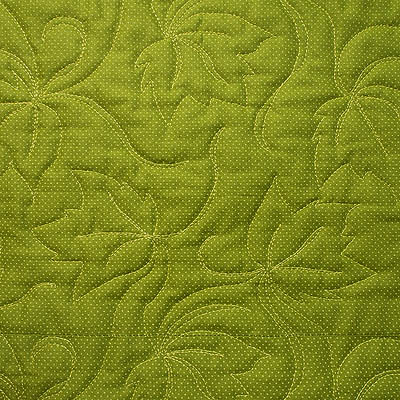
And here’s a close up of the quilting on the back – maple leaves – perfect for this autumn season in sugarbush maple country. I’ll show you the front in another post, later.
That was so easy – now my sleeves will all have pleats.
Happy Quilting!


Love that idea. I will definitely try it on my next quilt for our Quilt Show.
This is brilliant and the easiest method I’ve seen by far! My daughter wants to hang their quilt using a birch branch, so this will help immensely! Thank you for sharing!
Thanks Rebecca. I struggled for a long time and then one day it just clicked on how to do it so thought I would share it with everyone else. Happy Quilting Jen