Hey Everyone, welcome back to Technique Tuesday on Friday.
Yep, I am a little out of whack with the days this week but hey it really doesn’t matter because it is summer. Summer is a time to relax, enjoy the outdoors and not work too hard. Right?
Well, the real reason that I am not quite in line with the days of the week is because I have been working on my QUILTsocial posts for next week. You will have to tune in because I have a very exciting project that you are just going to want to see. That’s next week and I’ll give you a little reminder a little closer to the time.
So, curved piecing, easier than it looks you say. Yes, I would have to agree with that statement. I wouldn’t have believed that statement at one time but I took a class with Judy Farrow when I was living in Yellowknife and then I was a believer. Unfortunately, Judy doesn’t have a website so I am unable to share her work with you.
The Key
The key is to have nice gentle curves or waves to sew together, nothing exaggerated and no big mountains or deep valleys. Just nice rolling hills will work the best.
Cutting the Curves
I am working with 2 fabrics for this demonstration – a light and dark to get good contrast.
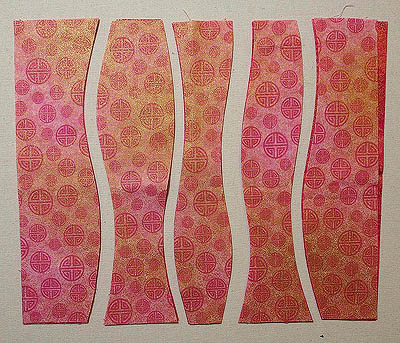
Place the two pieces of fabric on top of one another on the cutting board then using the rotary cutter make nice gentle curves from the bottom to the top of the fabric pieces.
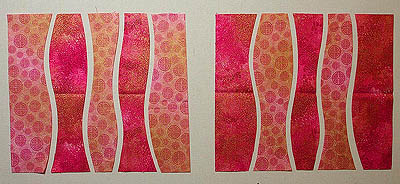
Once the pieces are cut then separate out the pieces to make two layouts of alternating colours.
Sewing the Curves
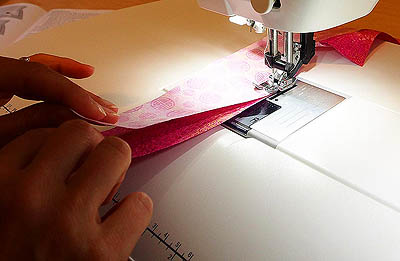
Place the first two pieces together matching the corners and place under the sewing machine foot. I use a quarter inch foot to sew the pieces together but some machines do have a curved piecing foot available. I have no idea how well they do or do not work as I have never used one.
Has anyone tried one? I would love to hear what you think.
Make sure your needle is in the needle down position because you will be stopping a fair bit while sewing the pieces together.
Hold the ends of the 2 pieces up off the machine bed. This allows for better control of the pieces under the foot and to maintain a ¼″ seam allowance as they are sewn together.
Just keep on sewing until you come to the end. Then sew the next piece on. The pieces do not always end up all the same length and that’s okay because it will need to be squared up before using.
Pressing the Seams
This is the one time that I do use steam when I am pressing. It helps to make sure that the block lies nice and flat. If the block distorts slightly with the steam that is okay as I always make the blocks larger than I need and trim them down or square them off before piecing with something else.
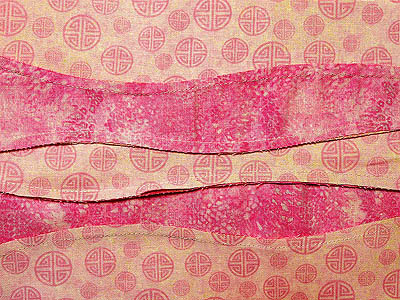
Here is what the back of the block looks like with the two seams facing each other. The seams are so nice and flat and no clipping of peaks or valleys was required to achieve this.
The Curved Block
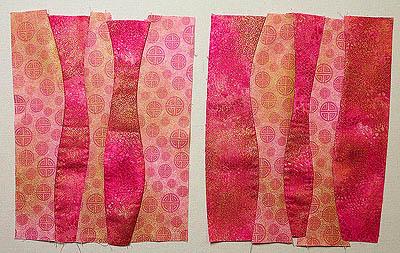
Two blocks created from the two pieces of fabric. Each with alternating colours of fabric.
Really it is pretty easy and not nearly as hard as you thought.
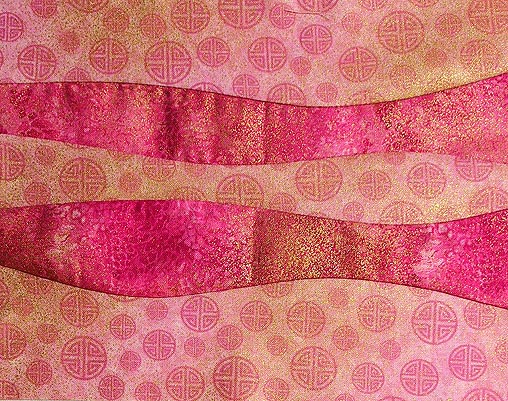
I used this same technique for my April Stitch Along Piece.
Go ahead and give it a try. You’ll be a believer too.
Happy Quilting!





I’m going to give this a try. I too have been intimidated by curves!
Thanks!
That’s great Jane. You will have lots of fun with them.
how do these classes work on line??! im totally new in that area! I love your work!!” i love those curves i can’t wait to start playing with curves”! i loved how u showed yours all in different shades of pinks!!!!
Hi Carrie, these are just on line tutorials through my blog not classes. Sorry.