Hey Everyone, welcome back to Technique Tuesday. This week I figured I should start back at the beginning and teach everyone how to square up the fabric they just brought home from the quilt shop.
Squaring off your fabric is a critical first step in any quilting project as this ensure all your pieces have the best chance of being square and, ultimately, that your points and corners match up.
[Side note: If you prewash your fabric then go ahead and do this before squaring up – I do not prewash anything.]
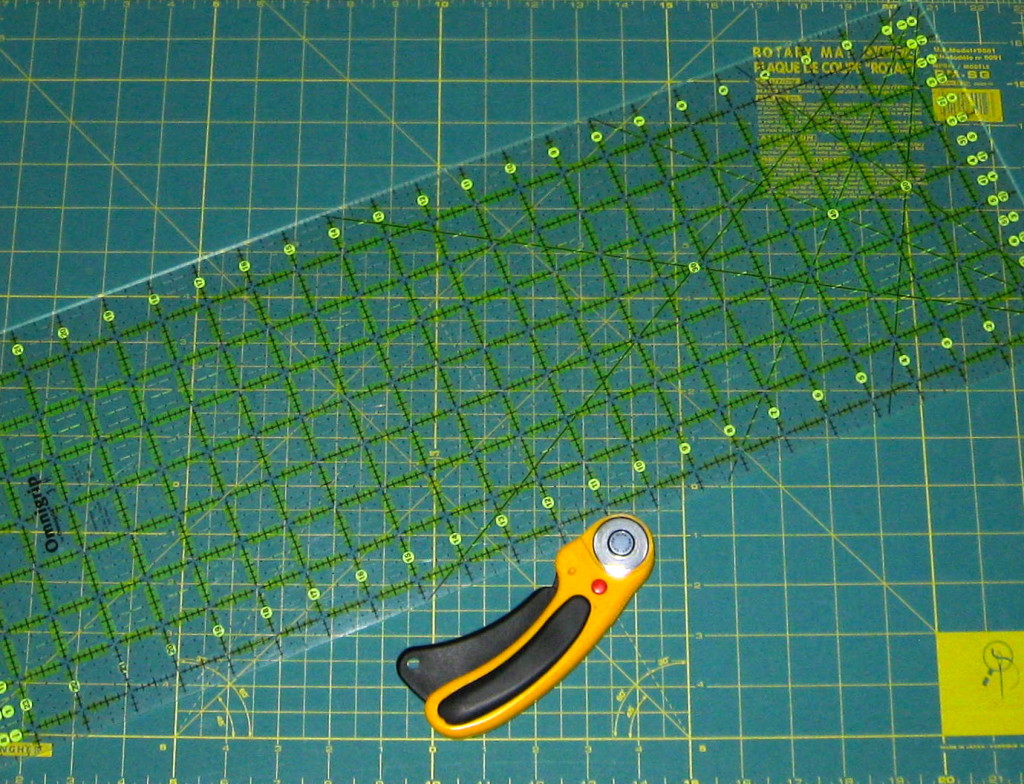
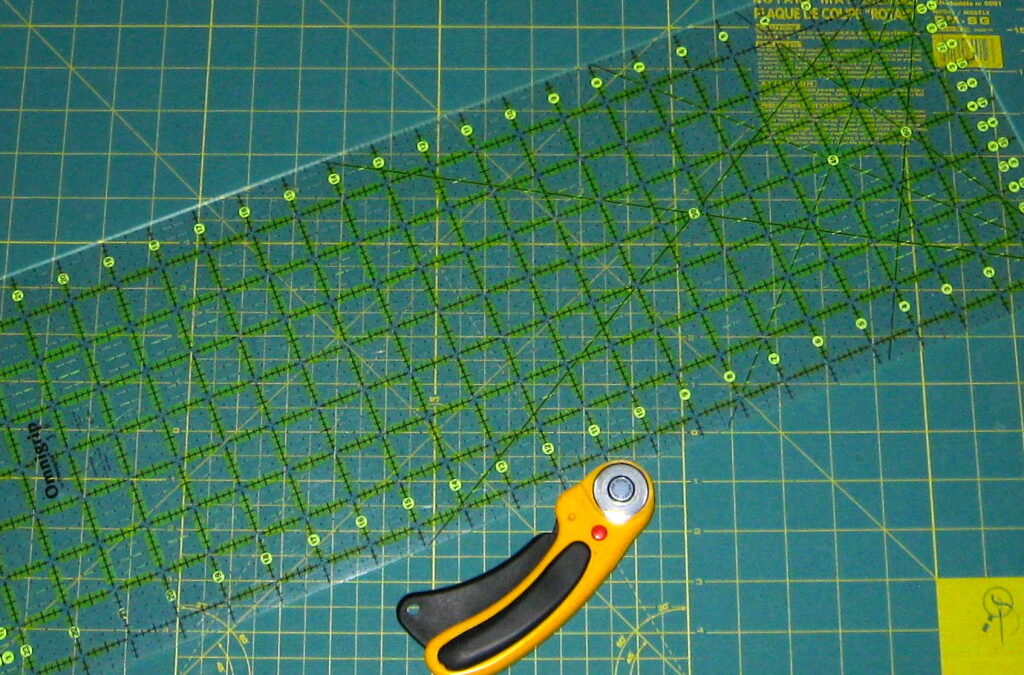
Gather up the equipment needed for cutting:
- self-healing cutting mat – 18″ x 24″ is a good size to handle the WOF
- rotary cutter – comes in many sizes – most common is the 45mm blade
- ruler – my favourite is the 8½″ x 24″ but a 6½″ x 24″ will work just fine
Iron the fabric
- First things first you need to press all of your fabric so that it is nice and flat and mostly wrinkle free.
- You can use a steam iron to do this as it works much better to get those wrinkles out than a dry iron.
- If you have some really stubborn wrinkles then I suggest giving Mary Ellen’s Best Press a try.
- Make sure to keep the fold in as you will need that line for squaring up the fabric.
Square up the fabric
It is important to always square up the fabric on one end or the other to ensure that the strips you cut are all square and uniform. There are a couple of ways to do this and I will discuss both. Try each one and see which way you prefer.
To make sure that the ruler does not slip when cutting press down firmly on the ruler as you cut, cut only part way, leave the cutter in place and walk your fingers up the ruler a few inches, stop and press down firmly again and continue cutting.
Note: left handed people may need to do this all the opposite depending how dextarious they are.
Method 1
Place the pressed piece of fabric on the cutting mat with the selvage side near the bottom of the mat closest to you.
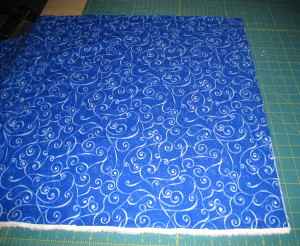
Place fabric on cutting mat.
Place your ruler on the right hand edge of the fabric. All of the excess fabric will be going off to your left.
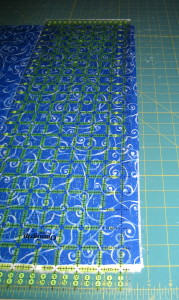
Place ruler at right hand side of fabric.
To square off – line up a horizontal line on your ruler with the top fold of your fabric.
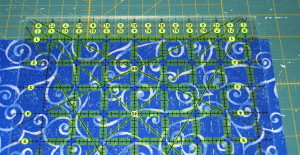
Line up a horizontal line on the ruler with the fabric fold line.
The selvage edge of fabric should also be mostly straight with a line at the bottom of your ruler, but don’t always rely on it to be straight as more times than not it is has a gentle wave in it.
There should be excess fabric coming out from the right side of the ruler. Trim off this excess and discard. Depending on how the fabric was cut at the shop sometimes a fair bit has to be discarded when squaring off the fabric.
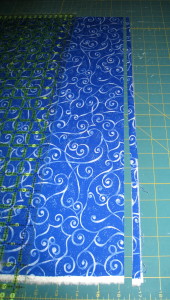
Trim off excess.
The fabric is now square.
Method 2
Place the pressed piece of fabric on the cutting mat with the selvage side near the bottom of the mat closest to you.
Place your ruler on the left hand edge of the fabric at a ¼″ – ½″ more than the width of the strip you wish to cut. For example: the strip is to be 3½″ side then line up the 3 ¾″ line of the ruler on the edge of the fabric. All of the excess fabric will be going off to your right.
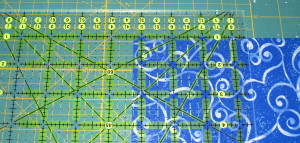
Place ruler a ¼″ – ½″ from edge more than strip being cut.
The top fold of the fabric should also be lined up with a horizontal line on the ruler as you did in method 1.
Once happy that everything is square then cut the strip.
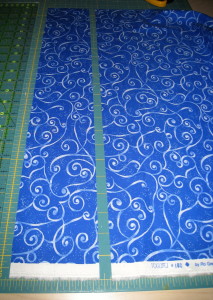
First cut .
Flip the strip over so the straight edge just cut is at the left edge of the mat. Place the ruler on the fabric with the 3 ½″ line on the straight edge just cut.
Make sure the ruler is square with the top fold line as well.
Trim off the excess piece of fabric that extends out the right side of the ruler.
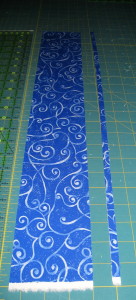
Trim off excess fabric.
With this method of squaring off your first strip is cut for you.
Happy Quilting!




Great post Jen, every beginner needs to know this information. I always say, by learning the correct ways early, one has less problems later on.