Hey Everyone, welcome back to Technique Tuesday and Stash Blasting Wednesday together.
I survived the Creativfestival weekend so it is now back to business as usual. Although I do have to start thinking about getting ready for the fall show which is October 24-26 because it will be here before I know it.
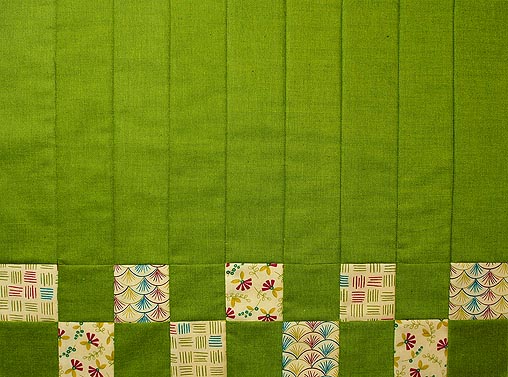
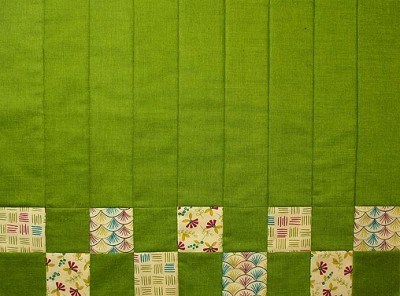
At this past show I did a presentation on Stitch & Flip: Design As You Go which was very popular and well subscribed. I demonstrated the technique with a very simple placemat.
Gathering the Pieces
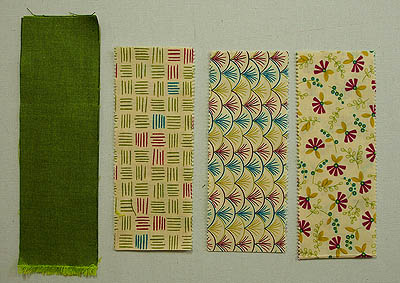
For this piece I used 3 – 2 ½″ strips from a jelly roll (to be called print in the instructions) and then added in a solid colour (to be called green in the instructions) which coordinated with the jelly roll fabric.
For each placemat I used 9 – 2 ½″ squares from the jelly roll strips and 9 – 2 ½″ squares from the solid colour. Note: 3 WOF strips will yield enough for 4 placemats 13 ½″ x 18″ in size.
From the solid colour also cut 9 – 2 ½″ x 9 ½″ strips.
A piece of fabric for the back cut at 14 ½″ x 20 ½″.
A piece of low loft batting such as cotton cut at 14 ½″ x 20 ½″.
Making the Strips
All the strips are made first with ¼″ seams.
Step 1
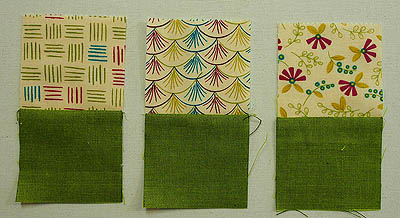
Sew a green 2 ½″ square to a print 2 ½″ square. Make 9 pairs for one placemat. Press the seams towards the green with an iron or a finger presser from Clover.
Step 2
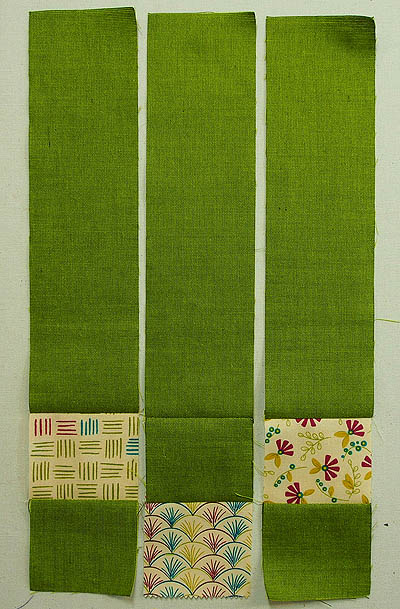
Sew a green 2 ½″ x 9 ½″ strip to the units made in step 1. Alternate sewing them to a print and green piece. Press the seams towards the green.
Making the Placemat
All seams are a ¼″. When sewing strips to the background I sew one strip in one direction and the next one in the opposite. This helps to maintain the squareness of the piece and to eliminate puckering or waves on the back.
Step 1
Layer the batting on top of the backing. You may wish to spray baste. I do not baste at all and do not find that this small of a piece shifts.
Step 2
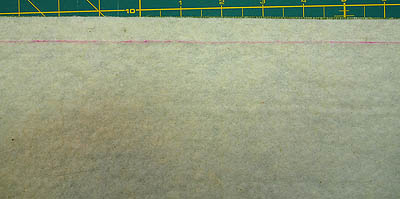
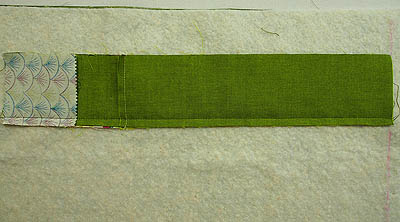
Draw a line a ½″ from the top of the piece with a fabric marker. I use the Trace ‘n Mark Air Erase Pen from Clover. This line will allow you to keep everything lined up straight.
Step 3
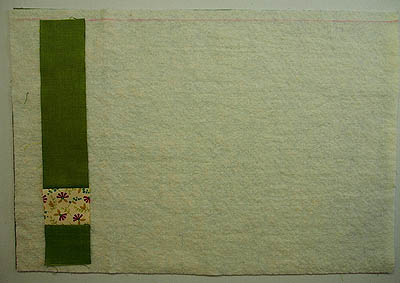
Place the first strip right side up on the left hand side of the batting about an inch from the edge and lined up on the marked line at the top of the batting.
Step 4
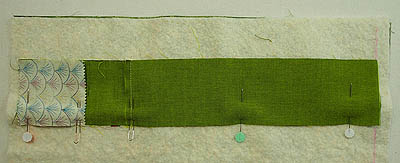
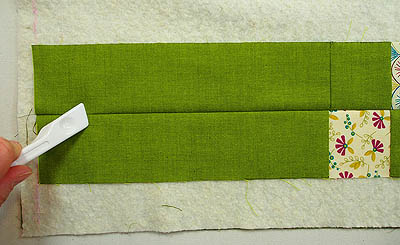
Place the second piece on top of the first strip with right sides together. Pin if you wish. I use my forked pins to pin the seams together to ensure precise matching.
Step 5
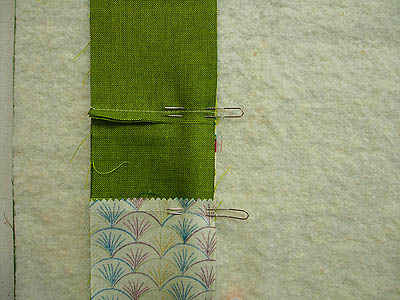
Sew the strips together – use a walking foot or dual feed foot for this as you are sewing through 3 layers.
Step 6
Press the seam towards the piece just added.
Step 7
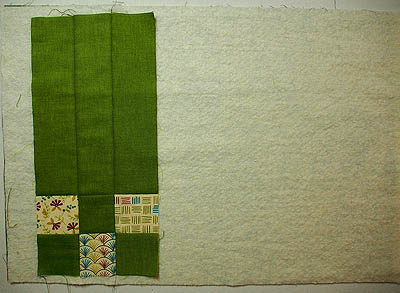
Add another strip to the piece just sewn in place. Use the same method as step 5.
Step 8
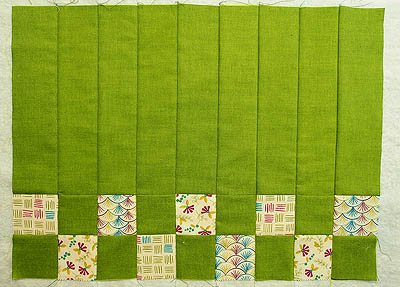
Continue sewing strips in place until all 9 have been attached.
Step 9
Trim excess batting and backing and bind with your favourite method.
This method of quilting lends itself to quick and easy projects that are quilted when the last piece is sewn in place. Extra quilting and embellishing can be added.
To mix things up the print squares could have been placed in the centre of the placemat rather than at the edge or scattered throughout.
Anything goes, so have fun.
Happy Quilting!





I’m going to share this with my Facebook group. I love stuff like this. And I NEED these too. Been wanting to make some for ages. Thanks for sharing.
Jen, I use a no-shift batting for projects like this. When you press the fabric to it, it forms a temporary baste that helps make a really smooth project. You have to use high heat and high steam to form that baste. It’s only 18″ wide to start with so it’s super easy to use for those smaller projects. It’s also my favorite for quilting-as-I-go projects. It used to be Betty Cotton batting, now it’s called “No-shift” batting. You can order it from Nancy’s Notions here in Wisconsin:). Love the project. Fun way to use some leftover pieces!
Thanks Maria – I will have to look into this batting for future projects.
Loved the quilt as you go placemats. I’m definitely going to give them a go as I need some new ones. I’m presently in the midst of making the Oh Canada quilt for my 17yr. old Grandson. I took the pattern and fabric to Ottawa last weekend and he really liked it.
Excellent Betty.