Hey Everyone, welcome back to Technique Tuesday.
I finally added a border to my dahlia quilt. Not quilted yet though – just the border added. I often have to ponder the border options for sometime after I make the quilt centre – these things often take time to form a plan in my head. This border was no exception.
I had limited background fabric with which to work so I had to make something simple so I would not run out of fabric half way through – nothing worse than not having enough fabric.
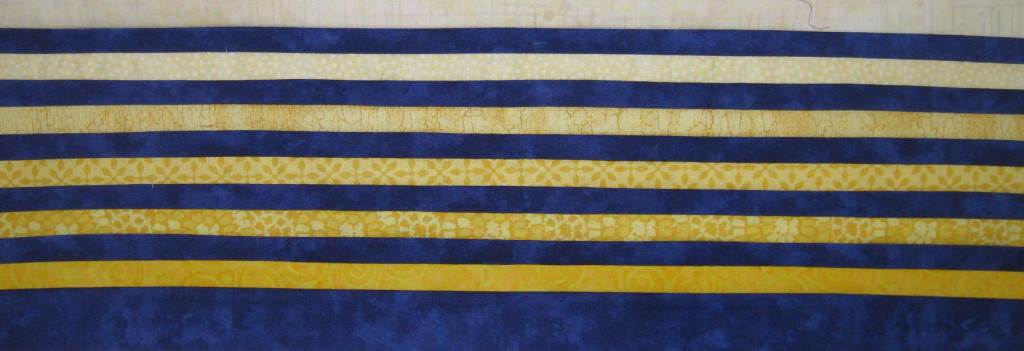
I wanted to keep within the theme of a colour run and thought why not just make a border with straight lines. Seeing how the fabric was limited and I wanted a piece of blue between each yellow strip then I had to make the strips narrow. Narrow strips are not always the easiest to sew in a straight line.
I ended up using only 6 of the 7 yellow fabrics – left the darkest yellow out as I figured I would bind it with that one. The strips were all cut at 1″ x WOF except for the last blue one which was cut at 1 ½″ x WOF. I cut all of the strips in half seeing how I knew that I would require half a WOF for each border.
Sewing the strips together was a slow process as there were many. In order to keep the strips straight it is a good plan to sew one set of strips together in one direction and the next set together in the opposite direction. This will help to prevent any warping of the strips and keep everything straight. Pin if you need to to keep everything in line. Sure beats reverse sewing if anything goes askew.
Another tip in keeping strips straight is to use a finger press to press the seams rather than an iron to press the seams. The heat of the iron will often cause the seam to be crooked. The finger press on the other hand does not seem to cause any distortion. When using an iron make sure to press from the middle out to one end and then out to the other end of the strip.
Lastly with these narrow strips I line the left hand edge of my ¼″ foot with the edge of the seam allowance on the previous strip. Works quite well to keep everything in line.
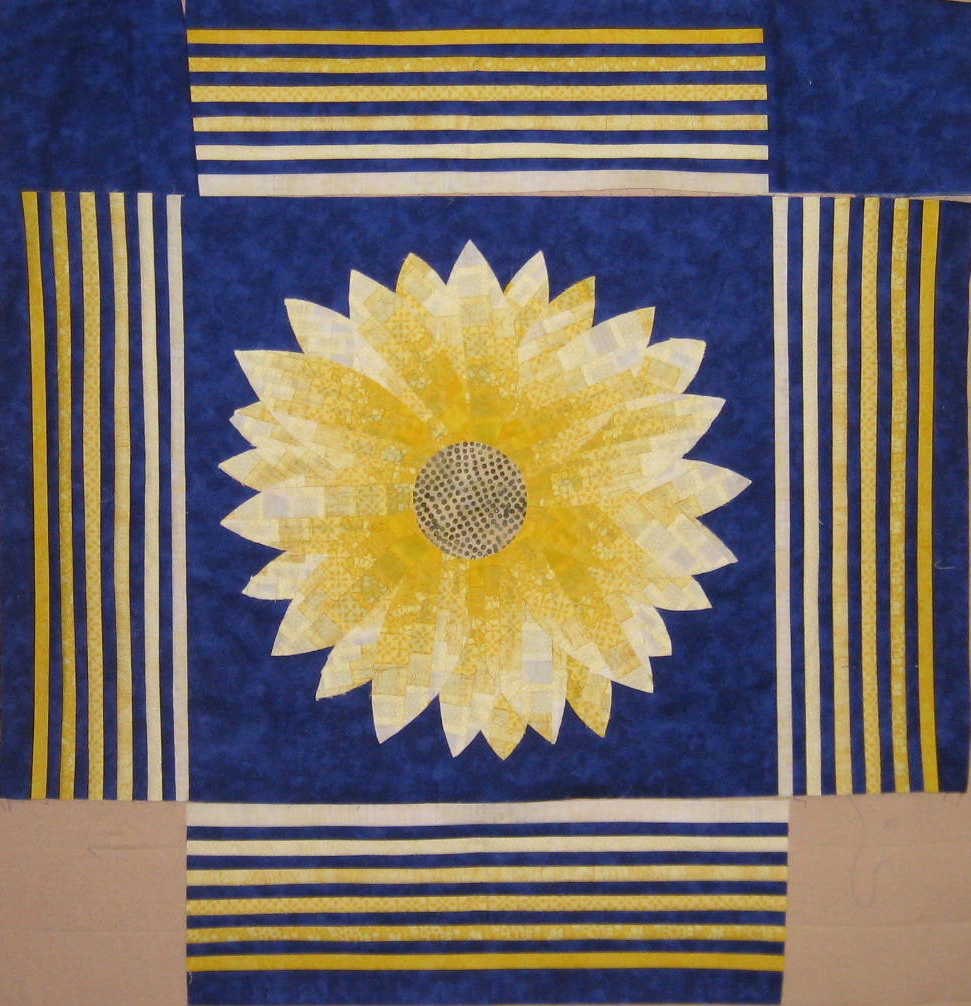
With all four borders made, I put them up on the design wall around my dahlia with some background fabric as cornerstones and thought “Oh my! That is far too much border on this quilt. Now what?”
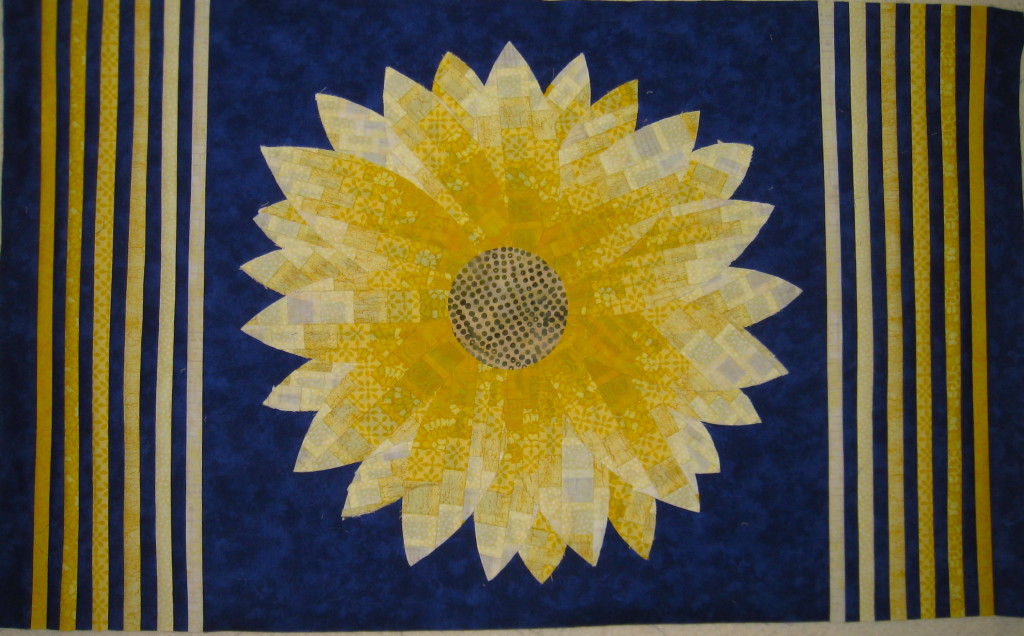
I took two borders away and was very pleased with the effect.
Borders do not necessarily have to go all the way around a piece to look good. Once again what I had in mind when I started out changed along the way. What will I do with the extra borders? – no idea but I am sure I will find something for them someday.
I am looking at the picture with the four borders in place and thinking that I might like them now. I certainly like how the light fabric frames the flower. Small flowers in the cornerstones might be what it needs as I do have some bargello run left over. Just a thought. I’ll sleep on it and see what I think tomorrow.
Happy Quilting!


Great post, Jen. I like your choice of two borders only.
Looks great Jen. Still procrastinating about doing the checherboard board all the way around on mine, for the same reason. I am thinking in the corners edges only, but how is this achieved, by putting background fabric in, so it blends?? Or are you able to insert them?? Thanks Susan
HI Jen, I also like the 4 sides but I would suggest auditioning with the corner blocks–the colours on a diagonal pattern rather than blue on top and beige on bottom ie going around would be blue, beige, blue, beige.
Thanks Nancy. The beige corners are actually my design wall showing through. 🙂
Jen, I have another idea you might ponder on. How about the two striped borders as you have and then two plan background borders on the other sides with petals fluttering long them rather than whole flowers? Just a thought.
I like it better with the side borders only. All four detracts from the flower where the two focus your vision on it.