Hey Everyone, welcome back to Technique Tuesday.
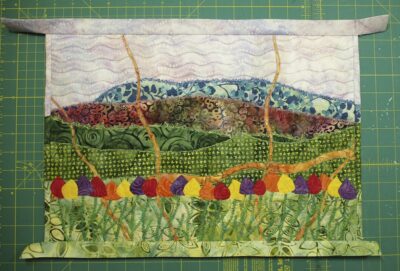
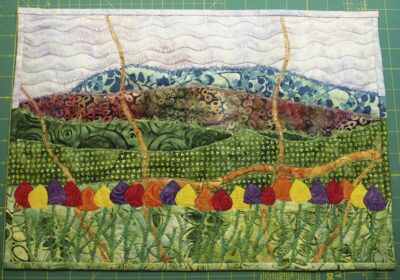
On Sunday I finished my September Stitch Along Sunday landscape quilt and used a pieced binding to finish it off. Today as promised here are the directions on how to make this pieced binding.
My landscape piece had layers of fabric to create the landscape and I wanted to carry them over into the binding. To do this a pieced binding has to be made and each side has to be made separately and put onto the quilt one at a time.
The horizontal sides of the quilt are easy and require only one piece of fabric for the binding – the sky on top and the grass on the bottom. I did cut each piece a couple of inches longer than needed as extra is needed to fold under to the back and finish the edge.
Note: the width of my binding is 2 ¼″.
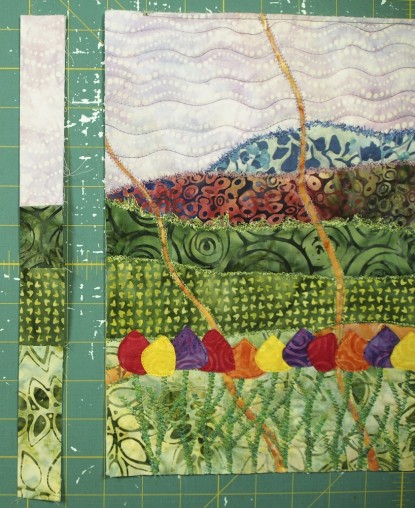
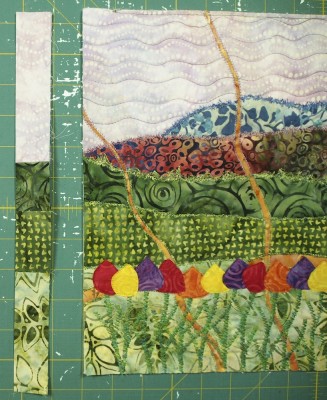
The sides are a bit more time consuming and fiddly but well worth the time spent for the final result. First of all measure each coloured section at the edge of the quilt. The bottom green grass section was 4 inches so I cut he piece 4 ½″ in length. I did this for each section on each side of the quilt making sure to add on a ½″ to each piece for the seam allowance.
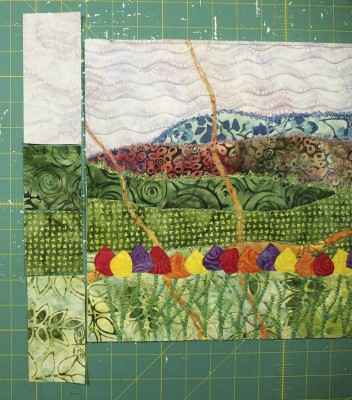
Lay out pieces along the side so they are in the correct position.
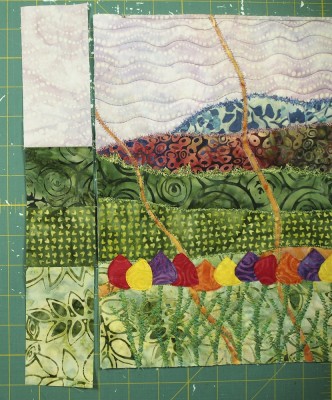
Sew pieces together. Normally I sew my binding pieces together on the bias but with this type of binding it is easier to sew them together square on so everything matches up when attached to the quilt.
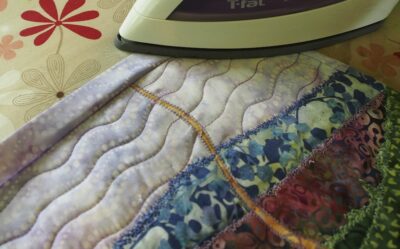
Press the seams open to reduce bulk.
Press the binding in half.
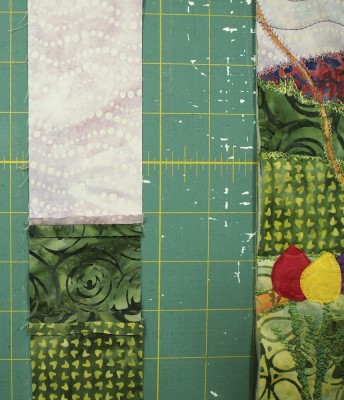
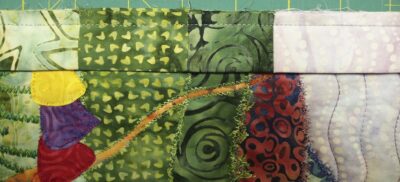
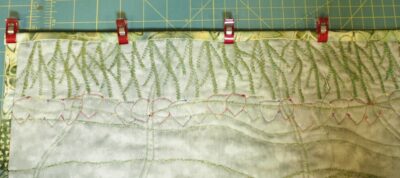
Place on the top of the quilt making sure everything is lined up and sew with a ¼″ seam to the front of the quilt. (Click on image for larger view.)
Press and fold over to the back of the quilt and trim off any overhanging fabric.
The edges of the binding are flush with the top and bottom of the quilt. Hand stitch in place.
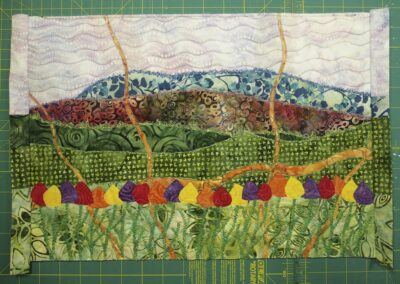
Attach the top and bottom binding strips the same as above. There will approximately an inch hanging over each end.
Press and fold over to the back.
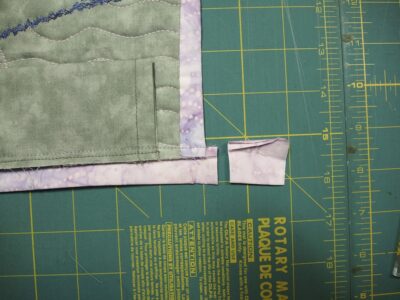
Trim off the overhang to a ½″.
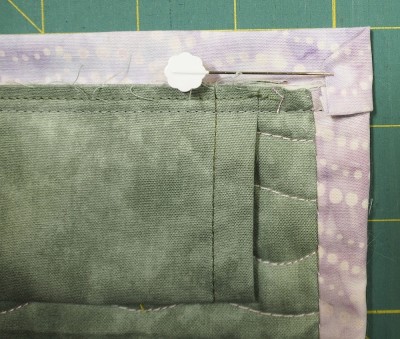
Fold under the binding and mitre the top corner on the back of the quilt. This will allow it to sit nicely under the binding and make a square corner on the front. You may wish to pin these corners in place. Repeat for the other 3 corners.
Using the little red Wonder Clips secure the binding and hand sew in place.
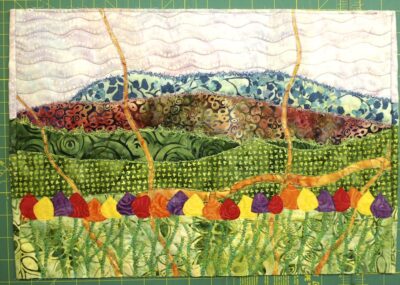
Notice that the corners on this type of binding are square to the quilt on the front creating a different look.
I love the look of the pieced binding and how it just finishes off this little art quilt.
Happy Quilting!





Thanks for passing this neat info on to us, Jen. I did that on a piece as well, but I only had three different colors to deal with. Mary
COOL!
I have used different fabrics in the binding of a quilt (not a landscape one) by attaching short pieces of fabrics from the colors in the quilt. It gives an interesting finish. I joined the pieces by mitering them.
Thanks for giving me the confidence to try matching my binding to my quilt blocks!
Have you used a faced binding for art quilts? My friend Terry Aske has perfected the method for her art quilts.
Your welcome Holly. Yes, I face most of my art quilts and there is a tutorial on the blog about it. here is the link http://quiltsbyjen.ca/how-to-finish-a-quilt-with-facing/
Jen, thank you so much for the information on multiple pieced binding fabric. I only had two colors to match, but still needed the help. I still am having trouble with the miter at the end, as to how you are folding the final half inch overhang. Thanks again.
Thanks again
Karen, you are most welcome. The mitre on the overhang at the edge I just fiddle with until I am happy with the look – it is very fiddly and fussy. I haven’t figured out an easy way to finish the edges yet but when I do I will post it.
Hi Jen, This is my first time to visit this page and I want to say that your landscape wall hanging is very very pretty! I stopped here because I made a quilt using HST of 4 different colors in a radiating out from the center to the edges. I wanted to use those fabrics to create my binding to bring it all together.
I understand your concept on what you did but I don’t want square corners. I like the mitered look. So, I’m not sure just how to achieves this with cutting lengths with the strips of fabric. Would it be possible to do this by “fussy” cutting the lengths and just fiddling around with that method to “place” them in place before I actually sew the binding to the quilt? I’ve never made a pieced binding before and I am an accomplished quilter but definitely not an “expert” quilter. Just wondering if you can give me any ideas or tips if and how this could be done. Thank you for reading this and whether you can help me or not, thanks for what you posted. 🙂 Dee
Thanks for commenting Dee. I sent you an email about this.