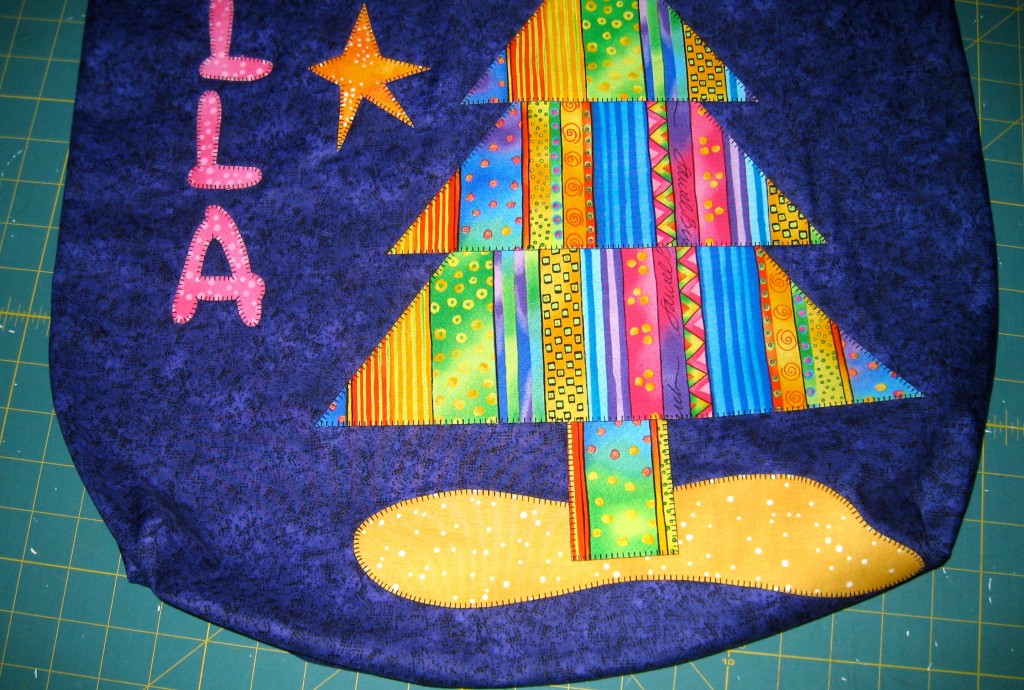
Hey Everyone, welcome back to Technique Tuesday. Seeing how I am into full blown Santa Sac production I figured this week’s Technique should be something related to the sacs. This week I am going to show you how to make a gusset for the sac bottom, also known as a box bottom.
To start place the 2 pieces of the sac right sides together.
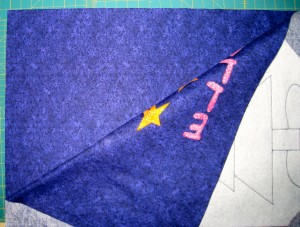
Place pieces right sides together.
I always pin the pieces together along the sides and bottom so that they don’t slip when they are being sewn together.
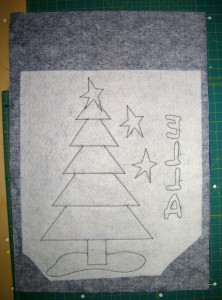
Pin pieces together on sides and bottom.
Sew around 3 sides of the sac leaving the top open. Make sure to backstitch at the top of the bag where you begin and end so the stitching doesn’t come out. I use a ⅜ inch seam for the sacs as that will make them just a bit stronger for all those goodies that Santa is going to fill it with on Christmas Eve.
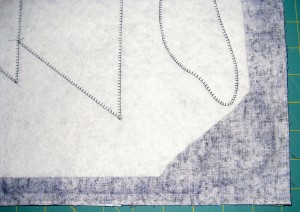
Use a ⅜″ seam.
Once the sac is sewn together, pull the sides of the bag apart so that the bottom and side seams come together. Arrange the bag so that your corners are right-angles with the seams spliting the corner in half.
Pin the seams together.
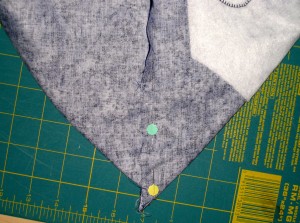
Bring side seam and bottom seam together in a triangle.
Measure back 2 ¼″ from the point along the seam.
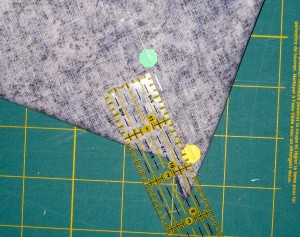
Measure from point into triangle 2¼″.
Draw a line across the triangle at the 2¼″ mark. Use your favourite fabric marking device for this. My favourite marking device is the chalk marker from Clover. The great thing about this product is it is refillable and is available in multiple colours for all colours of fabric. Drawing a straight line will give you a square corner on the bottom.
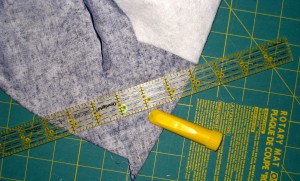
Draw a line across the fabric at the 2¼″ measurement.
If you wish to have a rounded corner then draw an arc with the ends at the 2¼″ mark with the centre of the arc coming a bit closer to the point of the triangle.
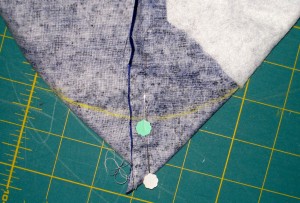
Draw an arc for a rounded corner.
Sew along the line backstitching at both ends.
Trim off the corner of the bag along the sewing line to a ⅜″ seam allowance. This will reduce the bulk at the bottom of the bag when it is turned right side out.
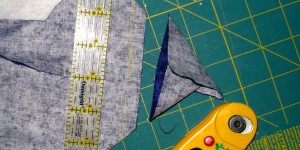
Trim off excess fabric to ⅜″ seam allowance.
Repeat on the other corner of the bag. The bottom of the bag should resemble a rectangle.
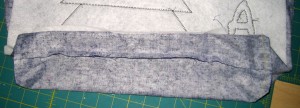
The bottom of the bag should resemble a rectangle.
Until next week, Happy Quilting!



Trackbacks/Pingbacks