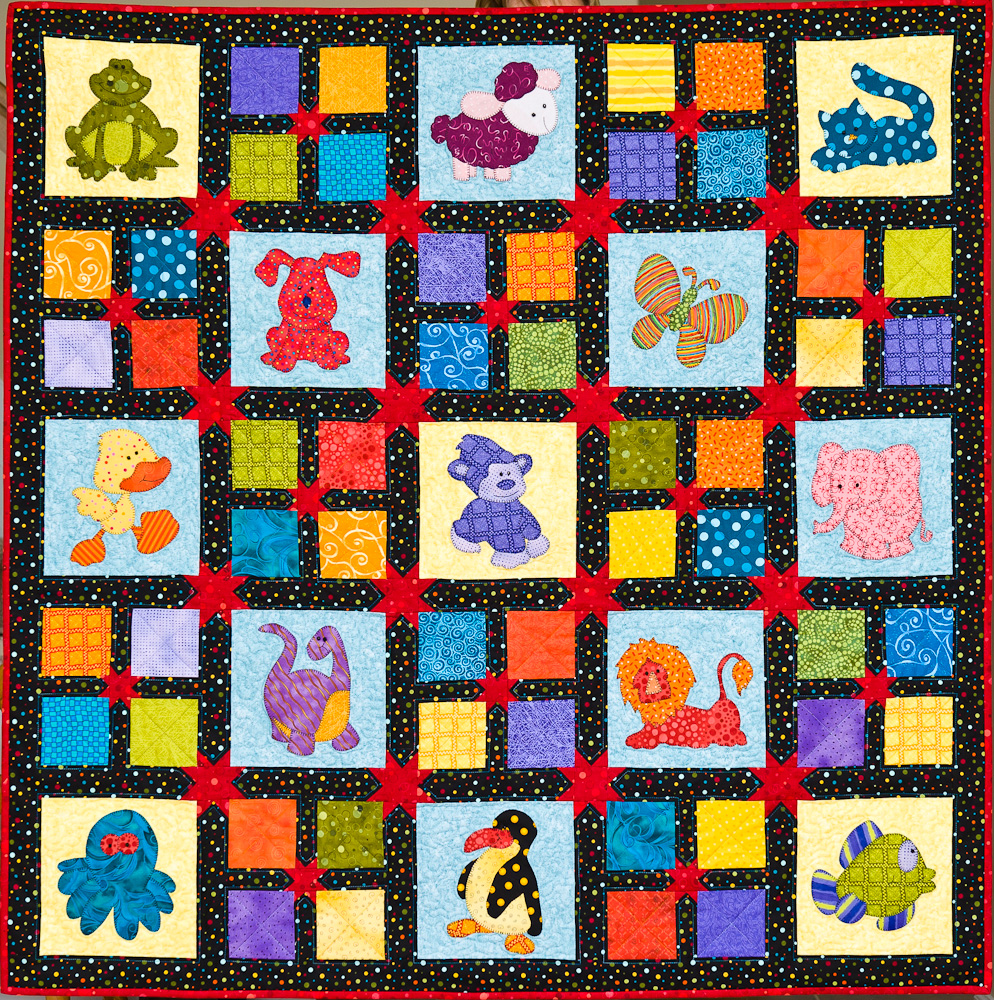
Hey Everyone, welcome back to Story Time Monday. Today I am going to talk about how my Animal Party quilt was designed. I thought to myself, “how hard can it be – come up with a design and put it together?” Well, let me tell you there is a lot more to it than I ever imagined.
The Design
I had made a quilt similar to this one for a family when their first was born and I thought it might be a popular pattern and so the idea was planted in my head to turn it into a pattern. I started creating Animal Party in August 2009 as it needed a fair bit of tweaking from the original one that I did. The animals needed to be larger and have more defined features.
All gung ho and full of excitement and energy after the release of my first pattern Season Greetings, I set to work on making the quilt. I had it all cut out, fused together, stitched down and the pieces stitched together before I knew it. I figured way to go Jen you will be on to your next design in no time. That’s not quite how it went.
You see the original quilt had yellow stars throughout the whole quilt like the ones pictured below. We (Ruth, the Arbee Designs board and I) decided that the eye went straight to the yellow stars and they were just taking too much away from the appliqué.
Yellow is a very powerful colour and the eye is definitely pulled to it first before any other colour in a quilt – when used it has to be used in the right place and proportions so as not to overpower everything else.
The appliquéd animals were of course the main feature of the quilt – not good if your eye misses the main feature.
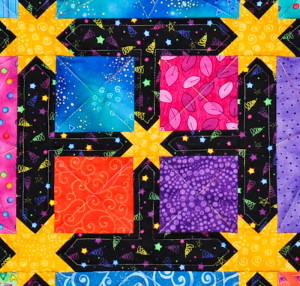
Yellow stars in sashing and 4-patch blocks.
Adjustments
Now as any sewer or quilter knows ripping out is no fun and I had to rip out this whole quilt which took me a fair bit of time and I had little pieces of thread everywhere – much to Frostie’s delight.
I was really disheartened when I had to rip it all apart but I just kept thinking it will look better and all the work will be worth it. Thank goodness for my amazing seam ripper which made the job go much quicker. This seam ripper truly is amazing – definitely a Cool Tool Thursday contender.
When I was picking the fabrics for this quilt I had originally paired orange and blue together – blue for the appliqué background and orange for the stars. I set to work creating a whole other set of sashing and 4-patch blocks. I was getting really good at making stars by this point in time and cutting 3.5 inch squares. Once done I sent this picture off to Ruth at Arbee Designs and she liked it, but then a response came back, “what would the animals look like on a lighter background?” There always seems to be a ″but″ or a ″what if″ in designing and it is these three little words that create fantastic designs and a lot of work along with them.
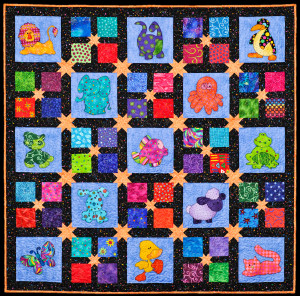
Orange stars throughout and blue appliqué background.
Back to the fabric stash I go to find a light fabric – at the time there were not a lot of light fabrics in my stash, but I did manage to find two that would do the trick. I only had just enough of the green so no screw-ups allowed. This also meant remaking all of the animals and of course with different fabrics from the first time around. Once this was done I took the 4-patch blocks with yellow stars from the original quilt and put them into this quilt along with just plain sashing and Animal Party was born.
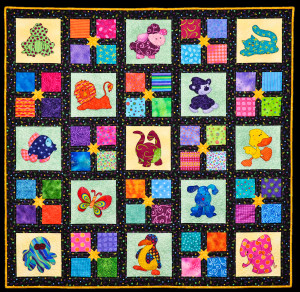
Yellow stars in blocks and light coloured appliqué backgrounds.
What do I do with all these left over pieces from the quilt I ripped out? Well, I guess I will just make another quilt. I was almost finished the quilt and realised I was short one 2″ strip of fabric for the border. I had no more of this black fabric and I know I had bought all that the quilt shop had but on an off chance I gave them a call and asked. After some looking around they found a fat quarter and I said I’ll take it.
The moral of the story is that I now buy way more than I need as I never know how many times I will be making and remaking something.
This time no animals and just 13 nice bright fabrics to go between the 4-patch units. This is the scrappy version and the quicker version for people who do not like to do appliqué.
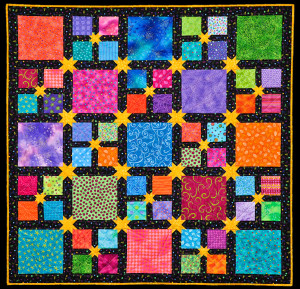
The scrappy version with a whole lot of yellow stars.
By now, several weeks had passed since I had made the first quilt top (the one I ripped apart) and so much for thinking yep I’ll be on to the next pattern in no time. I actually couldn’t believe how long I had been working on this one design and I hadn’t even written the pattern yet.
Not Finished Yet
Quilt designing is quite the process and the main goal is to get it looking perfect so that the patterns will sell. It was October and the 3 quilt tops were made but I was no where near finished with this pattern yet.
It was time to write up the pattern. My first pattern, Ruth took pity on me and put it into the template of Indesign for me and drew my graphics but this time I had to do it myself.
Quite the learning curve I was into with this Indesign program especially since I really only used the computer for e-mail and internet with the odd other things thrown in.
All of the animals had to be drawn as graphics on the computer – a scan of the pencil sketch just didn’t reproduce well enough and didn’t look very professional. I started out using the pen tool and I thought oh that pen tool isn’t very good so I will use the pencil tool – that was the wrong thing to do but Ruth said I did very well as it is harder to use than the pen but doesn’t give as smooth of lines in the finished product. After a tutorial from Ruth I managed to master the pen tool and the drawings looked 100% better.
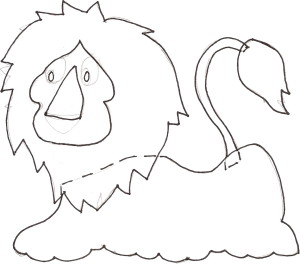
One of the pencil sketches – there are 13 in total.
Finally, after much time and energy the pattern was written, the pattern testers had tested my pattern with great success and all of my quilts were quilted and bound. There were definitely times when I wanted to throw in the towel and say I have had enough but I persevered and it was well worth the time and effort. The pattern was published in November 2009 and I am proud to say has done very well and is one of mine and Arbee’s best sellers.
Go to Arbee Designs to order the Animal Party appliqué pattern. You can also get the pattern from your local quilt shops.
The design process is something I very much enjoy but wish it went along faster than it does mostly because I want to move onto another project. With each quilt I design I am looking forward to the next one and my brain is always thinking what can I do next. It is certainly teaching me tons about the computer, colour, texture, what works and what doesn’t and how to rip out which is just part of the whole process.
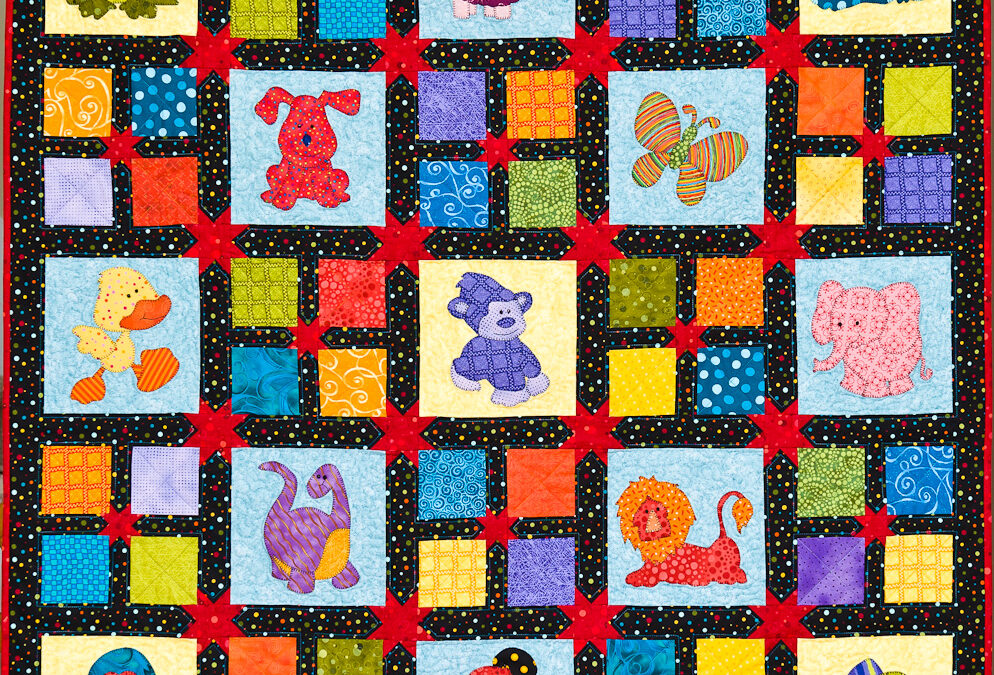
The quilt at the top of the page is the fourth one I have made and I use it for display in local quilt shops – I believe it is my favourite one as I love the red stars and the black fabric with the polka dots.
Not sure when the next pattern will be out – soon I hope.
Happy Quilting!




Love the pattern and appreciate the insight into designing a quilt pattern.
Thanks, JoAnne. It is quite the process and this is one of my favourite patterns.
Great story Jen! I’m glad you have a sense of humor. I’d like to say it was also a top seller for Clotilde catalog too – great effort on your part.
That’s right it did do very well at Clotilde.
I love the Animal Party quilt and am not so surprised at how hard and long it takes to design and write a quilt pattern – clearly! Just look at some of the freebies on Fabric websites to get confused. I looked for the seam ripper in Cool Tools but it’s not yet on, I wonder which one it is?
Thanks Juliet. Stay tuned to Cool Tool Thursday – the seam ripper will make it’s appearance very soon.