Hey Everyone, welcome back to Story Time Monday.
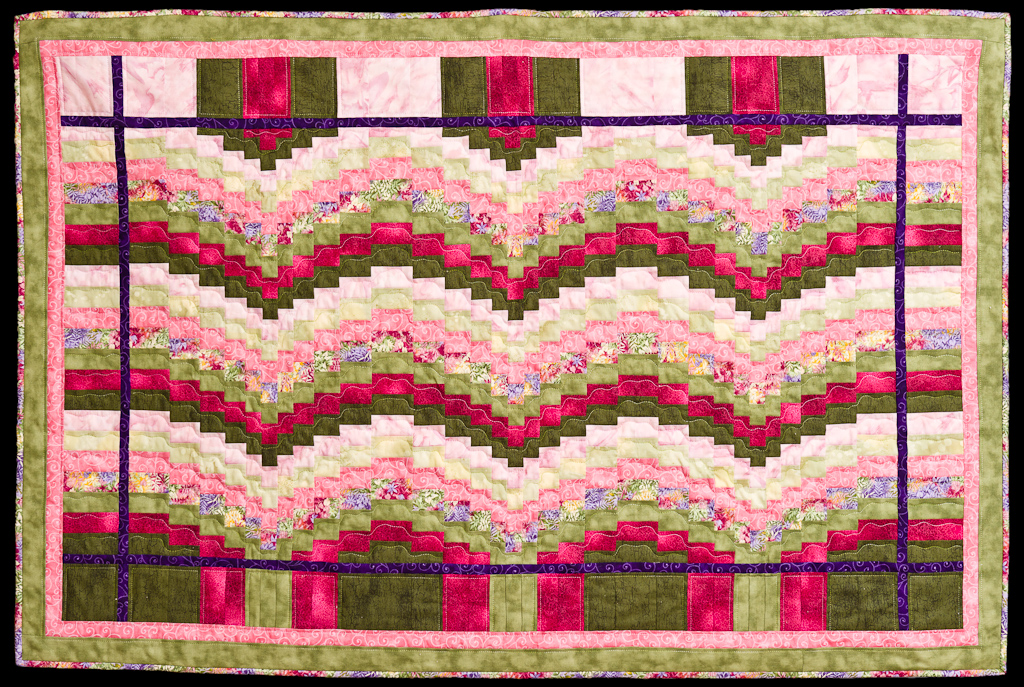
Bargello in Spring is a bargello wall hanging pattern that is part of the bargello seasons series by Ruth Blanchet of Arbee Designs. There is also summer, autumn and winter to complete the series but those are for another day.
A few years ago when I was living in the Outback of Australia my mother-in-law asked me to join her in an on-line class for Bargello Seasons at Quilt University. The 6 week class included all 4 of the bargello seasons quilts starting with spring. I really wanted to take the advanced bargello class but this class was a pre-requisite to the advanced so I enrolled with my mother-in-law. Her, here in Canada, and me, in the middle of the red dirt in the Outback.
Spring being the easiest of the four patterns was certainly a logical place to start. This pattern uses two different colours to create the bargello runs. Most people set each colour run separately but I decided to alternate the two colours in mine which of course made it a bit more tricky to get the values from light to dark but after much deliberation and pulling out of fabric I found what I needed. Being 600 km from Adelaide meant I couldn’t just hop out to the quilt shop to purchase another piece of fabric. [Editor’s Note: and this, folks, is how she justified building a stash that would make a quilt shop owner swoon!]
Choosing Fabric for the Bargello Run
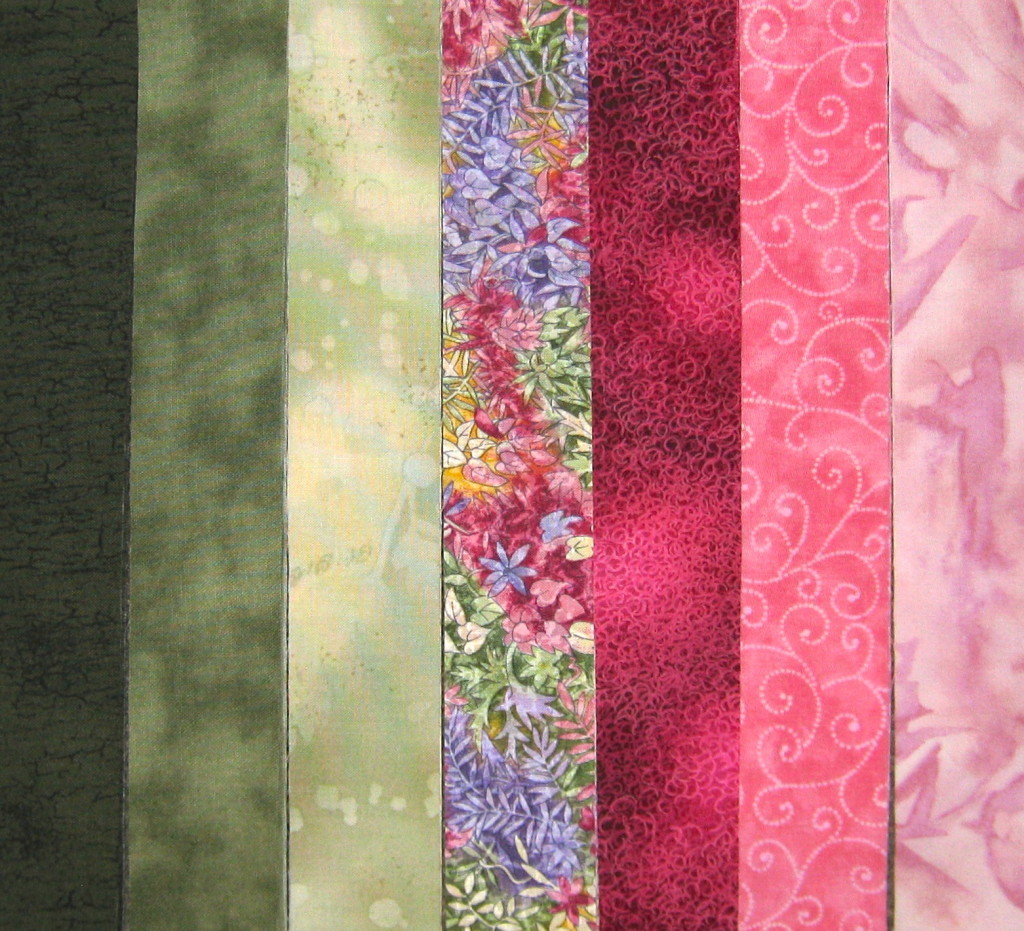
I chose the print fabric that is in the middle of the run first and worked from it to create the rest of the colour run. I find it much easier to create the runs when I choose a fabric with a few different colours in it and can pull from that to pick the rest of the colours. Pink and green are the two colours I chose to use and of course they are complementary colours.
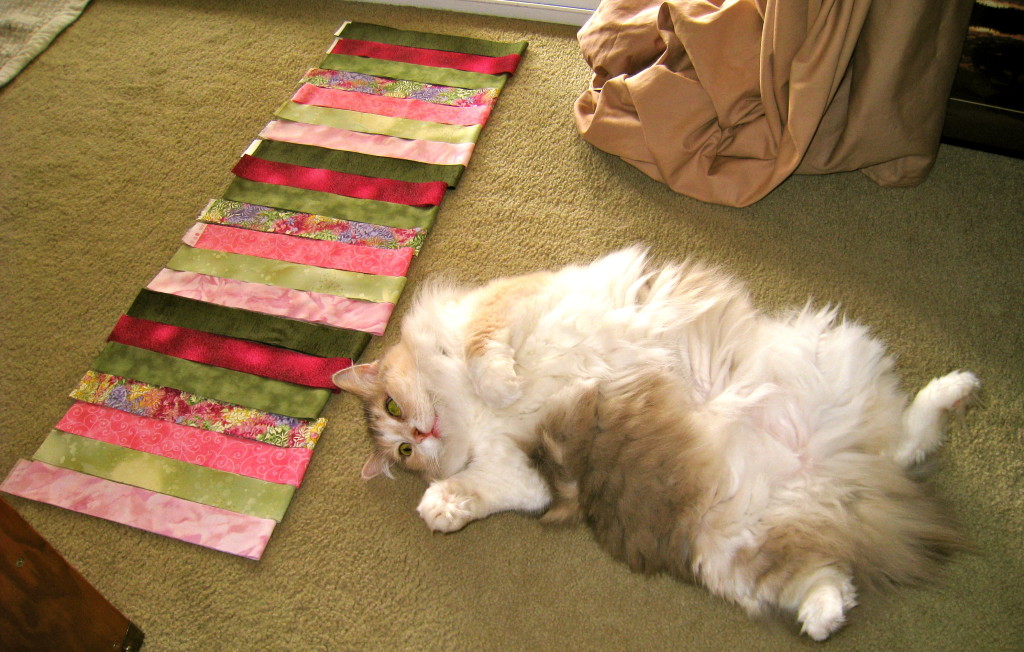
Here are the fabrics all laid out alternating pink and green on either side of the feature print as they will appear in the quilt. At the time I did not have a design wall so would lay everything on the floor and then take a picture and put it on the computer to look at. A great way to get perspective if you do not have the space for a design wall.
Creating a Bargello
Creating a bargello is really quite simple – it looks complicated but trust me it isn’t. Basically the strips are cut the WOF by the designated width then sewn together into a tube. Once the tube is completed there is chart to cut the tube into strips of varying widths. The chart tells you where to take the tube apart and where to place the strip in position with the other strips to create the swag like design.
Important Tip: It is very important to number the rows so nothing gets out of order.
This design does not have the seams meeting but rather they are staggered so no seams to match at all. Easy peasy as they say down under.
I made my piece and then decided that it needed another swag in it. It was very easy to extend the pattern and repeat the design for an additional swag. Ruth’s instructions are very easy to follow and very complete.
Creating the Quilt Border
Once that was done I thought I do not want just a plain border so I set to work creating a border.
I added in a spacer border in purple as I wanted it to stand out and be of high contrast against the other colours. Then I set to work extending the bargello design out into the vertical borders with just one piece of fabric but still matching up with the matching piece on the other side of the purple. Gotta admit, this bit was a bit of a challenge getting the seams all in line.
The top and bottom borders I decided to just extend the last colour in each row up and down into the borders. Looks a bit like pillars. Another pink and green border added around the piece and the top was complete.
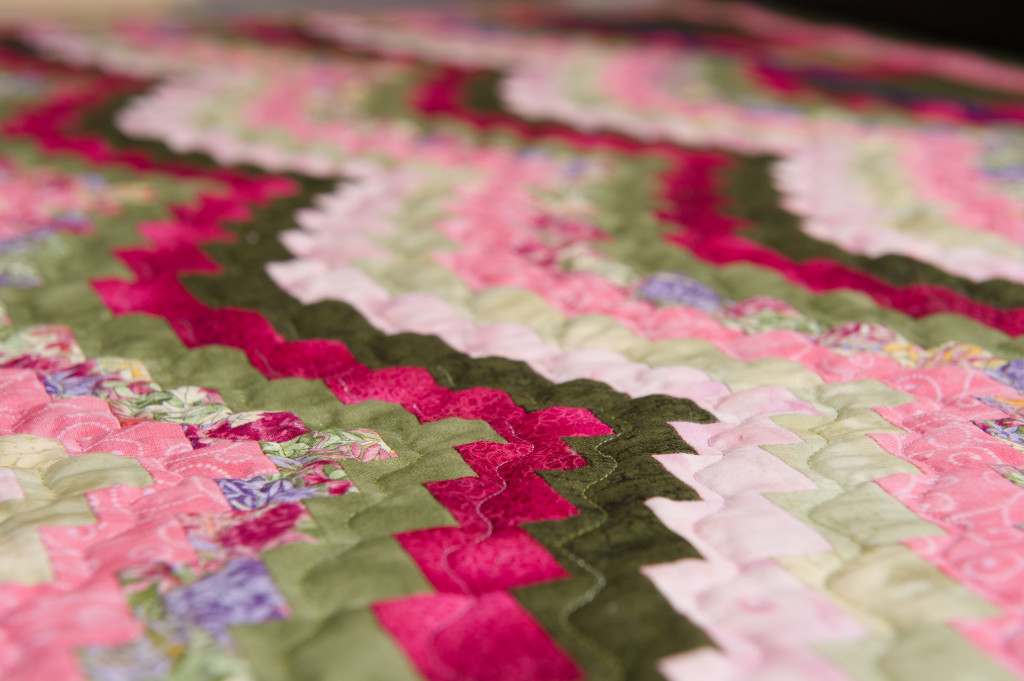
The piece then sat for quite some time before it was finally pulled out of the drawer to be quilted. Quilting was done using a free motion foot and quilting a line through each row mimicking the movement in the row. I alternated pink and green thread depending on what colour the row was using Rainbows Threads by Superior Threads which is a high-sheen polyester variegated thread.
A quick, fun and easy bargello design.
Want to learn how to create a bargello then join me at Country Concessions in Cookstown the last 2 Fridays in May to create Bargello in Spring, Summer or Winter. Check out my Bargello workshop listing for more information and contact Country Concessions to book.
Hope to see you there.
Happy Quilting!

Disclosure Note: I buy and use the products mentioned in this post and write about them without influence from the designer or any other commercial interests. I have included links to the products on Amazon.com and may receive a small commission if you purchase from these links. This doesn’t cost you any more to purchase these items but it does help me maintain this website, so I hope that you will please use these links.
I shared this quilt with Stitch by Stitch Anything Goes and Quilt Story: Fabric Tuesday and Textile Diva – TGIFF


I love the colors i your bargello! I’ve always wanted to make a bargello quilt but they look like so much work. Great job and glad to see my kitty isn’t the only one letting her quilt opinions known.
Thanks Anna. I agree, Bargellos look like a lot of work, but the key word is look. There’s a really cool and straightforward technique to making them. Most people, once they’ve seen the technique are like, “OH! So THAT’s how it’s done. Cool.” Don’t hesitate, once you learn the technique you’ll wonder why you waited so long.
This is something I look forward to trying, but keep thinking that I will get everything in the wrong order. Your’s has turned out beautiful, and I love your cat!!
Daphne, as long as you label each row and keep everything in order you will not getting anything in the wrong order
wow what a beautiful pattern, i haven’t seen anything like that. i do love your fabric selection. your colors blend beautifully
Thanks Whitney. This colour runs works really well because the pink and green are complementary colours.
I have not tried a bargello yet. Maybe they’re not as intimidating as I’d thought. . . seems like it might depend on how well the pattern is written. Love you kitty lolling with the fabrics. . . of course!
I took Ruth Blanchet’s class on the seasons bargellos. I love her class, and Bargello! I just wish I had the time and space now to finish what I started oh so long ago! You have inspired me though. Your wall hanging is beautiful! I really like the colors you choose for it!
Claudia I loved the class as well. I hope that you finish your pieces and are able to hang them somewhere soon. Send me a picture of your piece when it is done and I will feature it here on my blog.