Hey Everyone, welcome back to Cool Tool Thursday on Friday.
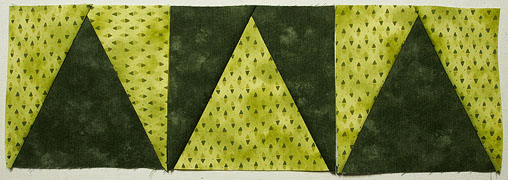
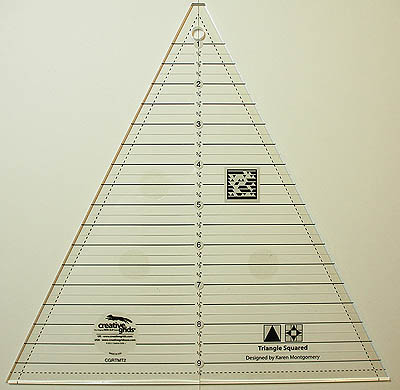
I’ve always wanted to make a triangle in a square without using templates or having to do math and now I can with the Triangle Squared ruler from Creative Grids.
This is the same company that makes the Perfect Rectangle ruler which I featured last summer and loved. It made perfect half square rectangle blocks with no fuss, muss, math or waste.
The ruler can be used to make perfect triangles in a square from 1 inch to 9 inches. If you want to make a 4 inch finished square then add a ½″ inch for the seam allowance and cut on the 4 ½″ line. A 6 inch square then cut on the 6 ½″ line.
Cutting the Triangle
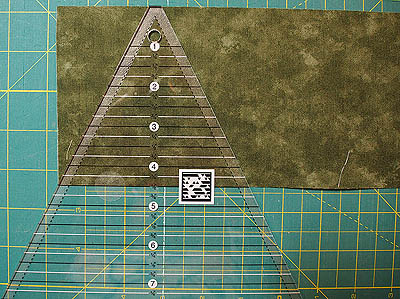
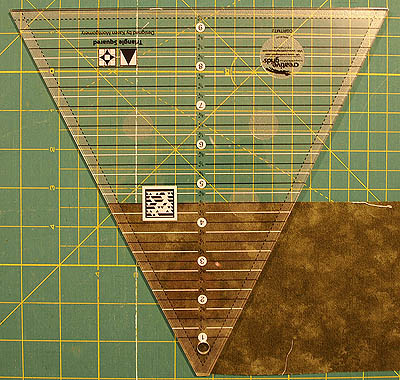
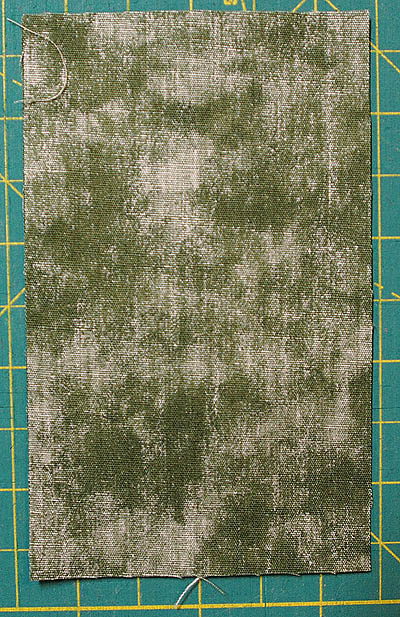
To make a 4 inch square cut the strip of fabric at 4 ½″. Square off one end of the strip.
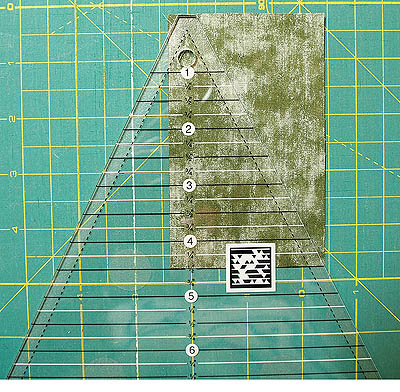
Place the ruler on the strip with the 4 ½″ line at the left hand bottom corner.
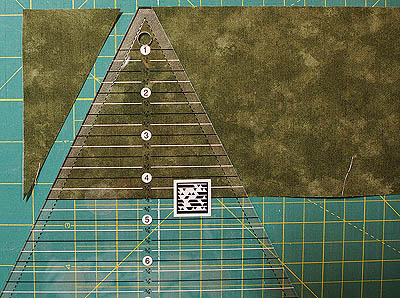
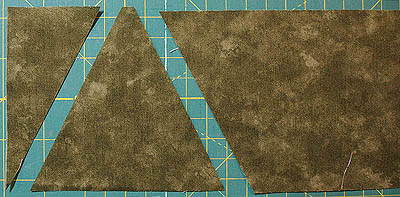
Cut along the left hand side of the ruler. This piece will be waste.
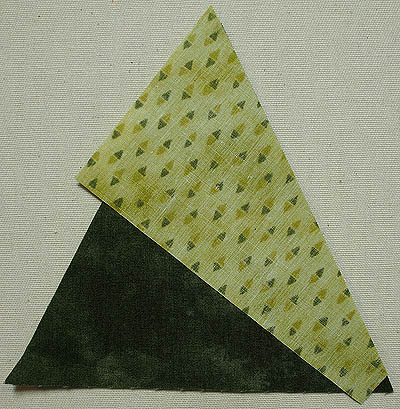
Cut along the right hand side of the ruler to create a triangle.
Flip the ruler over and cut along the right hand side of the ruler to create another triangle. Continue cutting triangles along the strip of fabric.
Cutting the Side Pieces
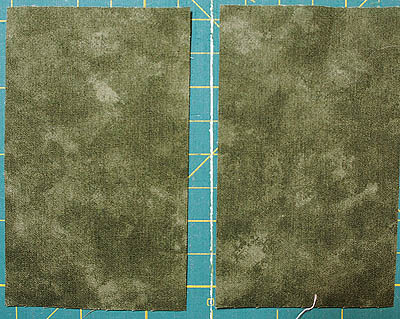
For the side pieces rectangles need to be cut at half the size of the finished square plus ¾″. For this 4 inch square the rectangles are cut at 2 ¾″. Two rectangles are needed to go with each triangle to complete the square.
Place the rectangles right sides together. This will ensure that the two cut pieces are mirror images and fit on either side of the triangle.
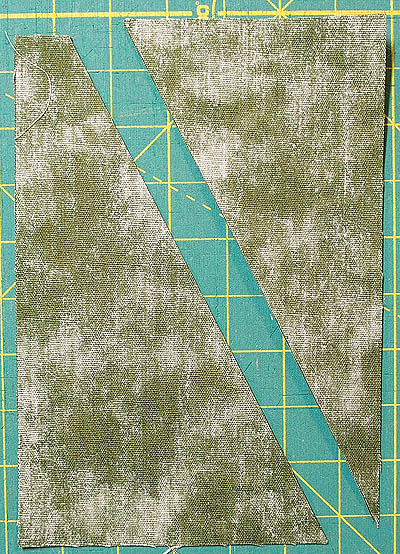
Place the ruler so that the 4 ½″ line is flush with the right hand bottom corner of the rectangle. The numbers that run down the middle of the ruler will be in a ¼″ from the left hand edge of the rectangle to allow for the seam allowance.
Cut along the right hand edge of the ruler to create the corner pieces. The excess is waste.
Note: if you would prefer no waste then the Perfect Rectangle Ruler can be used to cut these pieces.
Making the Square
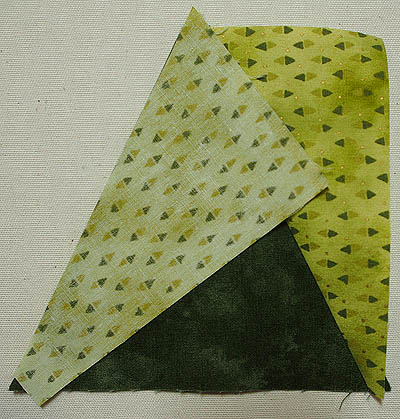
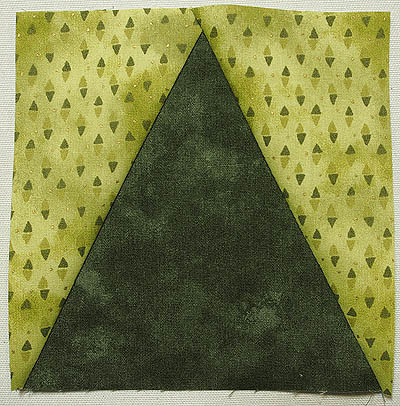
Add the side pieces to the triangle one at a time. When placing them on the square the top end will hang over the point of the triangle a ¼″. Remember that the edges have all been cut on the bias so handle with care. I press the seam away from the triangle.
I found that once I had the pieces in place it needed to be trimmed down by an ⅛″.
Voila! A perfect square with a triangle in it.
I am looking forward to creating a new piece using this ruler in the coming weeks.
If you like, enjoy and value the content here on Quilts by Jen then please buy the Triangle Squared Ruler and the Perfect Rectangle Ruler at Amazon with these links and you’ll be helping me continue to provide these great resources on Quilts by Jen.
Happy Quilting!


