Hey Everyone, welcome back to Coffee Talk Saturday. Really this is more like a Technique Tuesday post but on Saturday rather than Tuesday.
I started creating a memory quilt from a wide variety of clothing the other day. Since memory quilts have become quite popular I figured I would do a series of posts to walk you through my process of how I get from the bin of clothes to the end product of a quilt.
Making a memory quilt is not a quick and easy process – certainly not a quilt in a day quilt. Maybe one day of prep work if you are lucky – more like 2 days.
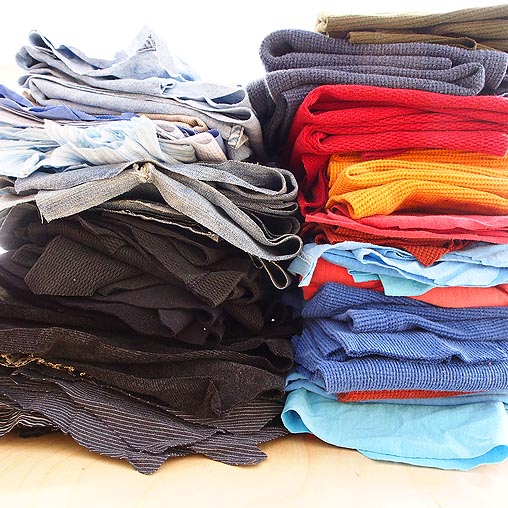
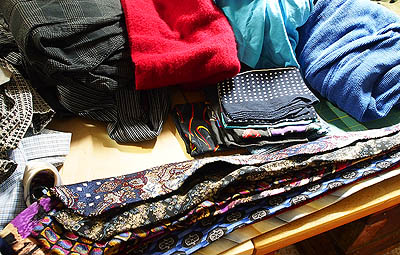
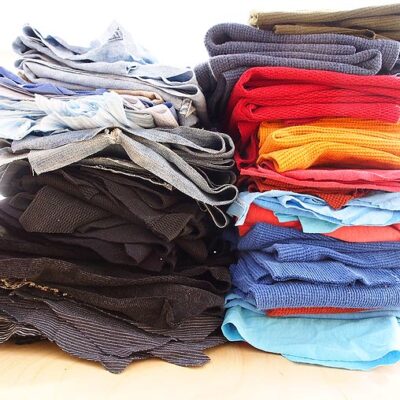
Here’s the clothing I have to use – t-shirts, cotton shirts, dress shirts, jeans, fleece, bandanas, heavy waffle weave shirts and silk ties to name a few. Quite a variety of fabrics to put together in one quilt.
To start I deconstructed all of the clothing that I knew I would be using in the quilt.
How to deconstruct a shirt
Step 1
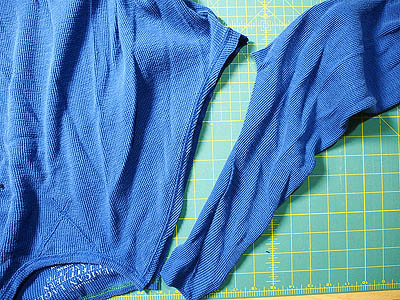
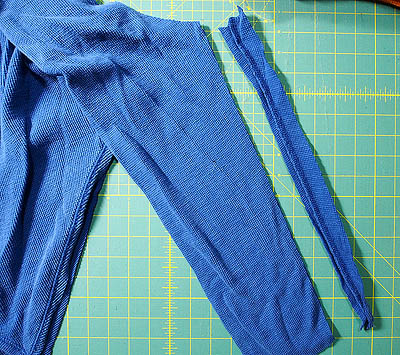
The first thing I do is cut off the sleeves.
Step 2
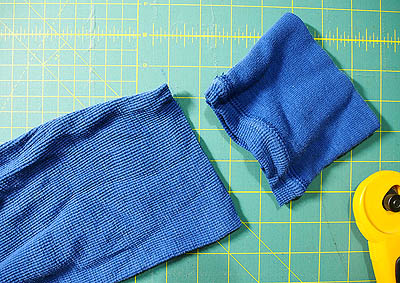
Then cut off any cuffs on the sleeves.
Step 3
Remove the seam on the sleeve so it will open up flat.
Step 4
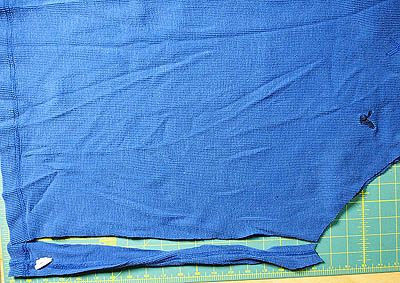
Cut off the shirt body side seams.
Step 5
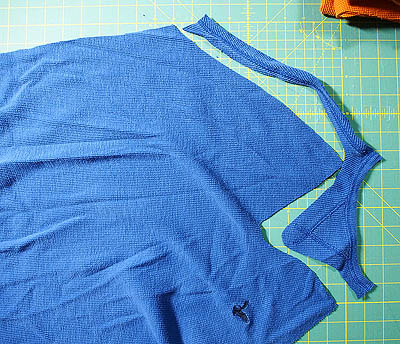
Open up the shirt out flat and cut off the neck line.
Now that the shirt is in pieces it will be much easier to cut into pieces to create the quilt top.
Pants are much easier to deconstruct – just cut up the two leg seams and across the top under the pockets or waistband if there are no pockets and around the zipper if there is one.
For pants, shorts and skirts I usually use a combination of scissors and rotary cutters whereas everything else I just use the rotary cutter. I don’t use a ruler at this point because all I am doing is getting rid of the seams and making the pieces flat for easy use.
Well, there are still a few more pieces to deconstruct so I had best get to it.
Happy Quilting!


