Hey Everyone, welcome back to Stash Blasting Wednesday.
I have decided to write a series of posts on the log cabin block as there are so many variations of this traditional quilt block. Today I will start with the basic log cabin block.
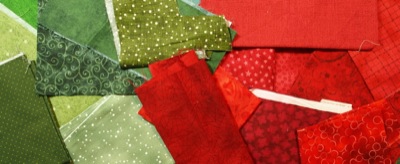
I have also decided that all of these blocks will be made from my scraps. Today’s colours are red and green because those were the colours on the top of the pile in the bin of scraps I pulled off the shelf. Since I used the complementary colours of red and green for this one I will continue using complementary colours for the rest of the series.
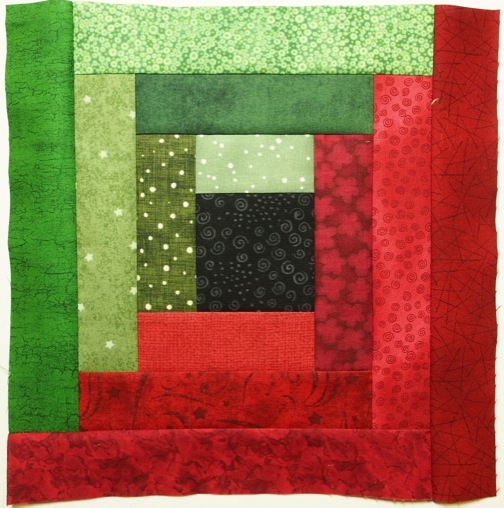
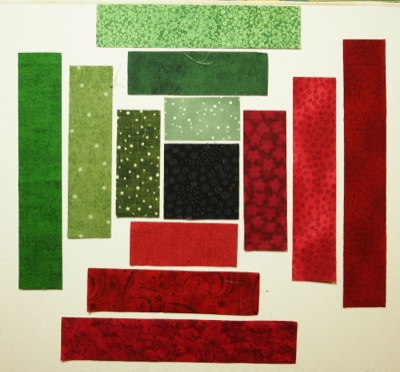
This is going to be about as scrappy as I get. This is very controlled scrappy – everything coordinating. There are 6 red fabrics, 6 green fabrics and a black fabric for the centre of the block.
These instructions will make a 12 inch finished block. The larger the block the more fabric I will use up – right?
Cutting Instructions
Piece A – cut 1 – 2″ x 11″ rectangle from a red and green fabric
Piece B – cut 1 – 2″ x 9 ½″ rectangle from a red and green fabric
Piece C – cut 1 – 2″ x 12 ½″ rectangle from a red fabric
Piece D – cut 1 – 2″ x 8″ rectangle from a red and green fabric
Piece E – cut 1 – 2″ x 6 ½″ rectangle from a red and green fabric
Piece F – cut 1 – 2″ x 5″ rectangle from a red and green fabric
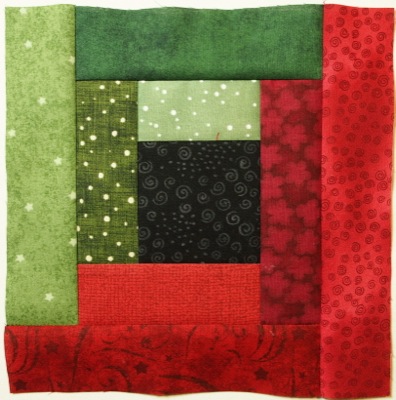
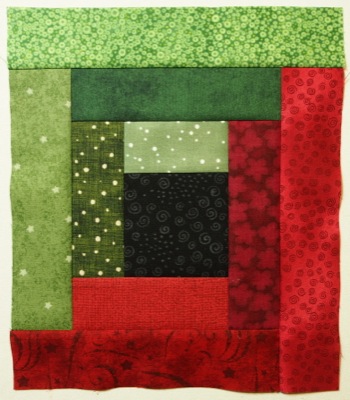
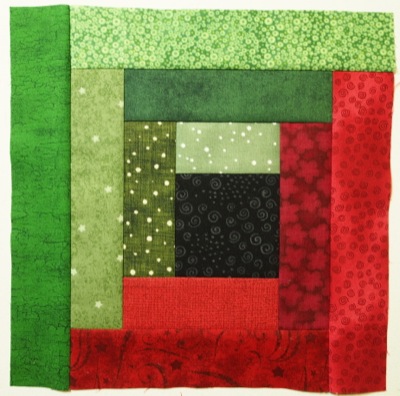
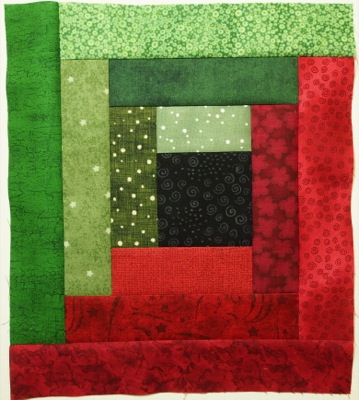
Piece G – cut 1 – 2″ x 3 ½″ rectangle from a green fabric
Piece H – cut 1 – 3 ½″ square from the black fabric
Block Layout
Layout the pieces in the block as per the picture above. Each piece is labelled with it’s corresponding letter.
Building the Block
All seams are a ¼″ and all seams are pressed towards the piece just sewn onto the block. Make sure to press with a dry iron so as not to warp the pieces.
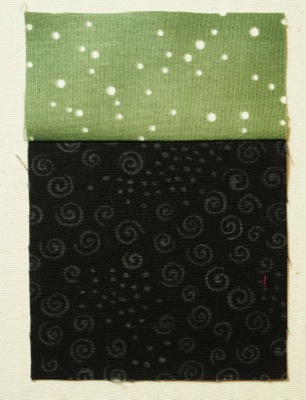
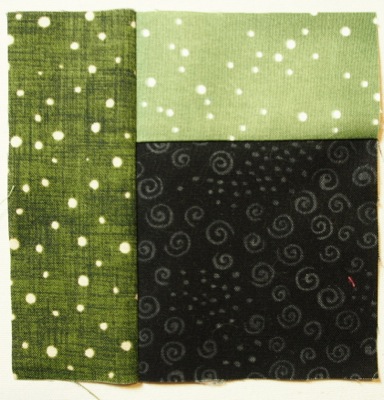
1. Sew piece G to the top of piece H.
2. Sew piece F (green) to the left side of the unit made in step 1.
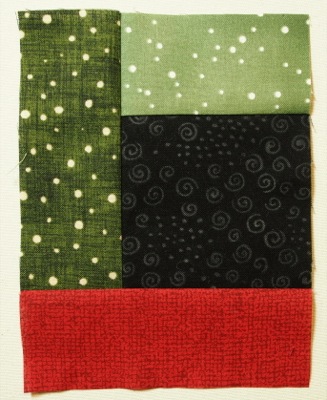
3. Sew piece F (red) to the bottom of the unit made in step 2.
4. Sew piece E (red) to the right side of the unit made in step 3.
5. Sew piece E (green) to the top of the unit made in step 4.
6. Sew piece D (green) to the left side of the unit made in step 5.
7. Sew piece D (red) to the bottom of the unit made in step 6.
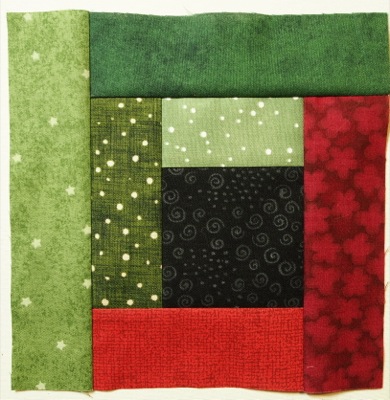
8. Sew piece B (red) to the right side of the unit made in step 7.
9. Sew piece B (green) to the top of the unit made in step 8.
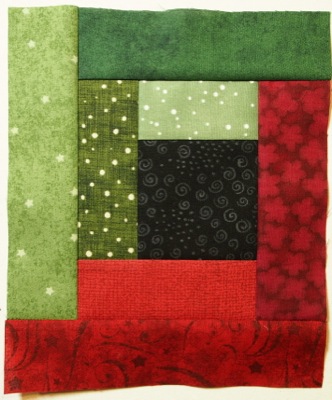
10. Sew piece A (green) to the left side of the unit made in step 9.
11. Sew piece A (red) to the bottom of the unit made in step 10.
12. Sew piece C (red) to the right side of the unit made in step 11. The block will measure 12 ½″ square at this point.
Repeat the above steps for as many blocks as you wish to make. Chain sewing works well when making multiple blocks.
Why not join me in making these log cabin blocks and use up your scraps.
Happy Quilting!








About to start this in black and orange Halloween fabric. I’m excited!