Hey Everyone, welcome back to Mug Rug Monday on Sunday.
So is Sunday the beginning of the week or the end of the week? If it is the beginning I am in trouble because I am just finally getting to this week’s mug rug. If it is the end then I have just made it on time. I’m going with it being the end.
Anyway here’s the mug rug for week 21 of 2015. Can you believe that soon I will be half way through my mug rug challenge and my mug rug drawer is beginning to get pretty full.
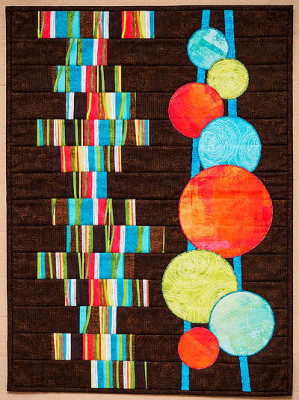
I’ve been working on turning my Strata pattern into a lap size quilt. Initially I only made it as a wall hanging but then had a request for lap size from Linda at Creative Sisters Quilt Studio in Kitchener and I figured no problem I can do that.
The Original Strata
The original pattern I created as a stitch and flip design last year some time when I was just playing around.
Strata Version Two – Painter’s Palette
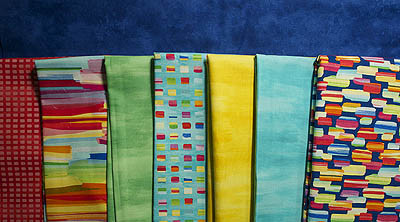
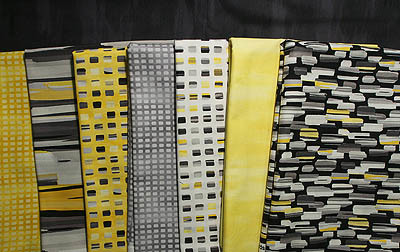
Then I made a version for a pattern using the Artisan’s Spirit Painter’s Palette fabric line from Northcott. It comes in two different awesome colour ways – brights and a black/grey/yellow. I love them both.
Bright line with blue background
Grey/Yellow line with black background
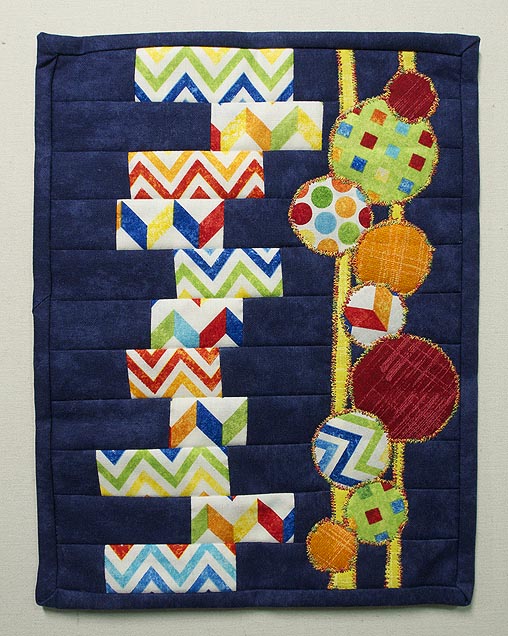
The lap size I used a totally different fabric line as I was trying to use up my stash – it isn’t quite finished but I’ve done the mug rug in the same fabrics so you can see it.
Creating Mini Strata
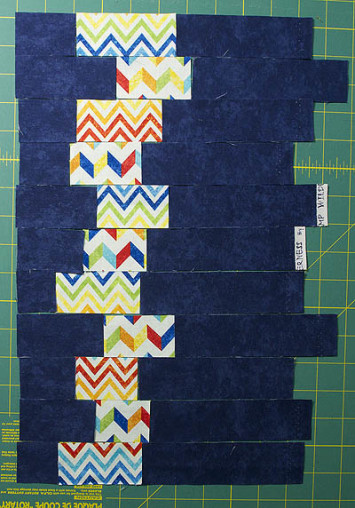
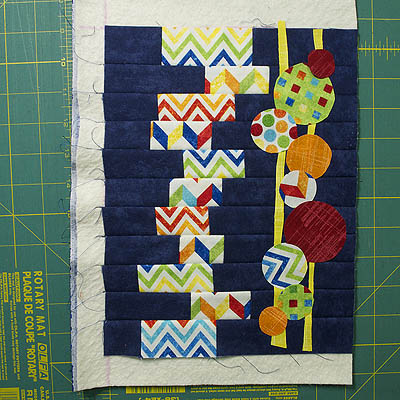
This one is lots of fun using strips and the stitch and flip method to build the background. To begin I cut all the pieces and laid them out on the cutting mat. I didn’t do any measuring for this and just cut. I even used the scraps I had left from the lap size – yep I used scraps!!!!
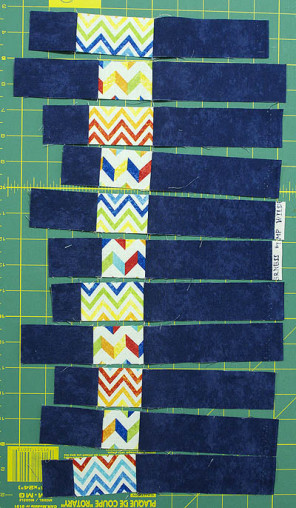
To make sure I didn’t get my pieces out of order I chain sewed them together and then pressed the pieces while the chain was still intact. Once back on the cutting mat I clipped them apart. This worked great to keep everything in order.
I love the stitch and flip method of construction because once it is sewn together it is also quilted. Woohoo! And for a piece this small that’s all the quilting that is needed. Remember to make sure that the bobbin thread matches the backing.
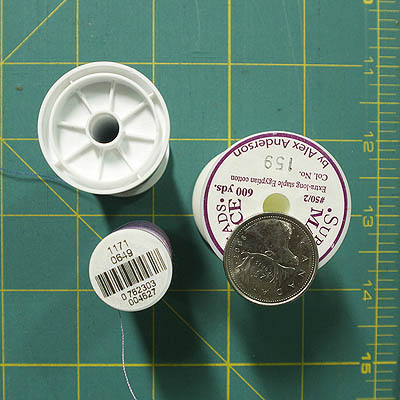
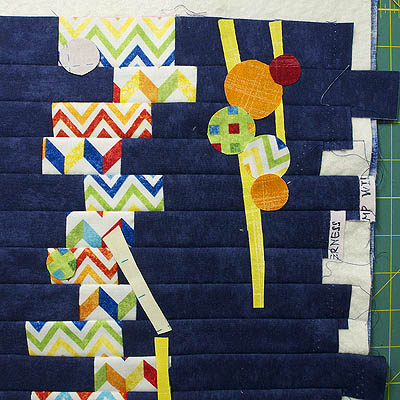
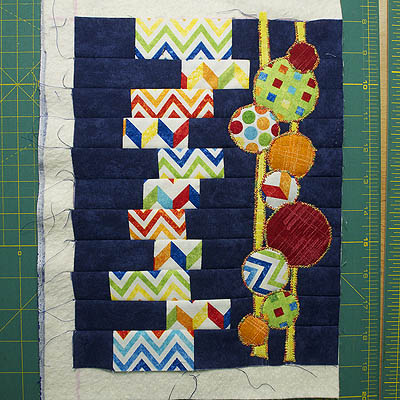
Adding varied sizes of appliquéd circles to the negative space gives great dimension and texture to that wide open space. I used different sized spools to make the circles.
And then quickly discovered as I put them down in the negative space that I didn’t quite make them big enough to cover the whole piece. Back to drawing more circles.
Connecting the circles with slightly curved lines behind them let’s the eye flow nicely over the design from top to bottom.
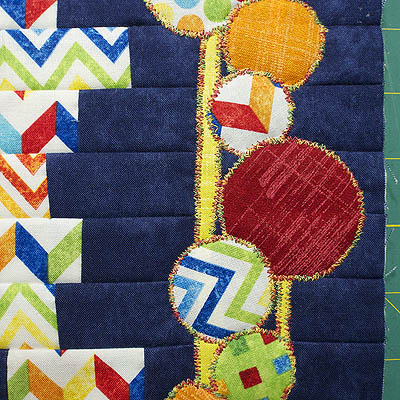
I’ve used a free motion satin stitch to stitch around the appliqué. Normally I would change threads but I didn’t want to take the time today as I have many other things to accomplish today so I picked a variegated thread that went with all the applique fabrics.
I even did a continuous line of stitching around all the pieces with only a tail at the start and end to tie off. I think that I might do that more often – much more efficient and still looks great. Here is a close up of the stitching.
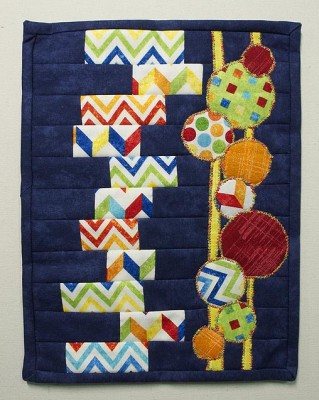
Now that it is bound it is ready for use. My mini Strata mug rug is 8 ¼″ x 10 ½″. And it can go in any direction you wish.
Happy Quilting!


