Do you struggle to line up the blocks of a quilt that has sashing with no cornerstones? I know I do and it takes a lot of fiddling with the fabric, pinning and eye balling to get everything lined up perfectly.
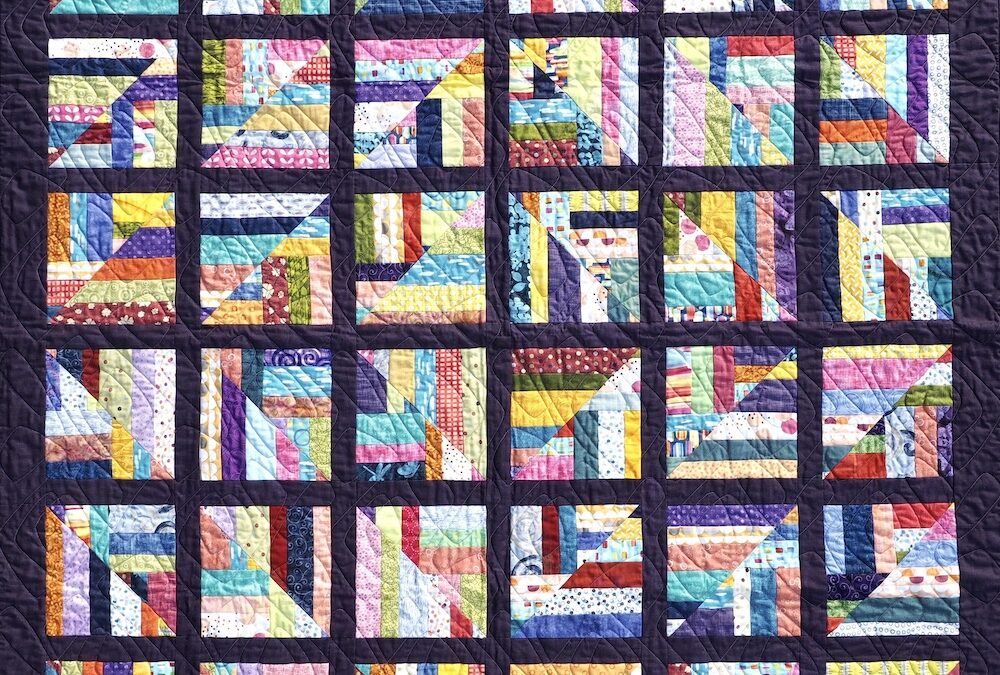
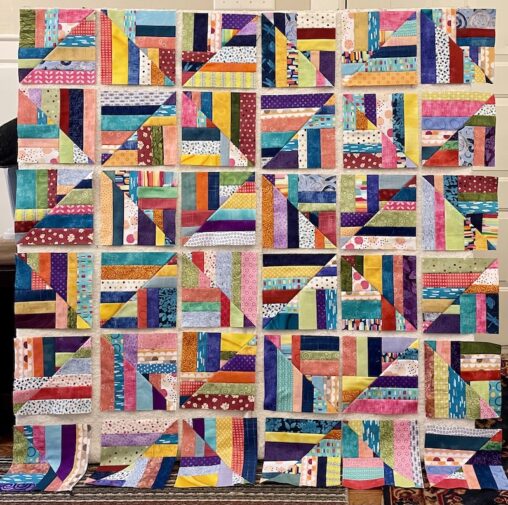
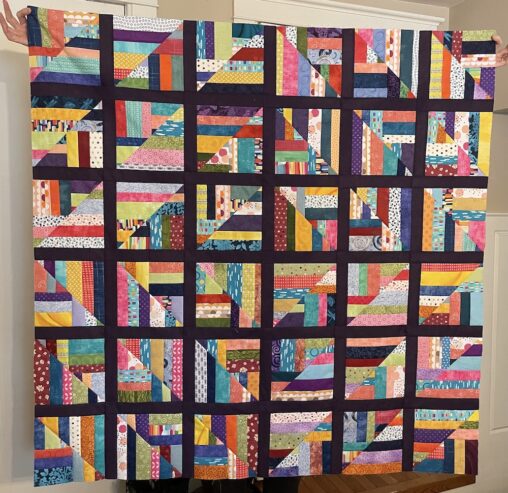
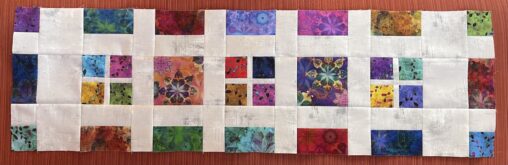
I made this quilt for my niece way back when lockdown was in full force. My quilting buddy made it as well. She in her space and me in mine. And she gave me this great tip and method for perfect sashing. No cornerstones and everything matches up – can you see how it was created?
Sashing is usually cut in a long strip for either the horizontal or vertical strip but with this technique that long strip is cut into strips.
L Shape Sashing – Everything Lines Up Perfectly
These quilt blocks need some sashing and there are no cornerstones. These blocks were made with varying widths of fabric scraps. I’m not a true scrappy person but I love this quilt and how colourful it is.
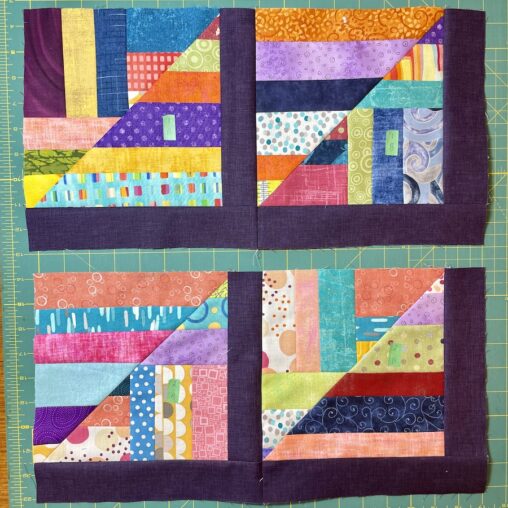
There are no long pieces of sashing or tons of pins with this fool proof method. Sew the pieces onto the block in an L shape or backwards L as I did.
Follow these simple steps for great results every time.
There will be strips for both the vertical and horizontal sides of the block meeting up to make the cornerstone which means there are no seams to match across the sashing like here.
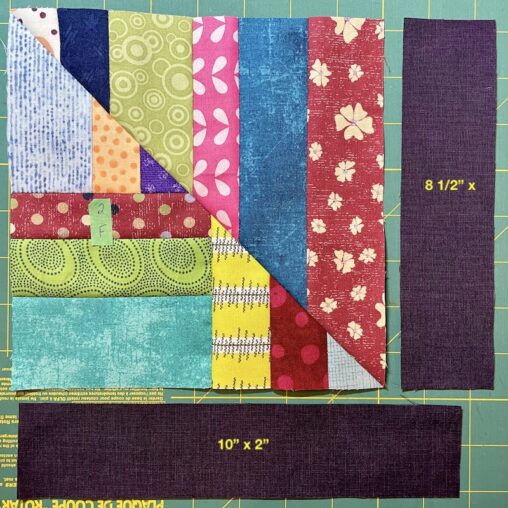
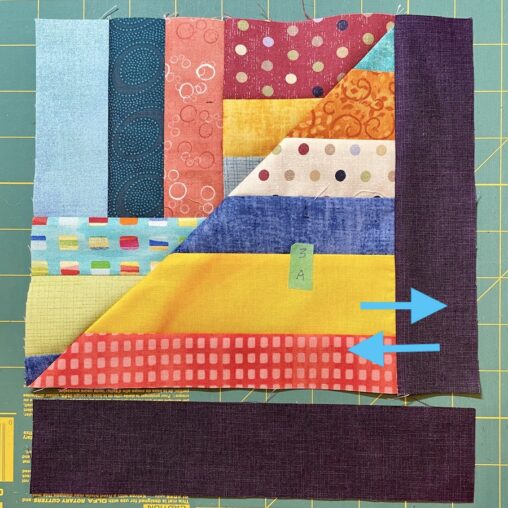
Step 1: Cut the sashing pieces & lay beside the block
- vertical sashing is cut at the size of the finished block and a ½” for the seam allowance – 8″ block + ½” seam allowance = 8 ½” piece x 2″ for 1 ½” finished width of sashing
- horizontal sashing is cut the size of the unfinished block plus the size of the cornerstone and a ½” seam allowance is also added – for examples block 8″ + cornerstone 1 ½” + ½” seam allowance = 10″ piece x 2″ for a 1 ½” finished width of sashing
Step 2: Sew vertical sashing to one side of the block – press in either direction – usually to the darkest fabric
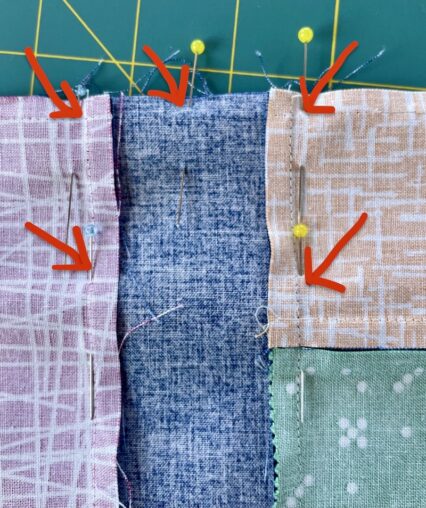
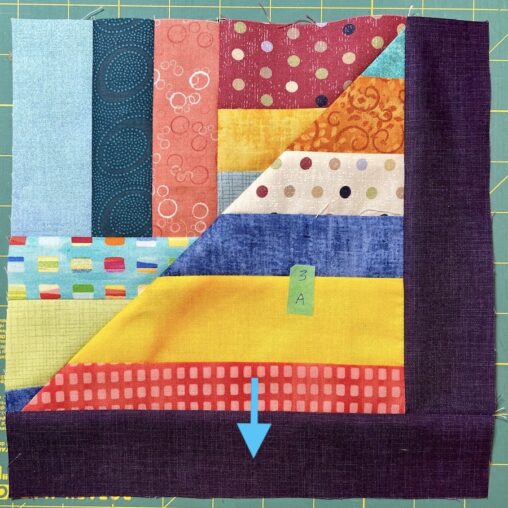
Step 3: Sew horizontal sashing to the bottom of the block – pressing hint: press seam allowance towards sashing in half the blocks in the row and towards the block in the other half – this will make sure the seams nest when sewn together
Step 4: Sew blocks together – seams nest if pressing is done as in step 4

Step 6: Continue on with adding sashing to blocks, sewing rows together and creating the quilt top
As you can see this a fool proof way to make perfect binding when there are no cornerstones.
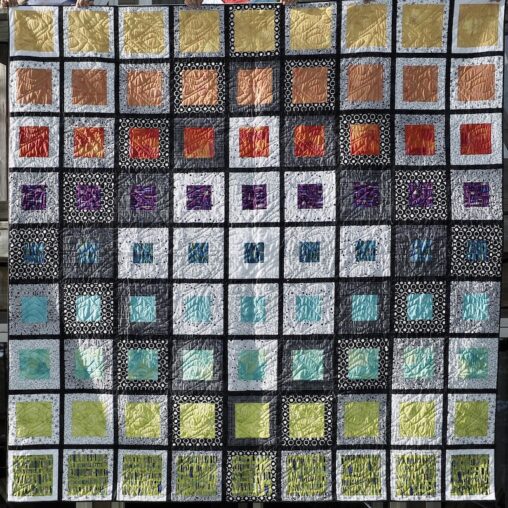
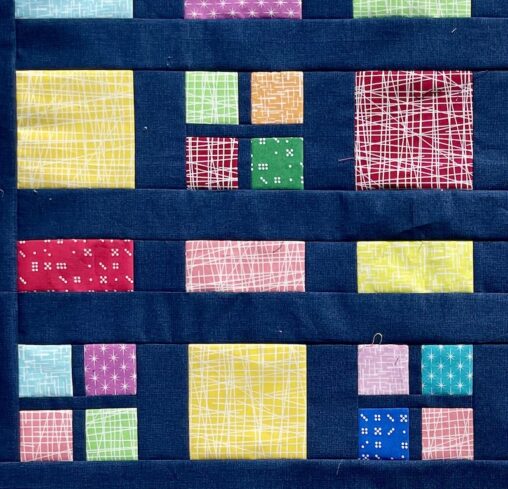
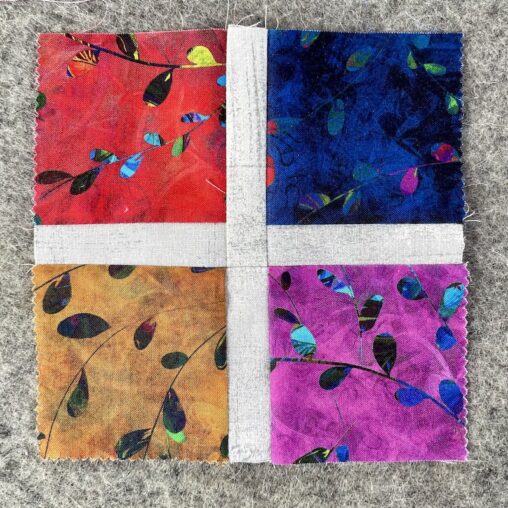
This works for any size of block. It even works for little 4 patch blocks like in my Charmed quilt pattern.
I was impressed. No matter how long you have quilted there are always new tips and tricks to learn. This is one I will be sure to make use of.
Until next time,
Happy Quilting