Hey Everyone, welcome back to Technique Tuesday.
I am working on the art quilt for the Women’s International Art Show which opens next week in Orillia at the Orillia Museum of Art and History. The museum has been newly renovated and we are very excited to be one of the first exhibits upon completion of the renovations.
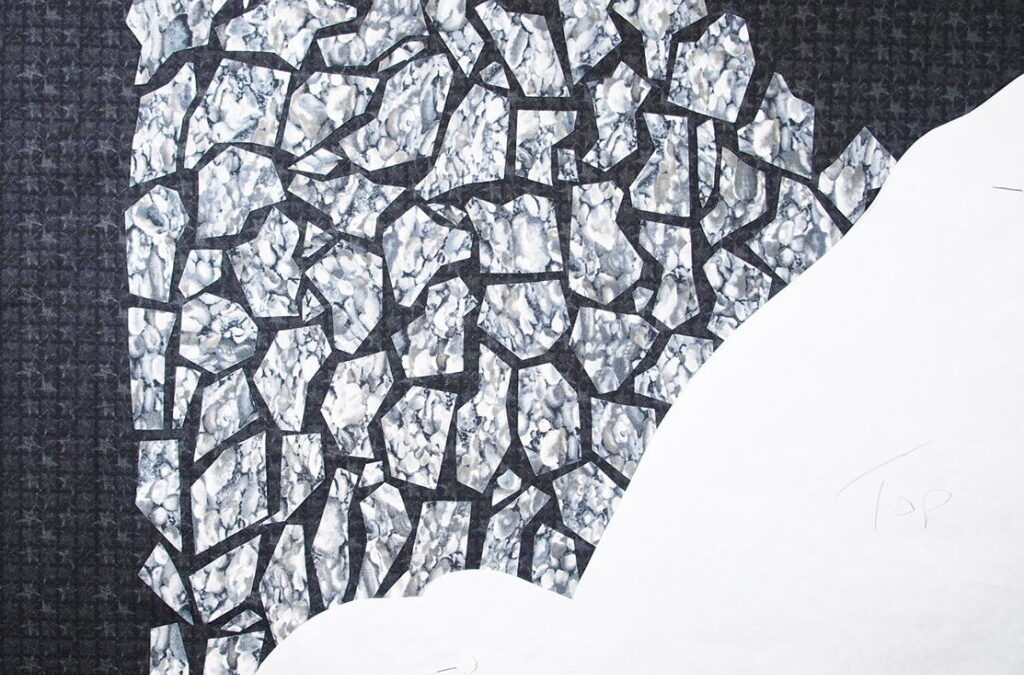
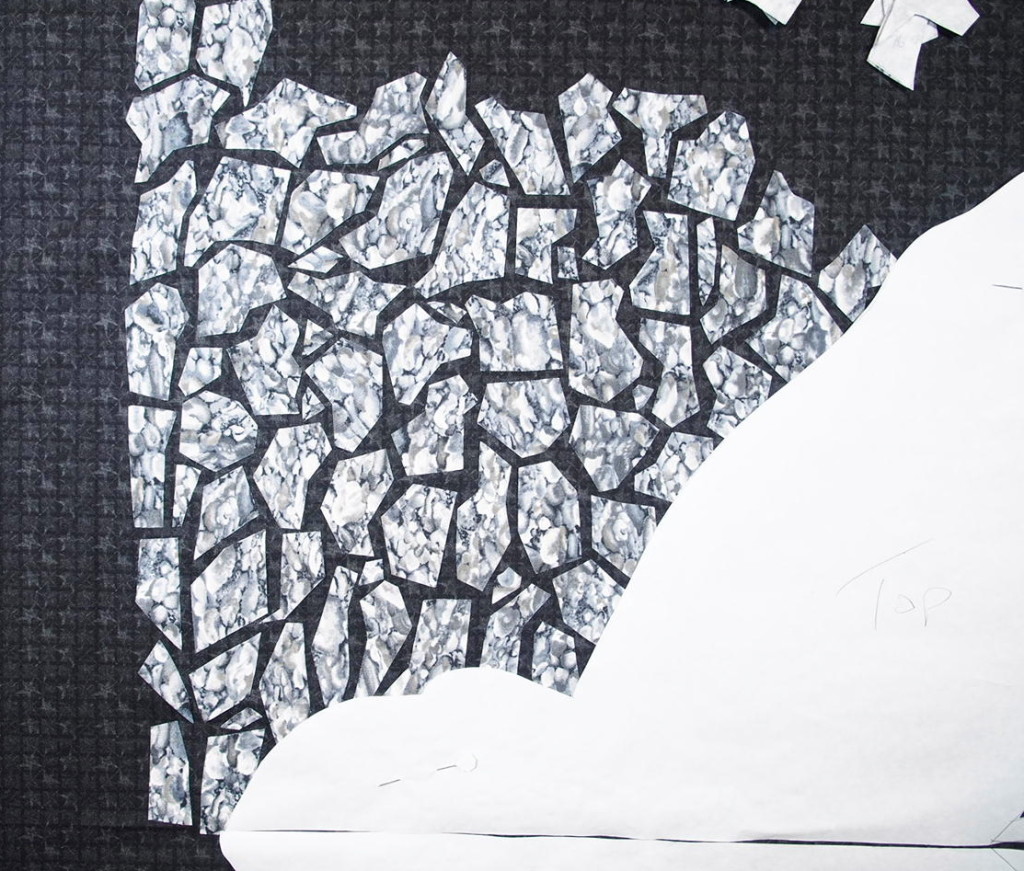
My piece has a mosaic section and although the mosaics look complicated they really are quite simple to make – just very time consuming. Not a quick process and my feet are sore from standing and adding the little pieces – I only have 204 of them. Really the hardest part is deciding what fabric to use for the tiles and background behind the tiles.
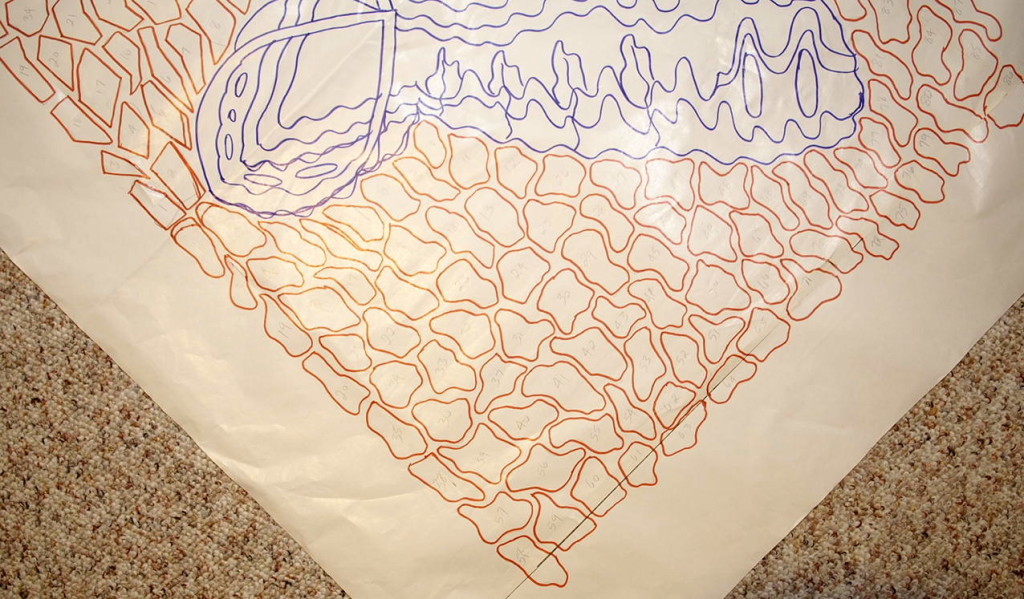
First of all I drew the design out on a large piece of paper starting with the middle section of focal point of the piece. I am not going to reveal the whole design here as I don’t want to spoil the surprise for next week. The mosaic section surrounds the focal point in my piece. I started at the middle of the piece and just started drawing shapes spaced approximately a ¼″ apart around the focal point and out into the negative space of the paper to the size that I wanted. Don’t forget to number each piece.
I drew in pencil first just in case I made any boo-boos and needed to erase lines. Then I went over everything with a Sharpie (texter for all you readers down under).
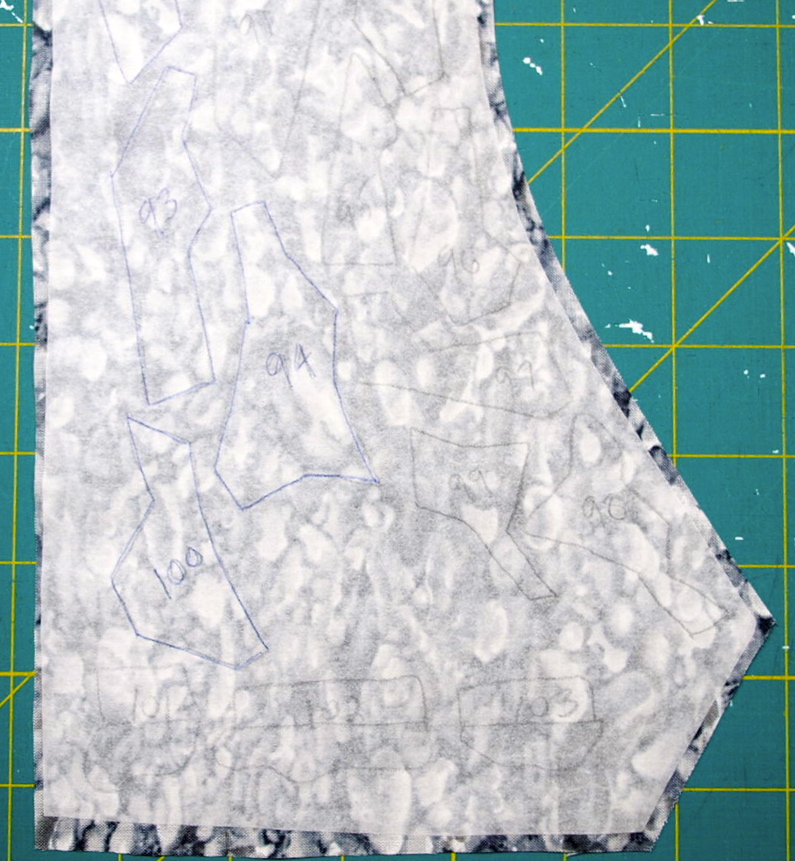
Once I finished outlining everything, I taped the reversed template to the window. Outlining everything with the Sharpie makes it much easier to see through the back of the paper. Next, I traced everything onto Lite steam-a-seam in the order and shape that they appear on the template – see photo below. This way if the fabric being used has a pattern then the pattern will flow within the mosaic and not looked chopped up.
Fuse the steam-a-seam to the fabric.
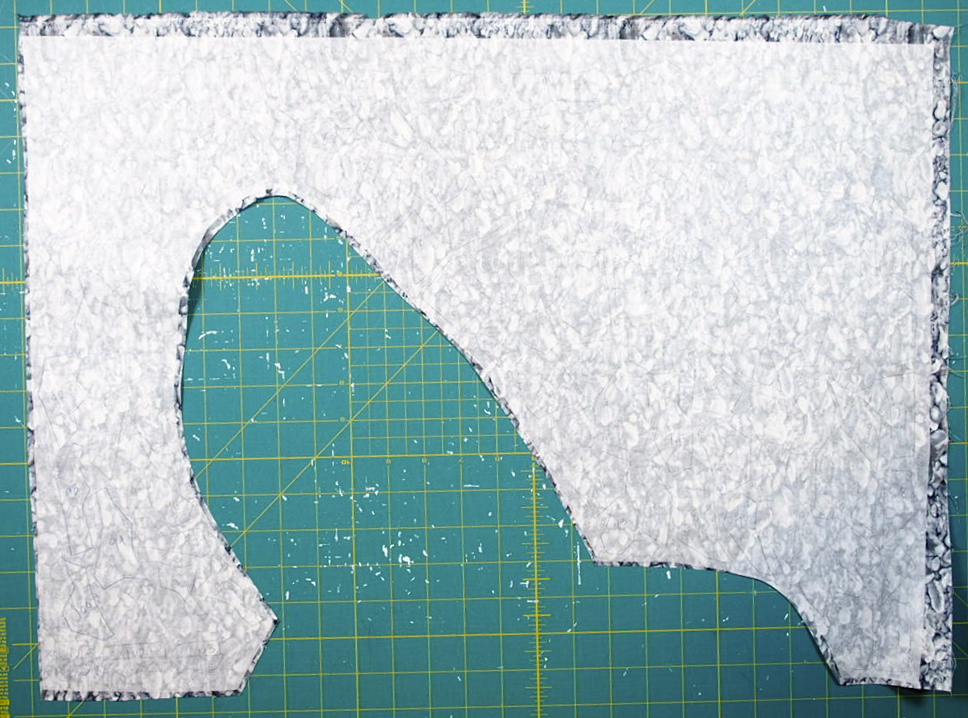
Fusible web fused to fabric with all the pieces drawn on in order and in the shape of the section – Click to see larger and see the mosaic outlines
Remember to number all the pieces so you know what goes where.
Cut all of the pieces out and place in sets of 10 for easy work flow when you put them in place on the background fabric.
I made a freezer paper template of the focal point of the quilt so I would have a reference point for the mosaic tiles. By placing the freezer paper template in the middle of the background fabric I could then build the mosaic around the focal point and place them in position with ease.
Anyway I must get back to work as this piece needs to be done for Sunday – no sleep for me and Mary Ellen could you please come and cook my meals?
Happy Quilting!

I shared this on The Needle and Thread Network, Freshly Pieced, Off The Wall Friday



Oh my goodness, you are so talented… and patient. Can’t wait to see the finished product.
I am amazed at your patience! What a great technique – thanks for sharing!
Looks like it will be great. Hope you get some sleep!
This looks so interesting! Sounds like a lot of work, but it looks like it’ll be worth it in the end!
I am looking forward to seeing the finished product!
Not for the faint of heart … happy stitching.
I’ve read some articles about doing the mosaics and think they are beautiful. Yours is looking great!