Hey Everyone, welcome back to Stash Blasting Wednesday.
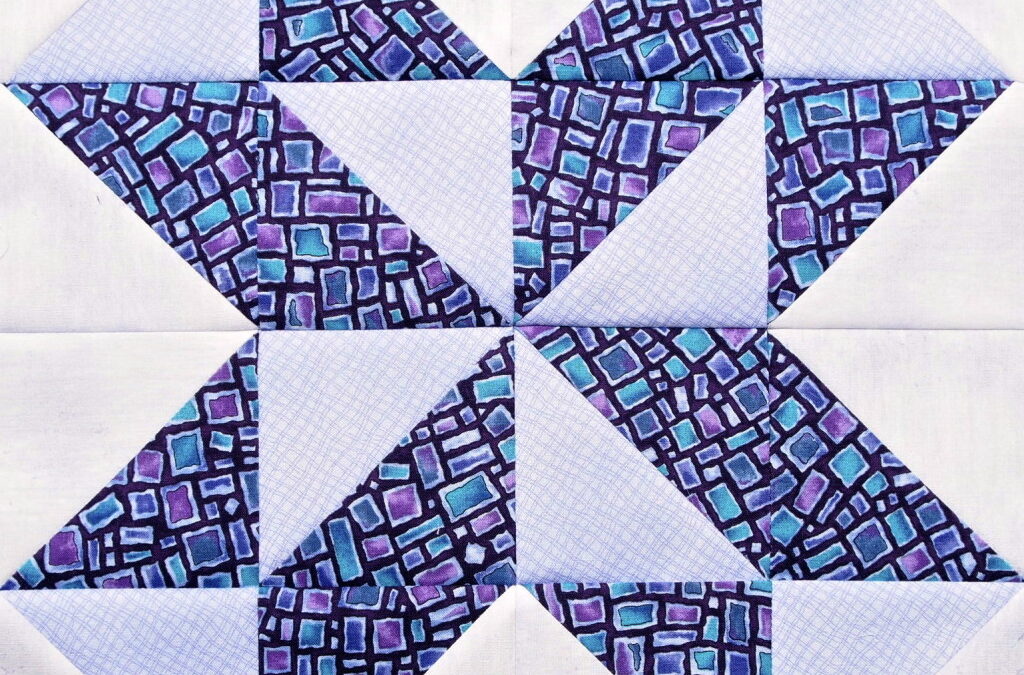
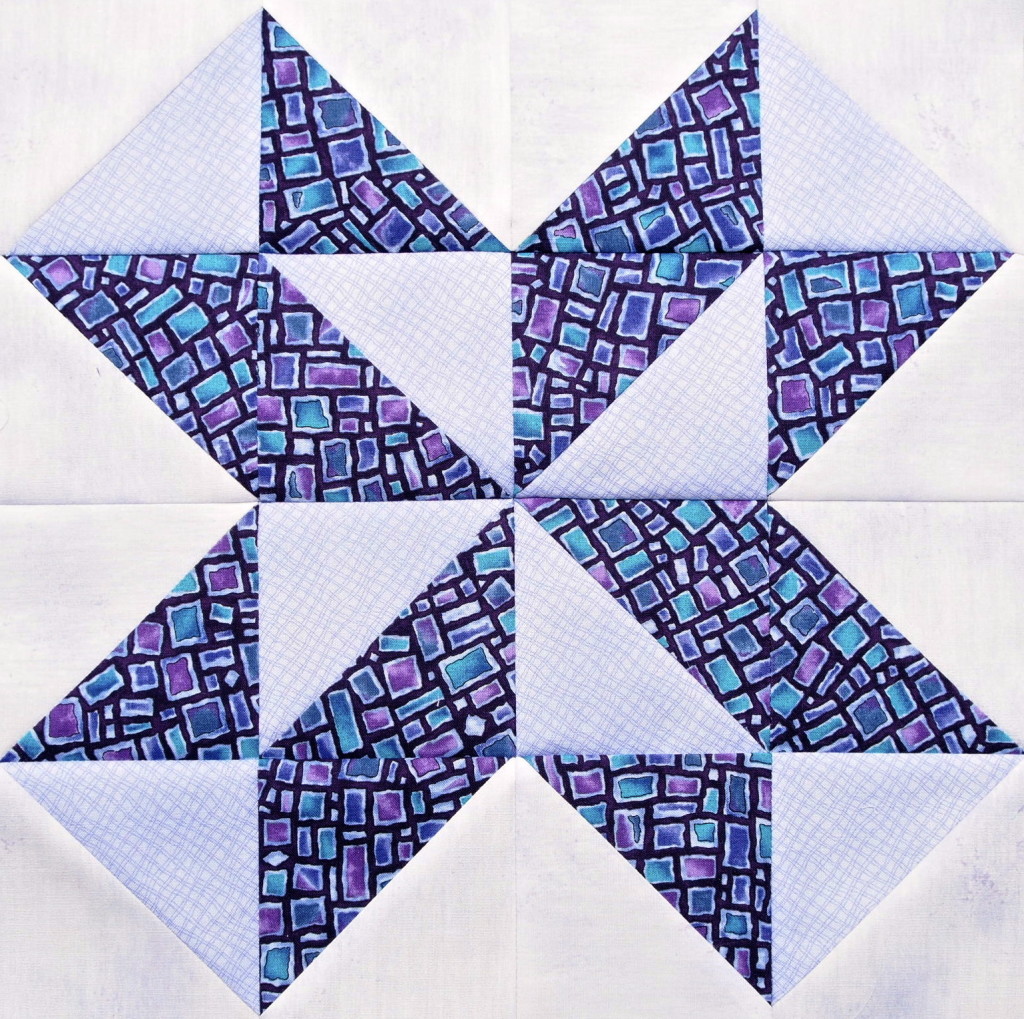
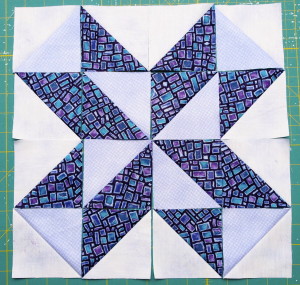
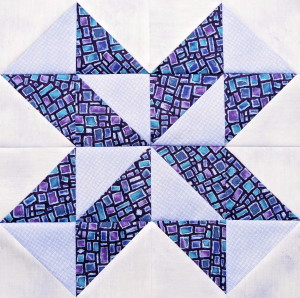
This week I’m featuring a block called Star Puzzle made up totally of half square triangles. The block go together very quickly once the HSTs are built.
This block requires 3 different fabrics – a light value, a medium value and a dark value. This is a great block to work on creating contrast with the fabric. The block highlights 2 different pinwheels and an eight pointed star design. In order for these 3 designs to pop out the different valued fabrics are required. This is a block that has a lot going on and the pattern really dances as you look at.
Fabrics & Cutting Instructions
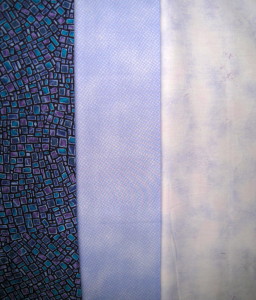
I chose to work with purple today. Two of the fabrics have a pattern and the third one is more tone on tone.
The block is a 12 inch block.
Dark Fabric
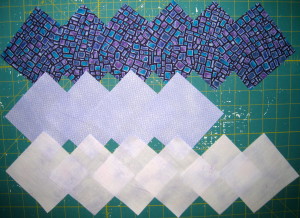
- Cut SIX (6) 4 ¼″ squares
Medium Fabric
- Cut FOUR (4) 4 ¼″ squares
Light Fabric
- Cut SIX (6) 4 ¼″ squares
If you want to make this block in a different size all you have to do is change the size of the squares:
For a 10″ block cut the squares 3 ¾″, for an 8″ block cut the squares 3 ¼″, for a 6″ block cut the squares 2 ¾″ and for a 4″ block cut the squares 2 ¼″.
Building the Half Square Triangles
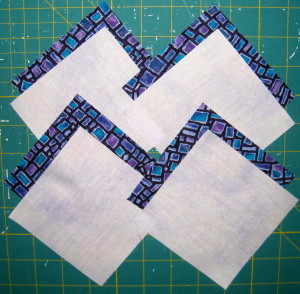
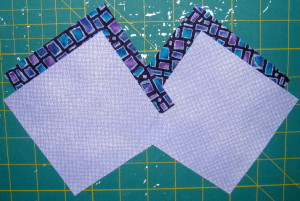
Pair up 4 light squares with 4 dark squares.
Pair up 2 medium squares with 2 dark squares.
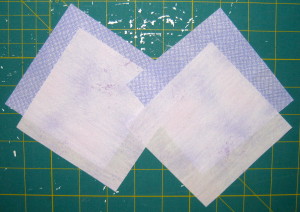
Pair up 2 light squares with 2 medium squares.
Need help making half square triangles? Check out my post here on how to make half square triangles. To square them off give the square up ruler a try for squaring them off. Press the seam towards the darkest fabric.
Building the Block
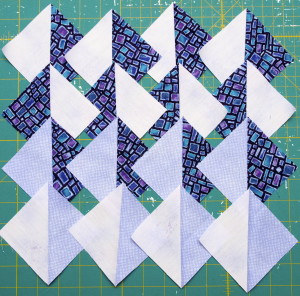
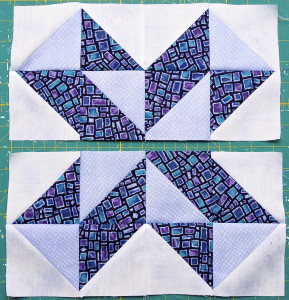
Layout the blocks as shown in photo below. Four rows of 4 HSTs each. Be careful to maintain the proper orientation of each HST.
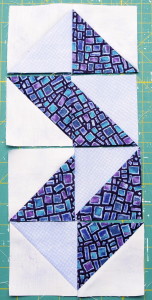
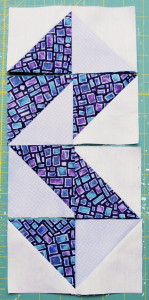
1. Sew the first two HSTs together in each row. Press the seam towards the first HST in rows 1 & 3 and the second HST in rows 2 & 4.
2. Sew the second two HSTs together in each row. Press the seam towards the third HST in rows 1 & 3 and the fourth HST in rows 2 & 4.
3. Sew the two units from each row together. Press the seam towards the second HST in rows 1 & 3 and the third HST in rows 2 & 4.
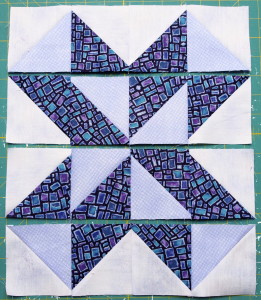
4. Sew rows 1 & 2 together and 3 & 4 together. Press the seam in either direction. Take care to match the seems and pin as needed. Need help with pinning? Check out my post on To Pin or Not to Pin.
5. Sew the two units made in step 4 together taking care to match the seams. Pin as needed. Press the seam in either direction. The block measures 12 ½″ unfinished.
A very easy, straight forward block with great visual appeal.
Happy Quilting!

I shared this post on Craft Sew Create’s Farmer’s Wife Friday blog. Stop in some time to see some other great work:




Great looking block. Thanks for the tutorial!
A beautiful block! The instructions were great!
Thanks for sharing!
Wonderful block, thanks for sharing!
Glad you like it Ellie.
Excellent tutorial. I love the block. 🙂
Are you making the farmer’s wife quilt? Or just doing some of the blocks for fun?
Sheri no I am not making the farmer’s wife quilt, just picking random blocks to highlight each week. I am not aware of this quilt so will have to look it up. Thanks.
I love this look, and wow, am impressed by your quilts and quilting skills! I’m so glad we met today!!