Hey Everyone, welcome back to Technique Tuesday.
Today is Tuesday, where do the days disappear to because it was just Friday and now it is Tuesday and Tuesday means a new technique. This technique may or may not be new to you but it is certainly one that is a lot of fun.
Last week I showed you all the crazy dense quilting I did on the background and this post is all about creating the dandelions.
How did I make the dandelion puffs on my tissue box art quilt?
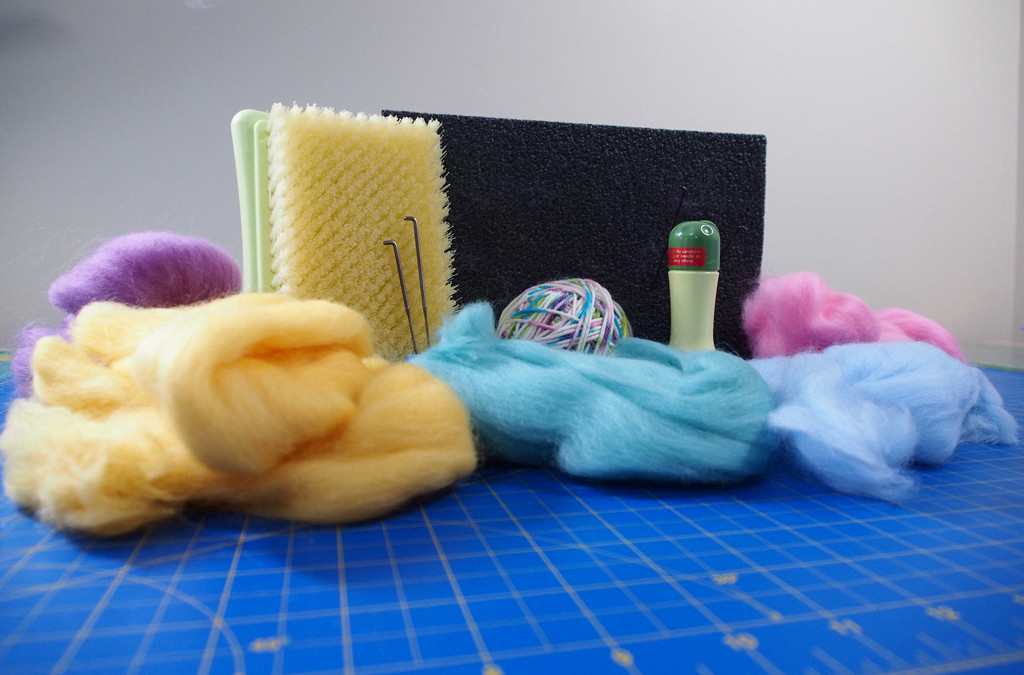
I used…..
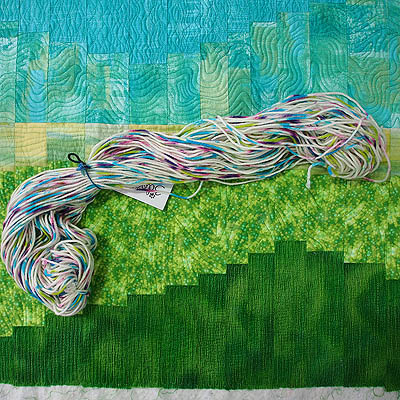
Yarn for couching…..
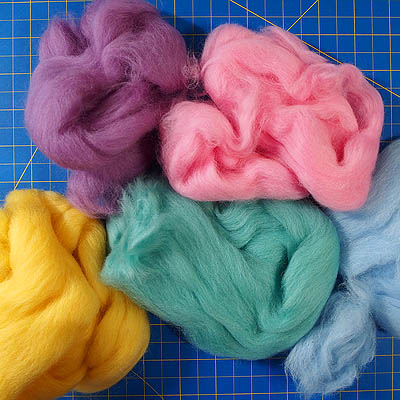
Some wool roving….
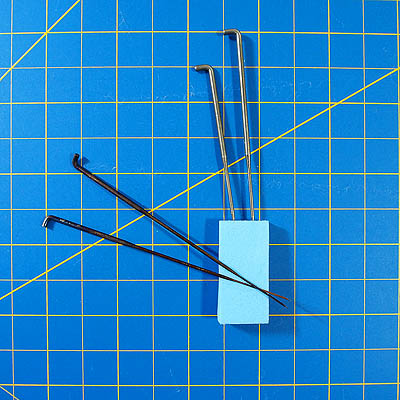
And a felting needle….
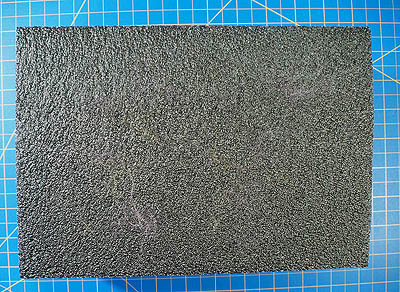
Along with a foam block…..
To create the dandelion puffs.
By only needle felting about an inch on one end of the roving I made a solid section that I could then sew into place on the background between the couched yarn sections.
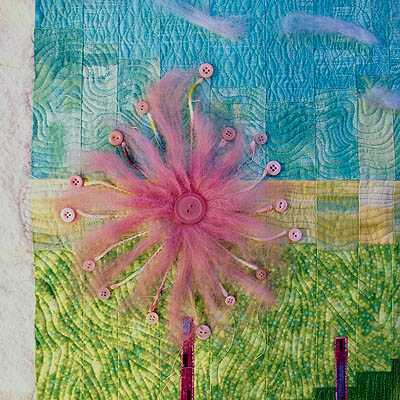
Originally I thought the couching would be enough to create the dandelion but it looked really plain and I had to add the roving for the wispiness to create the illusion of puffs.
Since the image on the tissue box had circles at the ends of the lines I added tiny buttons to the distal end of each couched yarn piece. It’s a good thing I have a huge button supply with enough mauve buttons to outfit more than one art piece. The buttons added more dimension and definition to the puff.
I tried several different colours of roving and auditioned them and I liked the look of the mauve the best so mauve dandelions it would be.
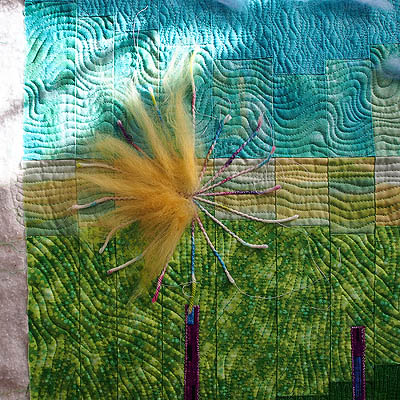
Dandelion yellow but it blended into the background too much.
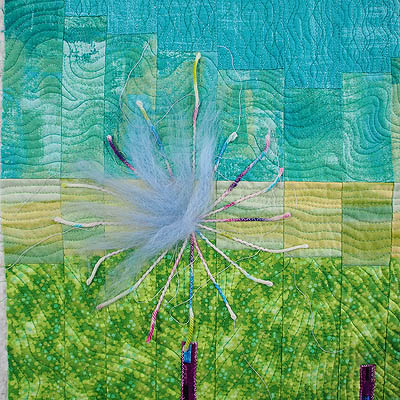
And the blue was too blah. Here you can see the couched yarn pieces and as you can see there was just too much space between each section to leave blank.
The stems in deep purple were fused to the background and then stitched in place with free motion zigzag.
So there you have it the secret behind the puffs – needle felting, an easy, fun and fast way to add embellishment to a piece.
Happy Quilting!


