Hey Everyone, welcome back to Stash Blasting Wednesday.
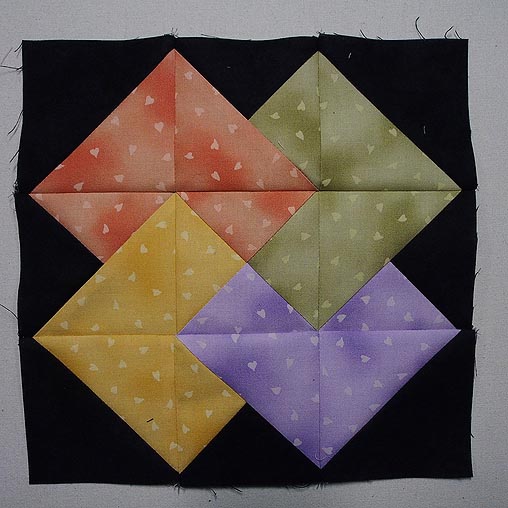
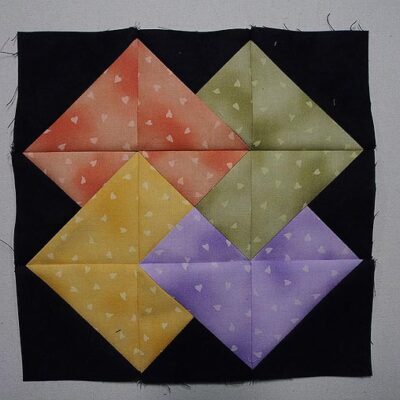
It has been a while since I actually highlighted a quilt block here on the blog. This week I have decided to show you how I create the card trick block which just happens to be one of my favourite quilt blocks.
I first learned about it in a book a bought a long time ago when I first started quilting called The Quilting Bible by Singer. What a fabulous book not only for beginners but also for seasoned quilters. Lots of great tips, hints, ideas and projects.
The card trick block has a lot of bias seams but with careful cutting, handling of the pieces and pressing the block will come out perfect every time.
Fabric Selection
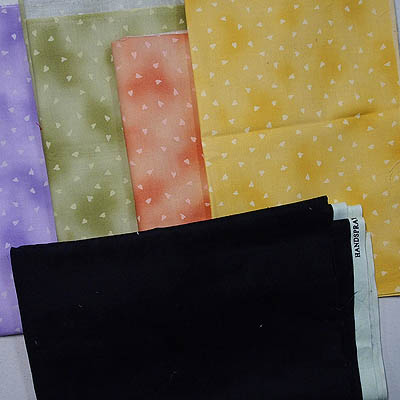
My first thought was to look in the scrap bin I keep under my sewing table to find the fabrics to make this block but when I looked I just couldn’t be bothered sorting through all of the scraps. I went to the cupboard instead and found these four lovely pastel pieces which I added a nice rich black to.
The key to this block is to have the centre cards contrasting enough that they show up as individual items and the surrounding background to set them all off. The black is going to do that for sure.
I bought these 4 pastel fabrics years ago in Adelaide at Hettie’s Patch – what a fabulous shop.
Cutting the Pieces
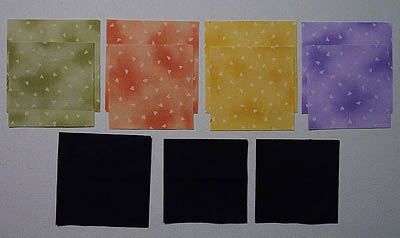
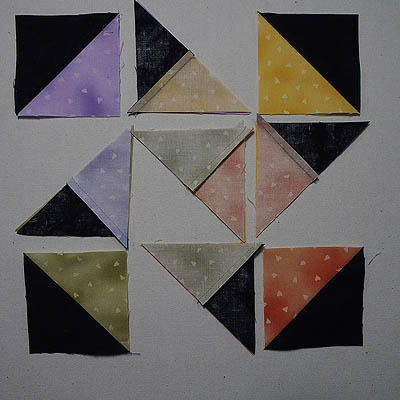
For a nine inch finished block I need to cut from each coloured fabric a 4 ¼″ square and a 3 ⅞″ square. From the black I need a 4 ¼″ square and 2 – 3 ⅞″ squares.
Then the 4 ¼″ squares need to be cut on the diagonal twice while the 3 ⅞″ squares only cut on the diagonal once.
Sewing the Pieces
I have found that the best way to make the card trick block is to lay out the pieces creating the block – this will hopefully ensure everything is sewn in the right place. Not always fool proof but very helpful. I have been known to get things turned around even when it is all in order.
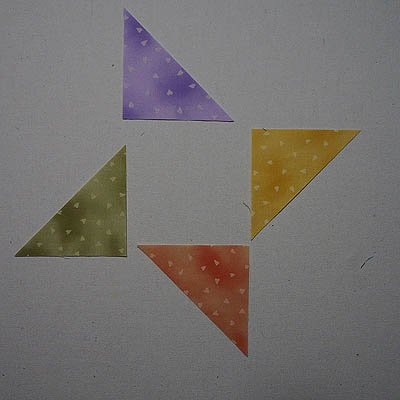
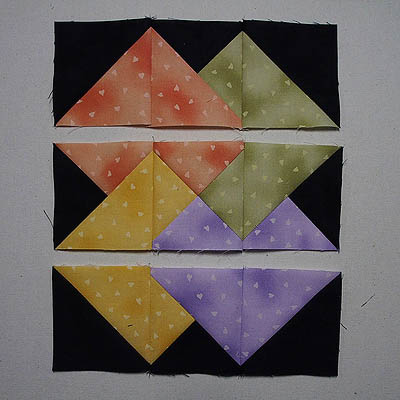
Start with sewing all the triangles together that can be sewn together at this time. Now because everything is on the bias you may want to use leaders to get started with the pieces or a walking foot to move the pieces over the feed dogs more evenly. I used the dual feed on my machine which is also great for sewing bias seams together. Chain sewing will also make the piecing process go much faster.
After pressing the pieces I put them back where they came from and then sewed the next set of triangles together.
Now that all the triangles are sewn into squares I can trim off the dog ears and sew the pieces together to make the rows.
Rows complete it is time to finish off the block. Here’s my 9 ½″ block wishing it had some friends to hang out with but it doesn’t because I only made one block.
Sure do love the colour and fabric combo – I’m thinking there will be more of these blocks in my future.
Happy Quilting!






This block is always shown with triangles, but to me, its a square and a rectangle of each color on the diagonal (as in ///), with the setting black triangles – but I never see the block made that way. Don’t know why, seems it would be a lot less sewing doing the blocks and only the background triangles. Anyone else ever done it this way?
Hi Paul Thank you for your comment. I have never looked at this block as rectangles and squares until you said you do. After looking at it and the placement of the rectangles and squares it is a block that will have to be made on point – I am going to give it a try – stay tuned for a blog post about it. I have often wondered how it could be done without having to use all those triangles. My mind went to half square triangles and quarter square triangles not rectangles and squares. Thanks for getting me to look at it in a very different light. Jen
Elenore Burns make her card trick this way in her Quilt in a Day book