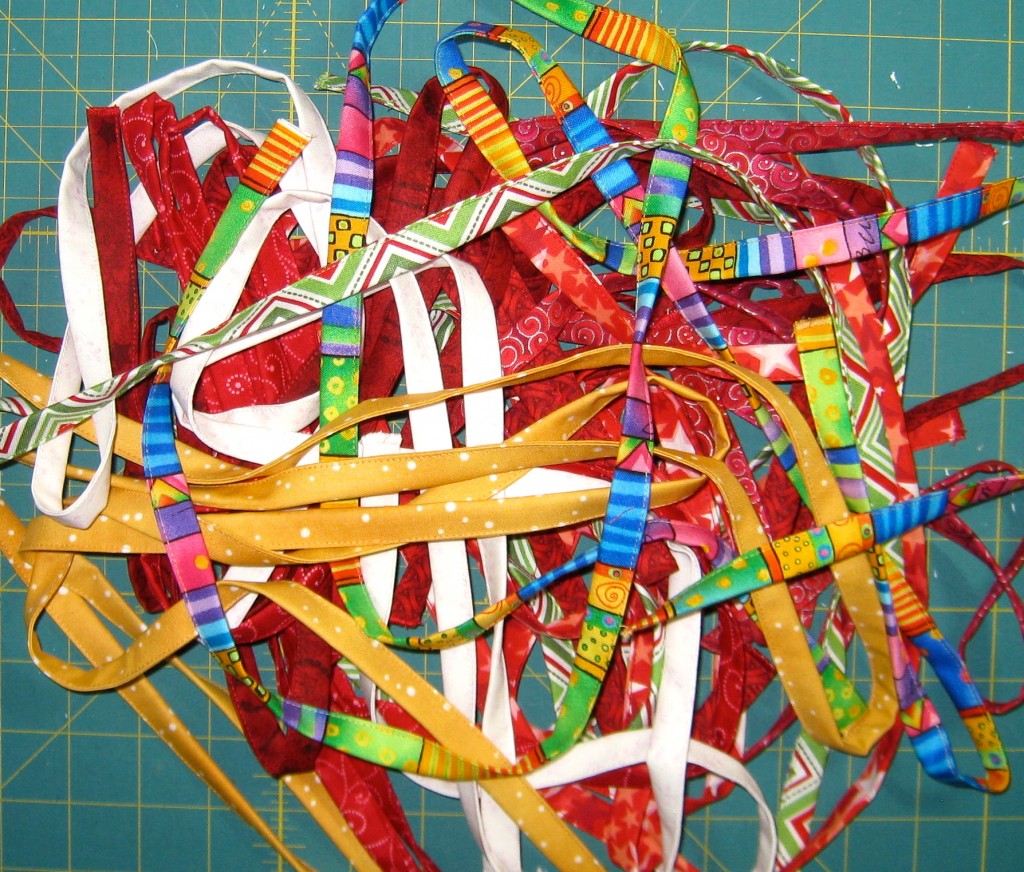
Hey Everyone, welcome back to Technique Tuesday. Seeing how I am still going strong on those Santa Sacs I figured I would continue on with this theme for my technique this week. Ever wonder how to make simple drawstrings without having to turn a very long tiny tube of fabric inside out because as we all know turning tubes inside out especially skinny ones is not an easy task but I do have a cool tool for that as well but it will have to wait for a Tool Thursday post in the future.
Drawstrings – the easy way out is to just buy some coordinating cording but what if you can’t find a coordinating one – a matching fabric one is as easy as 1-2-3.
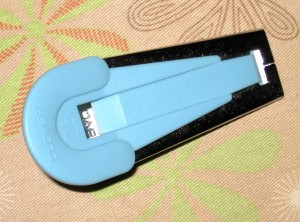
You can buy these cool gadgets called Fusible Bias Tape Maker from Clover and I know that there are other brands but I just happen to have the ones by Clover. (I should be getting royalties from Clover for the weekly advertising I seem to do for them.) Now I know it says fusible on it but the fusible part is going to be skipped when making drawstrings – this little gadget can be used to make bias binding as well but that is another post all together.
For the drawstrings I use the 1 inch bias tape maker – they do come in many different sizes and all together they are a lovely rainbow of pastel colours.
To begin cut two strips of fabric 2 inches by WOF (Width Of Fabric). Leave the salvage on.

Cut two 2 inch x WOF strips
Make one end of each strip slightly pointed so that it can be fed through the tape maker with ease.
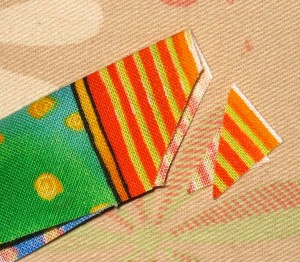
Fold end and snip off corners.
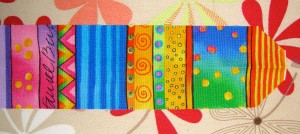
Slightly pointed end
Feed the strip with wrong side of fabric facing up through the tape maker from the back which has a large opening and pull through the flap opening in the front. You may have to use a pin from the bottom of the tape maker to nudge the fabric along.
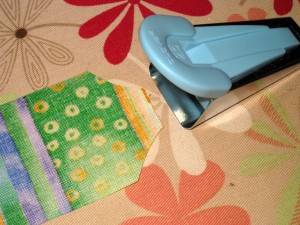
Feed fabric into back of tape maker
As the fabric comes out of the tape maker the two sides will be folded over.

The edges are folded over as they come out of the tape maker
With a steam iron press down the two sides by pulling back on the tape maker allowing the fabric to feed out. I find the fabric comes out easier and more evenly if the tape maker is held on a 45 degree angle to the ironing board.
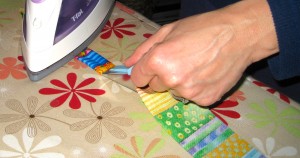
Using a steam iron press the fabric flat as it comes out of the tape maker
They say a photo is worth a thousand words, but sometimes I think a video is worth a whole novel, so I made a short video showing how to use tape maker.
To finish off the drawstring fold your freshly ironed tape in half so that the edges are hidden inside the drawstring. Now sew the drawstring closed with either matching or contrasting thread depending on the look you want approximately an eighth of an inch to the edge or closer if you wish.

Fold over and stitch close to edge
Trim the ends square and zigzag each end so there is no fraying.

Zigzag ends to prevent fraying
Insert the drawstring into the bag casing using a safety pin (diaper pins are the perfect size for this job) to help pull it along, tie the ends together so the drawstring doesn’t slip back into the casing.

Tie a knot in the ends and pull tight.
Easy as 1-2-3 okay maybe 4-5-6.
Until next week, Happy Quilting.




Trackbacks/Pingbacks