Hey Everyone, welcome back to Technique Tuesday.
Delectable mountains seem to be a quilt block that many tend to shy away from – I think it is those diagonal lines in them that make them look intimidating.
Really though it is quite simple. All it is is drawing the appropriate lines in the appropriate directions on the back of one of the fabrics and sewing along those lines. I chose to draw my lines on the light coloured fabric.
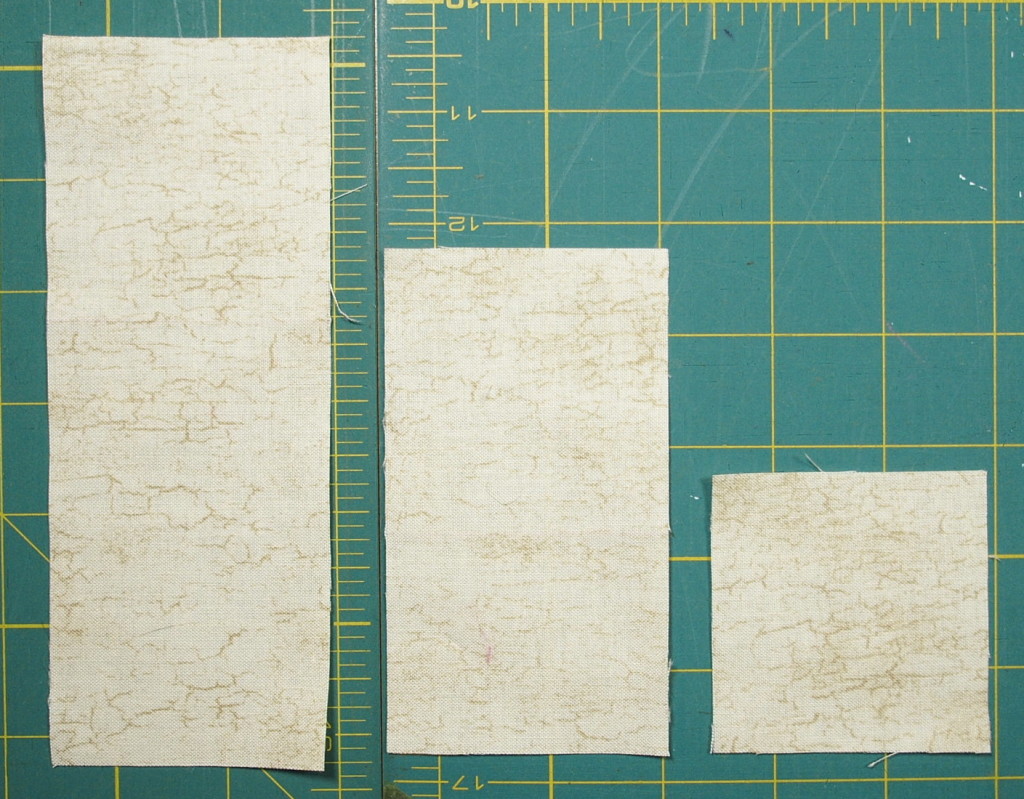
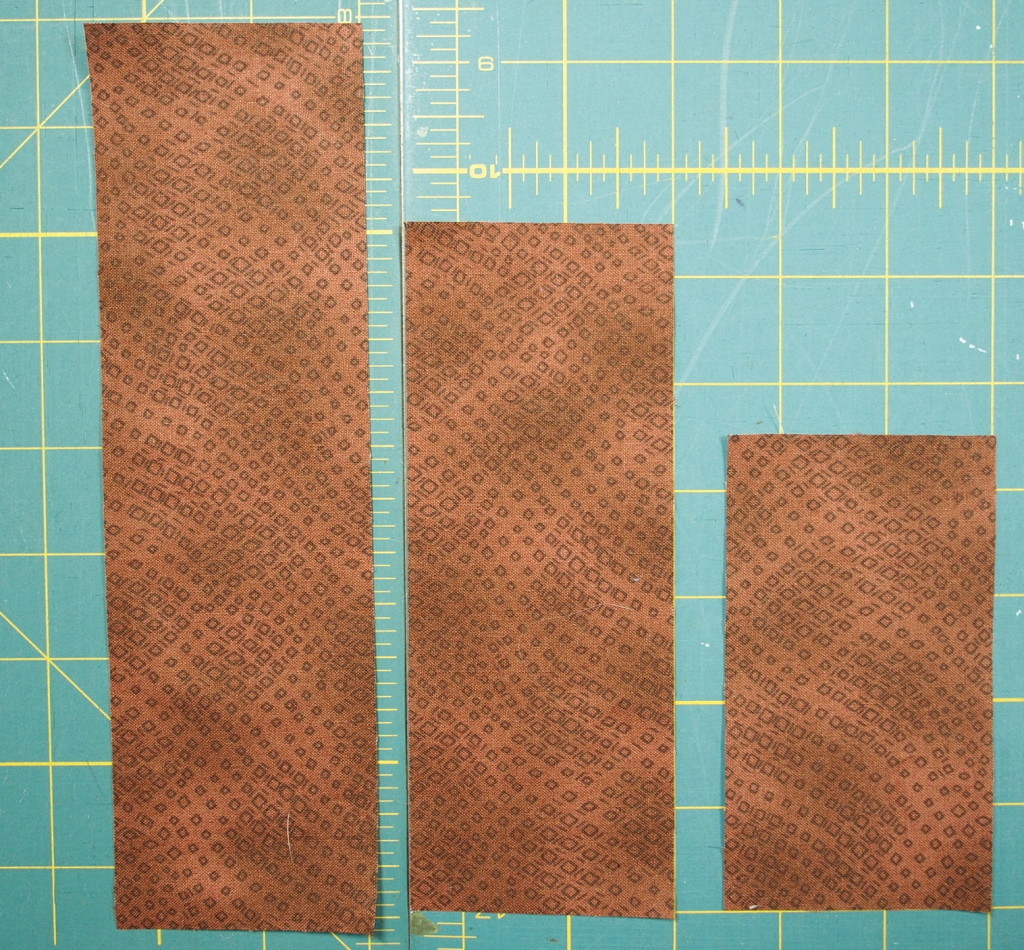
First of all cut the appropriate number of pieces and the appropriate size for the mountains. I have three different size of dark fabric and three different sizes of the light fabric.
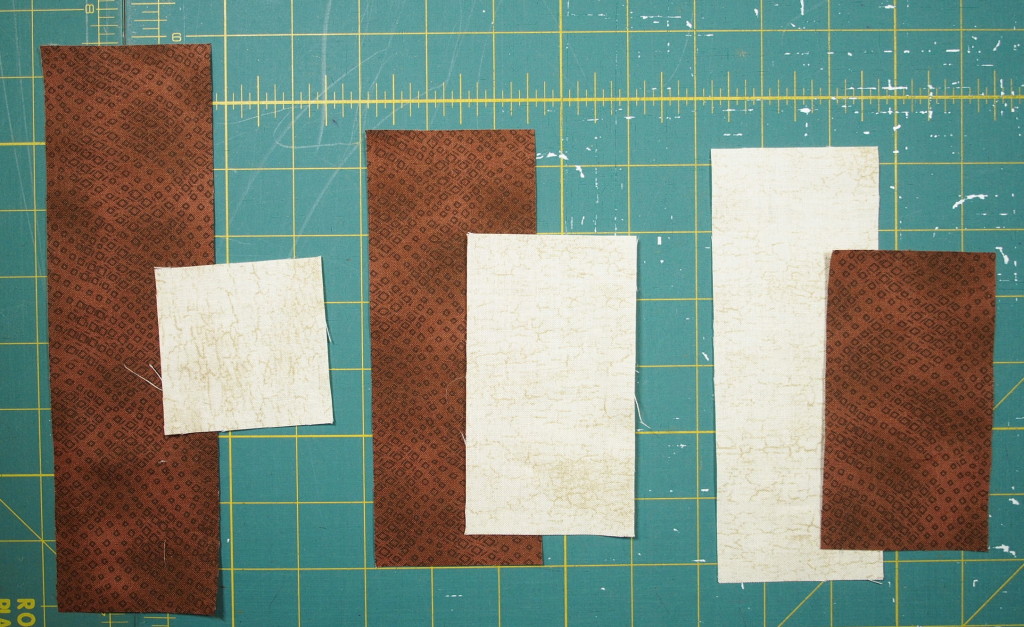
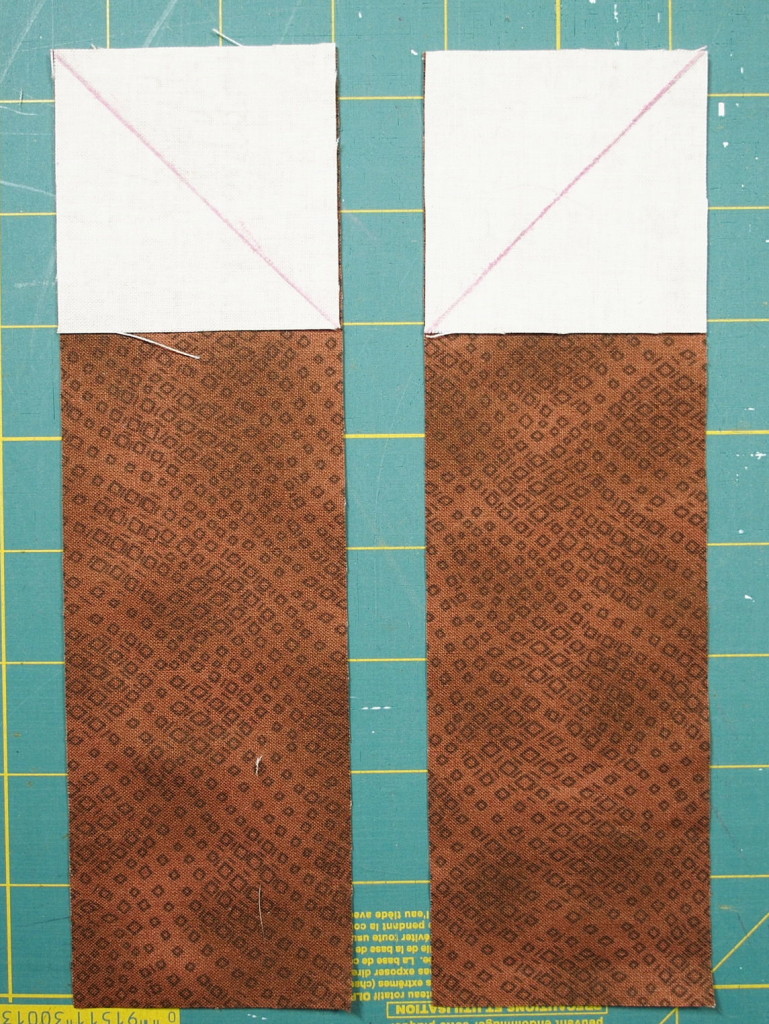
These pieces are then paired up light and dark – the square light piece with the longest dark piece, the medium pieces of each together and finally the shortest dark with the longest light.
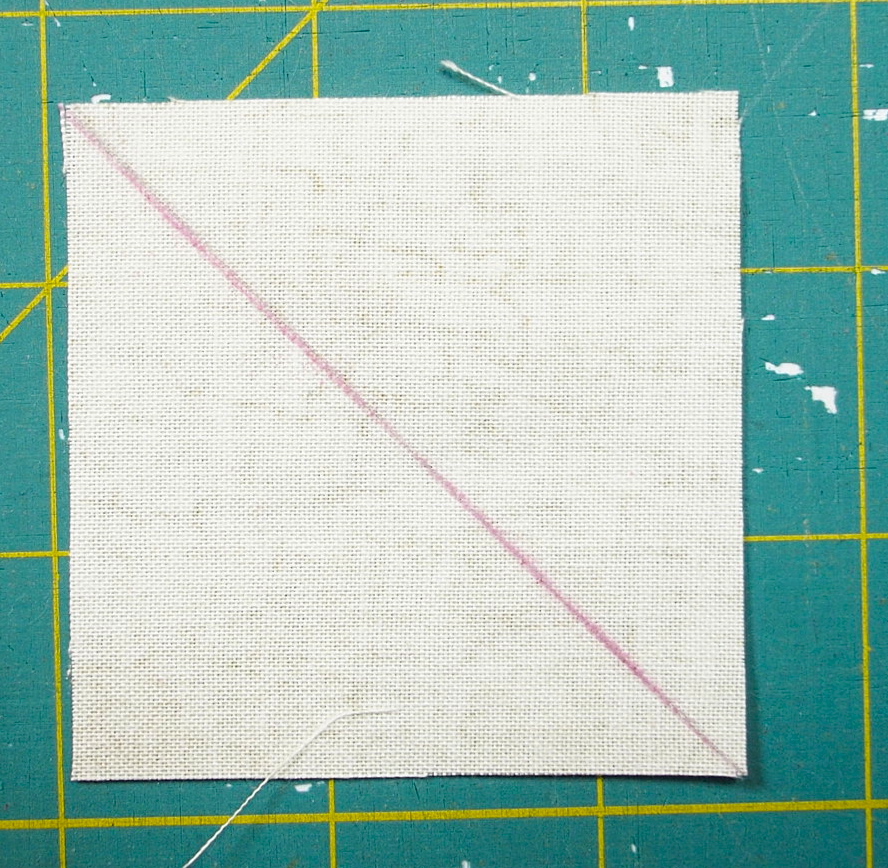
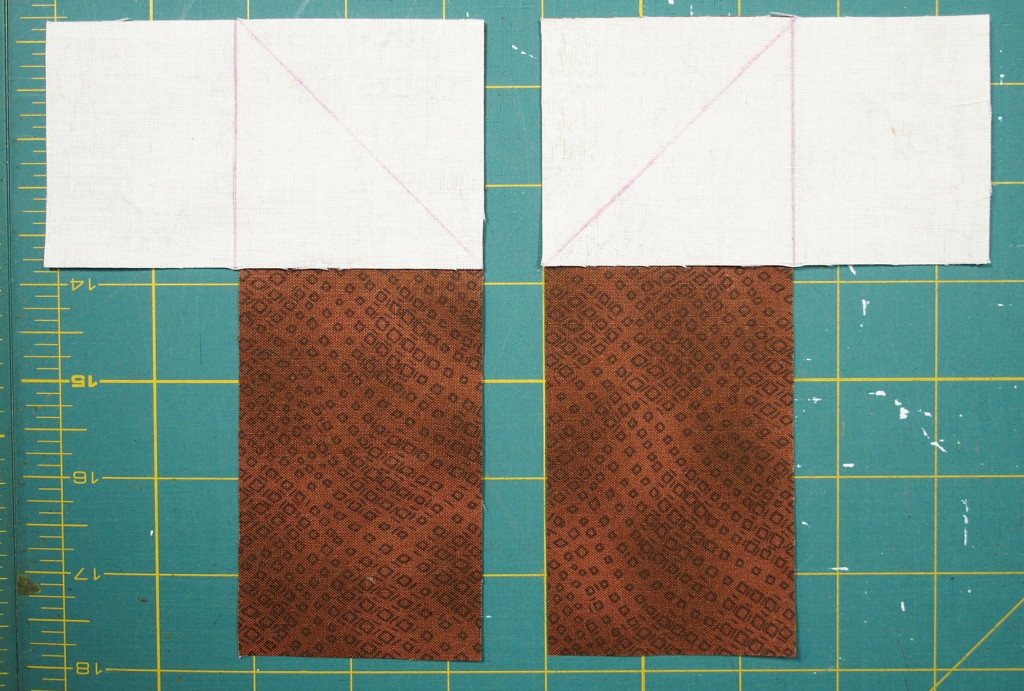
On the 2 ½″ light squares draw a line on the wrong side of the fabric from one corner to the opposite corner.
When placing the light squares on the dark rectangles make sure to place half the lines starting at the top left hand corner and the other half at the top right hand corner.
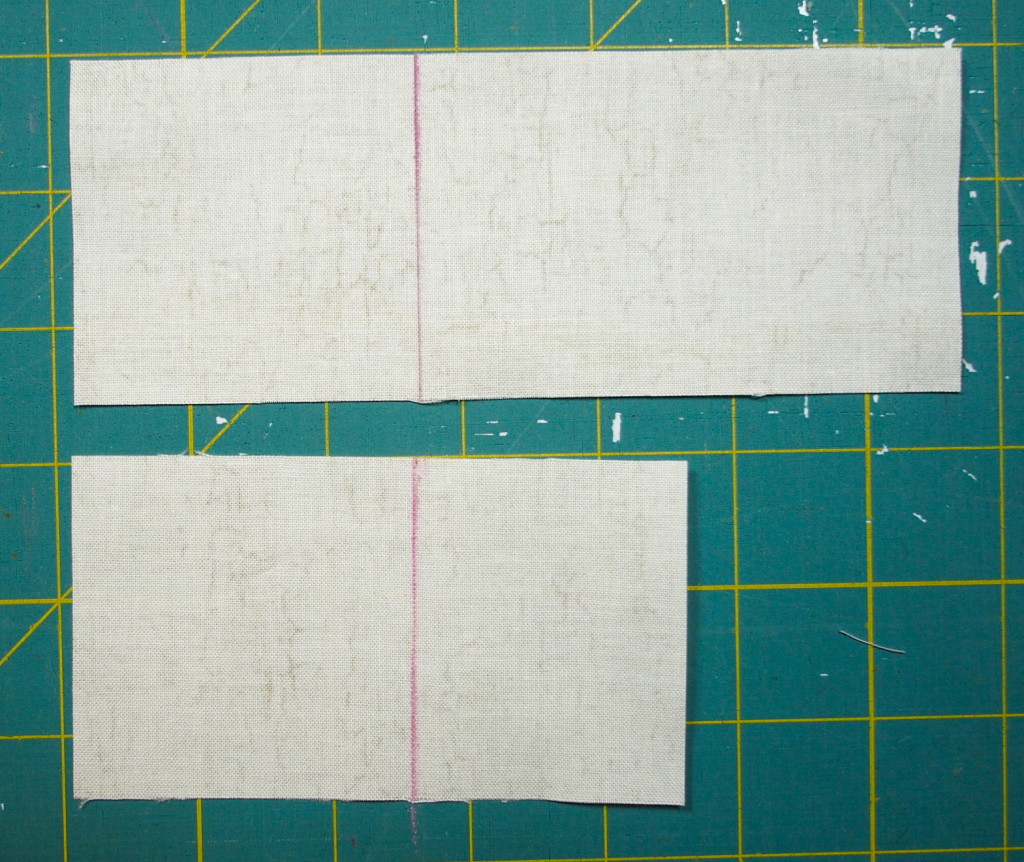
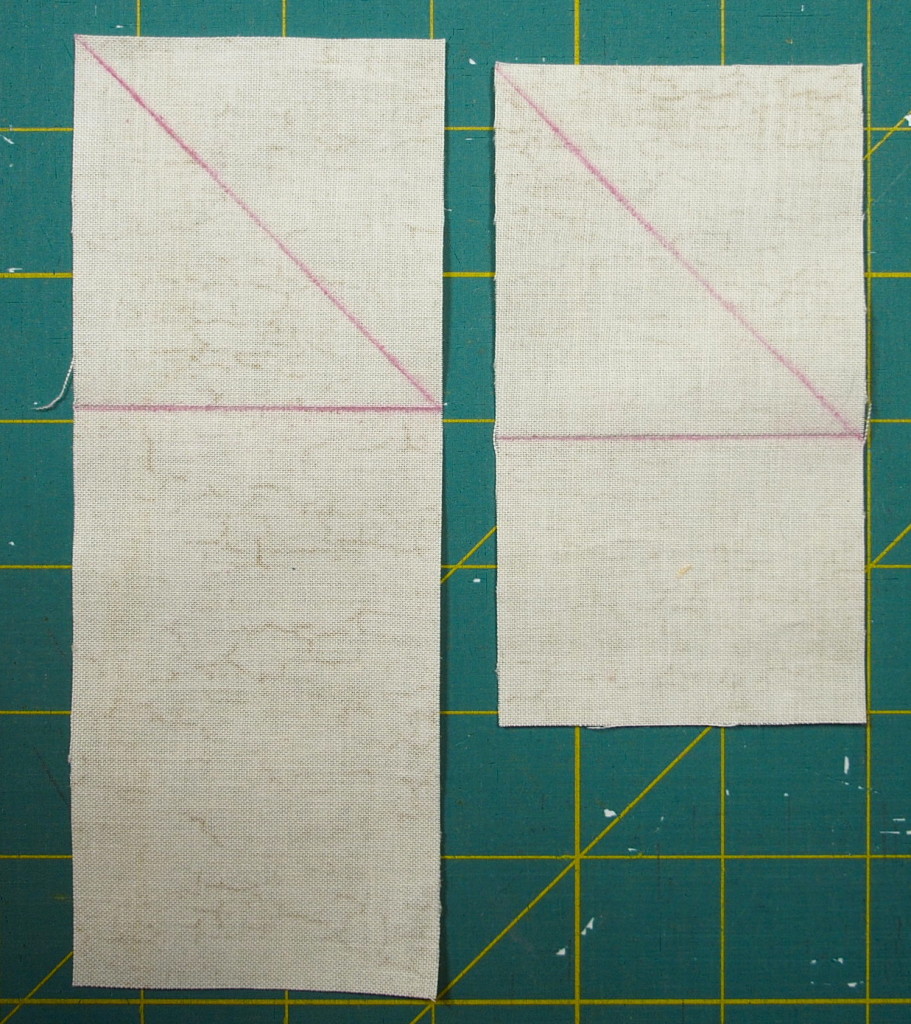
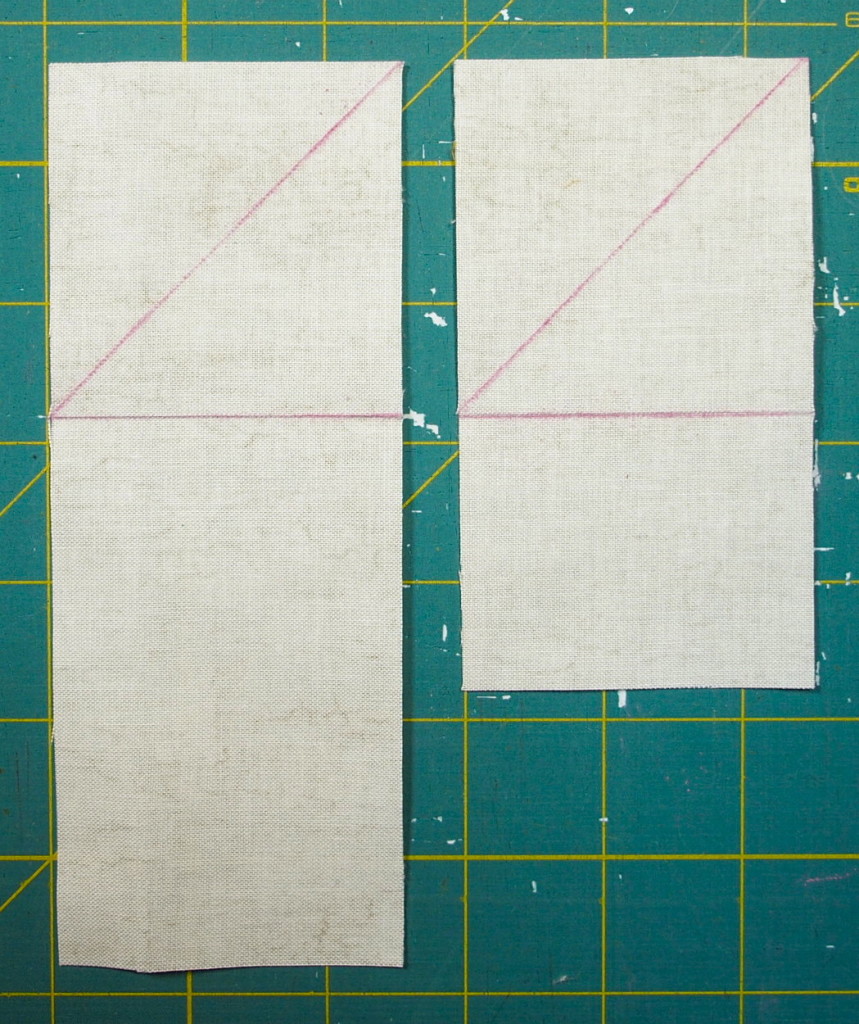
The remaining light coloured pieces need to have a 2 ½″ inch line drawn 2 ½″ from one end.
Then draw a diagonal line from the top left corner to the bottom right corner where the line is drawn on half the rectangles.
On the other half draw the line from the top right corner to the bottom left corner where the line is drawn.
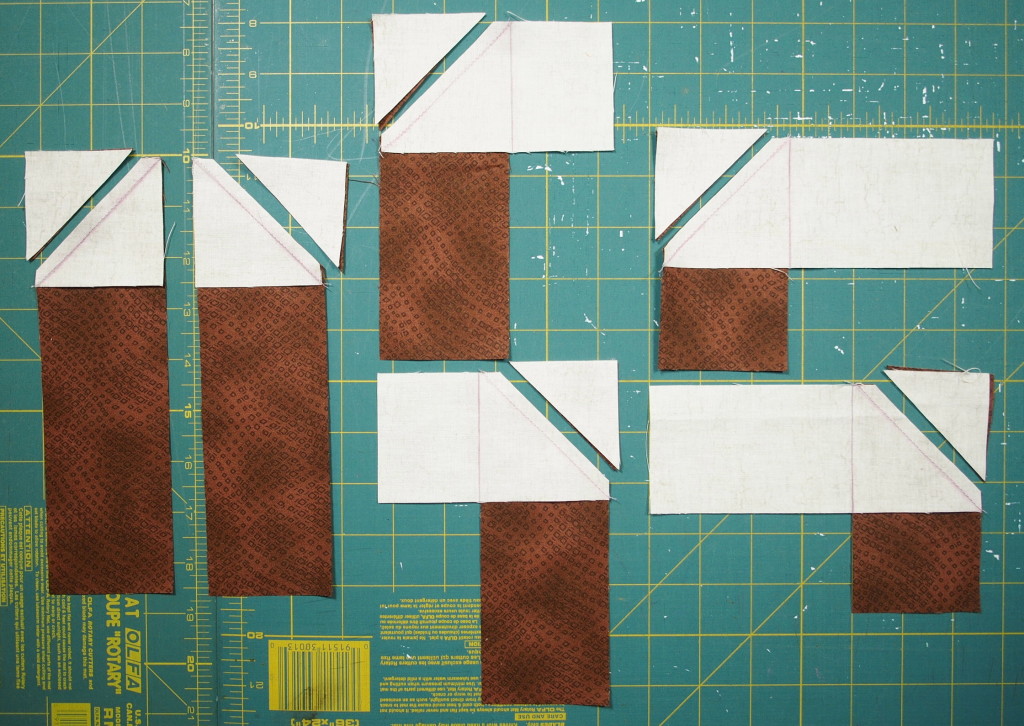
When placing the light pieces on the appropriate dark pieces half will be a right angle to the dark piece in one direction and half the other direction.
Sew just to the right of the diagonal line on all of the pieces. Trim the excess fabric to make a ¼″ seam allowance.
Press the seam towards the light fabric.
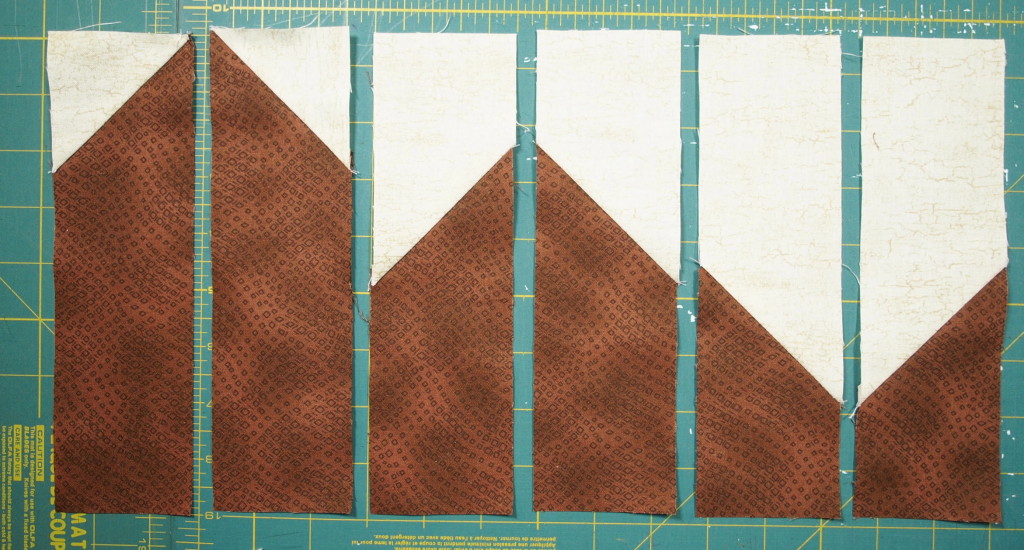
Start sewing the strips together to form the mountains. Make sure to lay them out in order so as to get the positioning correct. Continue adding peaks until your border is long enough.
See not so hard. They are found in my Purely Canadian quilt as two of the borders on the top and bottom. A great way to spice up a quilt.
Happy Quilting!

I shared this on The Needle and Thread Network, Freshly Pieced




Now that makes it all look so easy. Thanks for the tutorial. Now I have to check out the rest of your stuff!
they make a very nice quilt
Nice tutorial. Thanks for sharing. Your Purely Canadian quilt is wonderful.
Thanks Linda!
This will look great as a border!!
Great Tutorial! Love the Purely Canadian Quilt!
Start with 2 large squares, say….9″… of a light and a dark. Layer RST, stitch ONE diagonal corner to corner. Press open & slice into desired widths, say 1-1/2″. Re-arrange slices to form the mountain. Flip original HST the other way & slice to make the other side of the mountain.
Thanks Alicia. That’s a really slick technique, thanks for sharing.
Can you tell me the origin of this pattern? Is it Canadian? I know it to be called Scrappy Mountain Majesties.
Thank You Jen! Great pattern and it is making a beautiful quilt!? I am from the Rocky Mountains, it is absolutely perfect!
Fantastic! I’m happy it just what you needed.