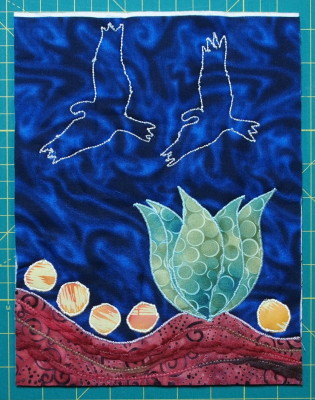
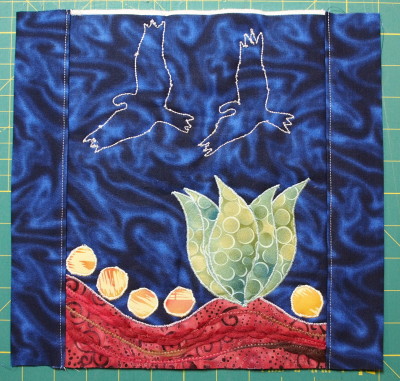
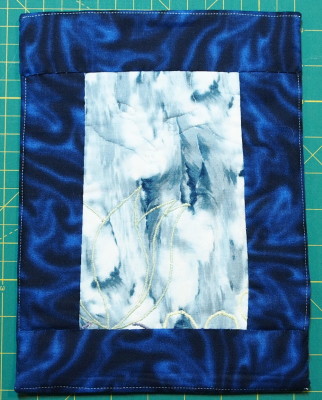
The trial Stitch Along Sunday with Ruth Blanchet has finished and I am a bit behind on posting my finished piece but here it is. This also means I still have to start on the new Stitch Along Sunday which started a couple of days ago. You can see what Ruth has made here for week 1.
The rules for finishing the piece was that it could not have regular binding so I thought why not face it and combine it as a Technique Tuesday blog post.
I finish many of my art quilts especially the ones with no borders in this manner – gives it just a bit different look than using a binding.
To Begin – Preparation For Facing A Quilt
Square up the piece and trim off excess backing and batting. I left a bit of batting at the top of mine as I didn’t want to cut off the tip of the wing.
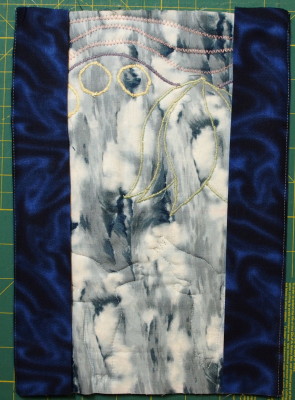
Try to use the same fabric as the backing if possible so that everything blends together on the back – looks more professional. I have used a contrasting colour for demonstration purposes.
Measure the vertical side of the quilt. Cut the piece to be exactly that length. I use a 4 inch wide strip for larger pieces and 3 inches for smaller pieces.
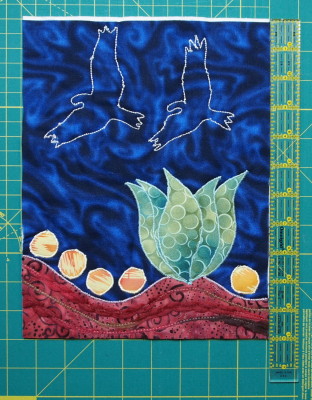
Measure all sides
Measure the horizontal side of the quilt. Add 3 – 4 inches to the length and cut the piece. The reason this piece needs to be longer is that the ends are tucked under when doing the final finishing and stitching on the back.
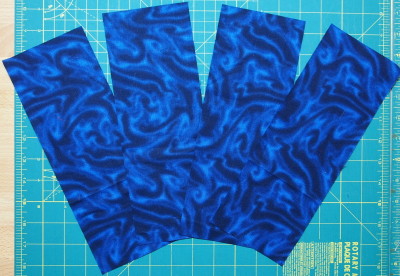
Pieces cut for all 4 sides
Fold all pieces in half with wrong sides together and press.
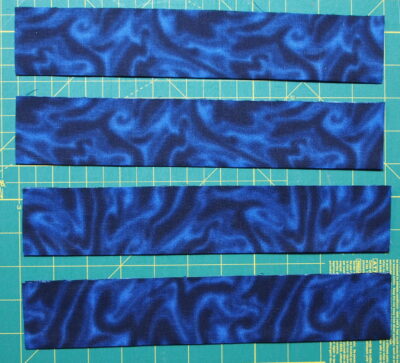
Press in half with wrong sides together
Sewing the Facing in Place
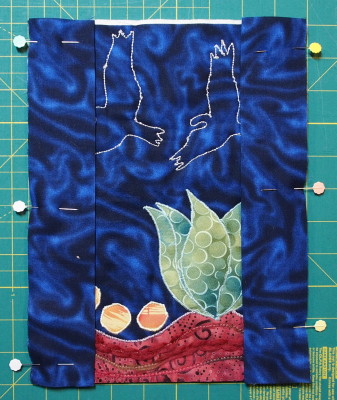
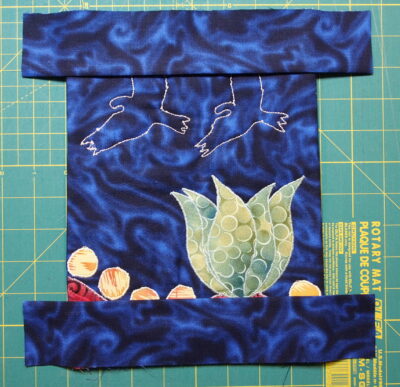
Place the vertical pieces along the edge of the quilt with the raw edges meeting. Pin in place.
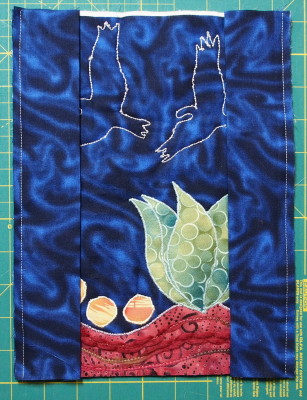
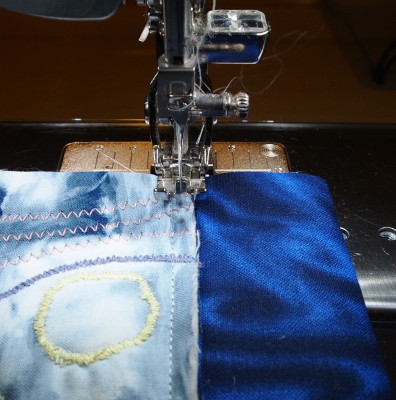
Sew down the edge of the quilt with a ¼″ seam to secure the strip in place.
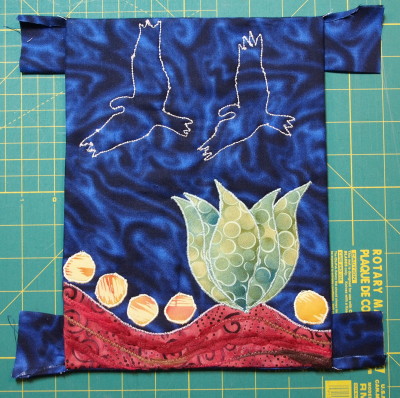
Press the facing over the seam so it hangs over the edge of the quilt.
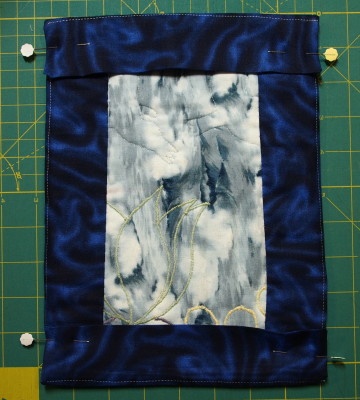
From the back side sew an ⅛″ seam between the edge of the quilt and the ¼″ seam just sewn. This is the stay stitching and will help create an edge to the quilt as the facing is pressed to the back of the quilt. Make sure to use thread that matches the facing fabric so it blends in – here I have used a contrasting colour so you can see where the stitching is.
Press the facing to the back of the quilt.
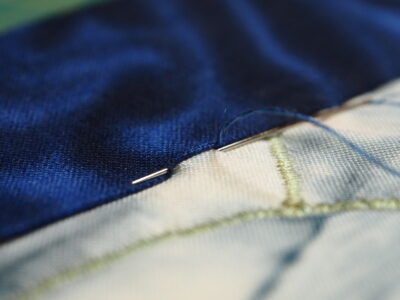
Hand sew the facing in place. These sides need to be sewn down before the other two sides can be attached.
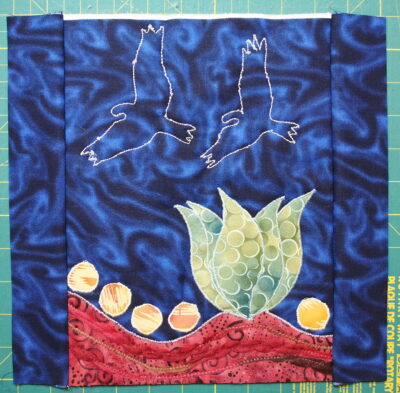
Repeat the above steps for the other two sides of the quilt. The horizontal facing strips will hang over the edge of the quilt – try to have even amounts on each side.
When hand sewing the facing down fold the extra fabric in under the facing to create a finished edge and not leave a raw edge.
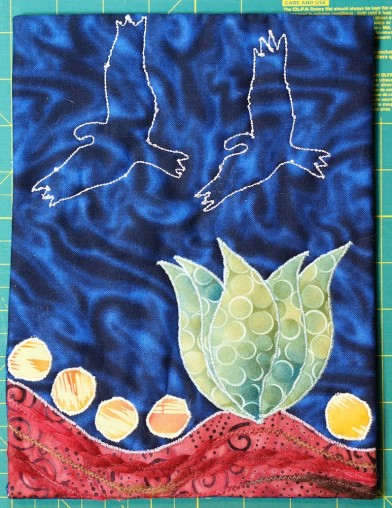
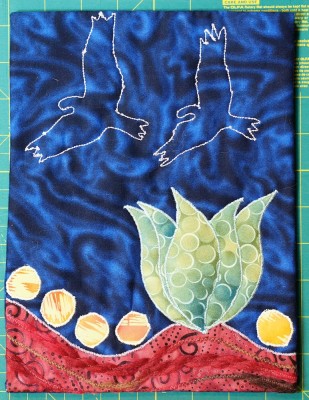
Facing the piece gives it a nice clean finish.
Happy Quilting!





Interesting!!
This turned out beautiful!! I like the facing idea.
This looks good and I love that there is no binding! I would like to do this on a mini-wall-hanging quilt that I am making but also need to put a small hanging sleeve on it. Will the facing support that or will it not hang straight?
Juliet, how big is the piece? I know some people don’t sew down the sides and use the facing as the hanging sleeve. I would only do that with a small piece though and I would think that it would hang straight – I guess try and see and if it doesn’t then you can close up the sides and add a hanging sleeve. Let me know how you go.