Hey Everyone, welcome back to Technique Tuesday.
I have struggled my whole quilting career to cut diamonds from a strip of fabric and I am not quite sure why as I have good spacial perception and usually no problem visualizing where to put the ruler and the lines of the ruler. Not so with diamonds – a struggle just about every time until I figure it out again and the light bulb turns on.
Hopefully this tutorial will help others who struggle as well.
All that is needed is some fabric, a rotary cutter, mat and a 6 x 24 inch ruler.
Cutting a 45° Diamond
The same steps apply whether cutting a 45°, 60° or 30° diamond.
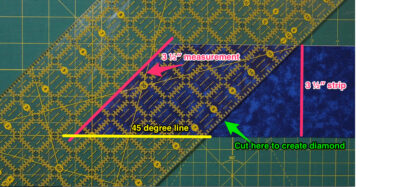
Cut the strip of fabric to the size of diamond needed making sure that the ½″ inch seam allowance is added in. For example if a 3″ diamond is needed the strip needs to be cut at 3 ½″ wide. Trim off the selvage.
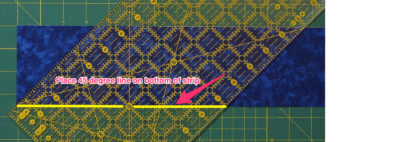
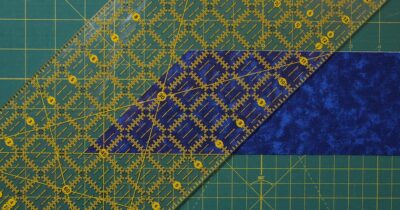
Place the ruler on the fabric strip with the 45° line along the bottom edge of the strip and the end of the ruler is at the corner of the strip.
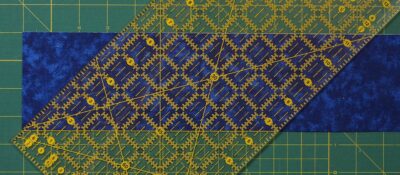
45 degree line of ruler in position to make the first cut
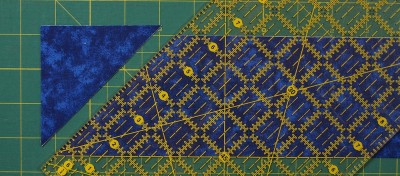
Cut off the excess fabric at the beginning of the strip to create the first 45° cut. Try not to manipulate the pieces too much as they are now cut on the bias and will stretch out of shape.
Move the ruler along so that the 45° line is still along the bottom of the fabric strip and line up the 3 ½″ vertical line on the ruler with the cut just made.
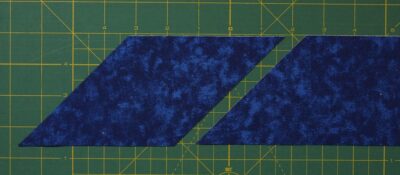
Cut along the ruler edge to create the diamond.
Keep on moving the ruler along and cutting to the end of the strip.
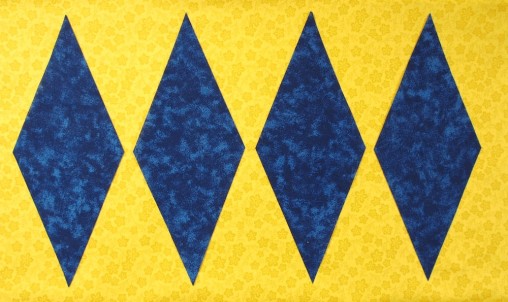
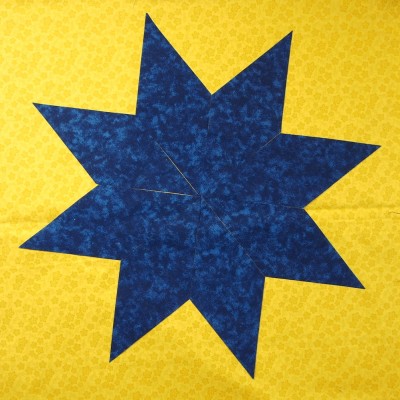
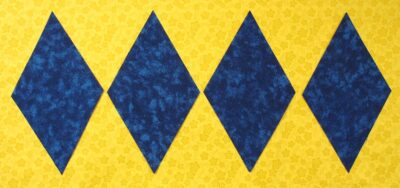
An 8 pointed star can be made with the 45° diamonds.
30° Diamond
A bit of an odd shape these ones are.
60° Diamond
Straight forward and easy – until the next time.
Tune in next week to see how these diamonds are sewn together to create a block.
Happy Quilting!







So much more accurate using the Starmaker Master Templates. The Starmaker 6 makes perfect 60° angles—any size. The Starmaker 8 makes perfect 45° angles.
My guild did a comparison between lines on a ruler and the Starmakers. Unanimous decision, the Starmakers won every time.
Lovely clear explanation, I remember having a horrid time making a Le Moyne star even though I starched the fabric to paper! This is great, thanks Jen
Thanks Juliet, I am glad it will be of help.
Ohh my gosh !!! Thank you for just a simple clear three step easy solution to my problem. I’ve watched every u tube video on this. And confused as heck. Our daughter trains race horses are tight for cash and I make her costume saddle cloth hot pink neon green and zibra diamonds. Well I’ve never sewed a thing and self taught myself. Thanks again for your help and watch for her . Ariel Gordon Turff paradise Az. I’m mommma Elicsha GORDON. Happy holidays.
Elicsha you are most welcome. I hop your project was a success. Happy Quilting
Thank you so much, I have struggled to get my head around this all weekend and you have confirmed what I thought.
I wish I had gone with my gut instinct instead of overcooking and wasting a whole weekend
Tammy so glad that my tutorial was helpful for you, sorry you wasted a whole weekend. Many times we do tend to overcook things and don’t see how easy the task at hand is. Best of luck with your project and happy quilting. Jen
thanks for this clear advice.
the only other way I have been shown wastes a lot of fabric.
Thank you for taking the time to do this to help people who have been struggling to get it right me included a lot of people can’t afford lots of different rulers no matter how accurate and showing us how to utilise what we have in different ways is fabulous thank you once again
Thank you.
?