Hey Everyone, welcome back to Stash Blasting Wednesday.
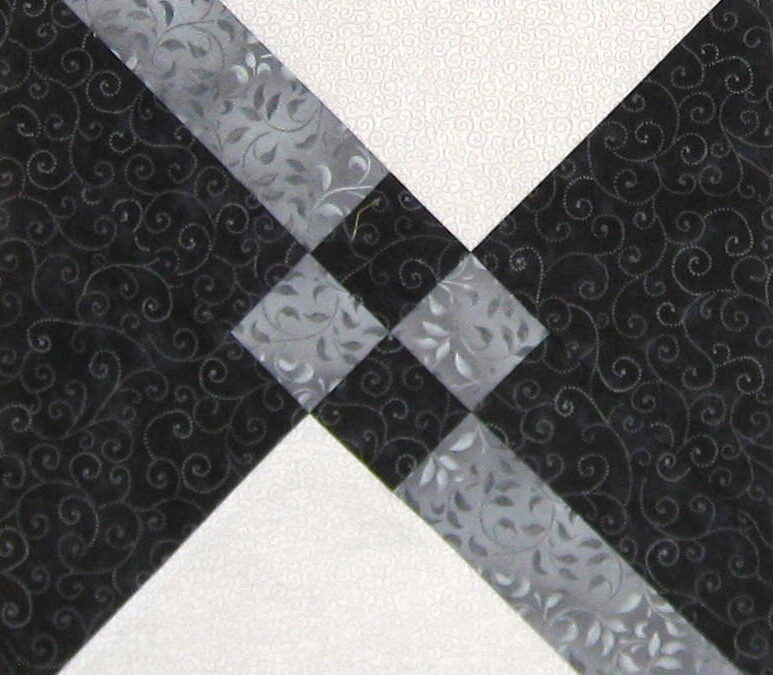
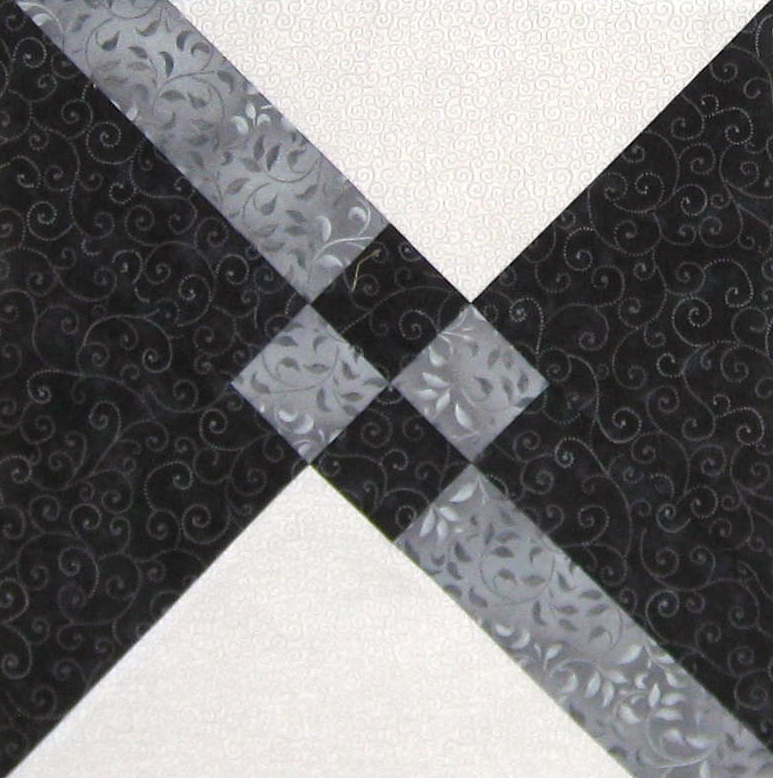
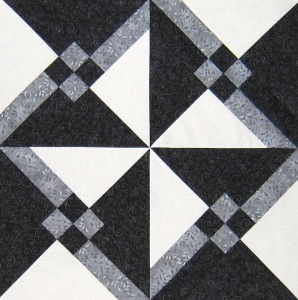
This week’s block is called Granny’s Choice and not it is not the same as the Grandmother’s Choice block that I made a few weeks ago. So many blocks with very similar names it is hard to keep them all straight.
I decided to go with an achromatic colour scheme for this block and I used a 12 inch block this time. I didn’t feel like working with tiny little pieces this week and figured the larger pieces would go together faster plus use up more fabric.
Pick and Cut Fabrics
Three fabrics are needed for this block. The fabrics need to be of different values in order for the block design to work. One of the triangle fabrics needs to be light, the other dark and the remaining fabric a medium value. Mine was quite easy seeing how I picked black, grey and white with a grey squiggle.
Cutting Instructions for 12 Inch Block
Black Fabric (Dark Value)
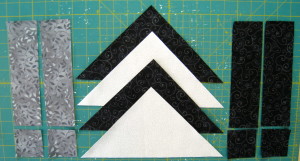
- 1 – 11″ square cut on the diagonal twice – this will make 4 triangles – you will need 2 of these triangles to make one block
- 2 – 2 ¼″ x 8″ rectangles
- 2 – 2 ¼″ squares
Grey Fabric (Medium Value)
- 2 – 2 ¼″ x 8″ rectangles
- 2 – 2 ¼″ squares
White Fabric (Light Value)
- 1 – 11″ square cut on the diagonal twice – this will make 4 triangles – you will need 2 of these triangles to make one block
Making the Block
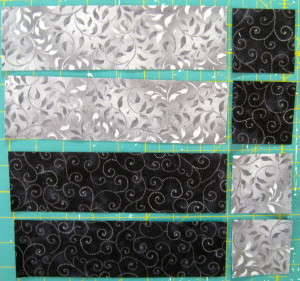
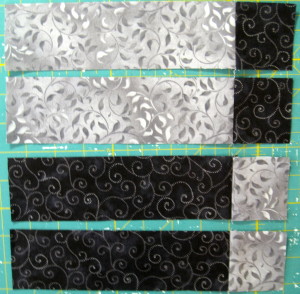
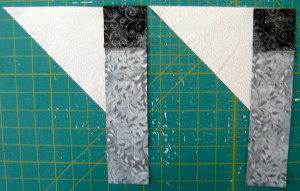
Sew the black 2 ¼″ squares to one end of the grey rectangles and sew the grey 2 ¼″ squares to one end of the black rectangles.
Press the seam towards the black fabric in each unit.
Lay out the pieces as below.
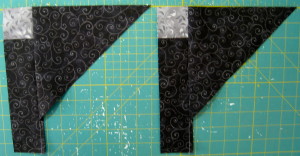
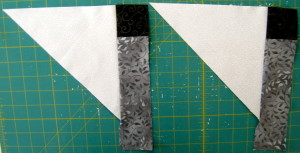
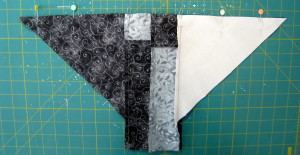
Pair up the black rectangle/grey square unit with the black triangle. Place the the grey square at the right angle corner of the black triangle with RS together. Sew down the long side. Make two. Note: the rectangle pieces will be longer than needed and will be trimmed off at the end.
Press the seam towards the black triangle.
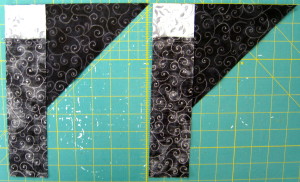
Pair up the grey rectangle/black square unit with the white triangle. Place the the black square at the right angle corner of the white triangle with RS together. Sew down the long side. Make two.
Press the seam towards the grey rectangle.
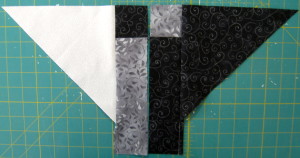
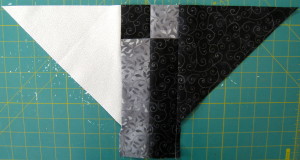
Match up a black triangle unit with a white triangle unit. Sew down the side with the rectangles and squares units. Make two.
Press the seam towards the black rectangle/triangle unit.
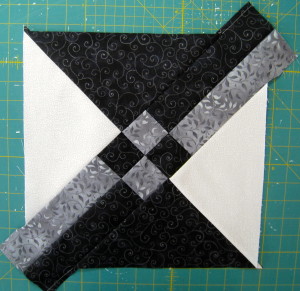
Match up the two units just made taking care to match the seams. I recommend pinning as the edges are on the bias and can stretch out of shape very easily. For more detailed instructions on pinning check out my blog post all about pinning.
Sew together and press the seam in either direction.
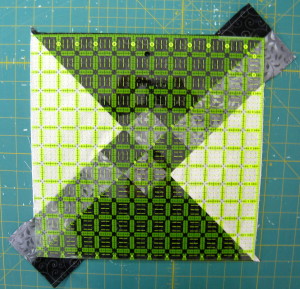
Square up the block to 12 ½″. It will be a bit larger so will need to be trimmed. Check out this post for help with squaring up a block.
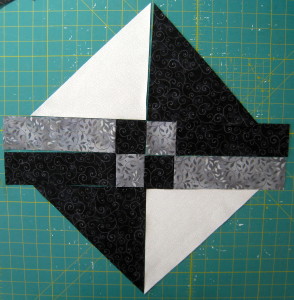
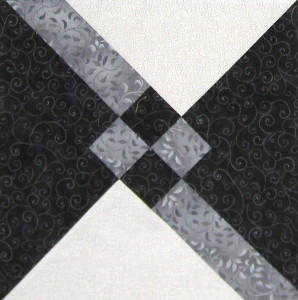
And there you have it – another great block.
Four Blocks Together
Happy Quilting!




I love this block
Thanks! Me too, it really surprised me.
Love this. One of the quilts at the cottage is in this design. Dated 1908 in their corner.
Wow! That’s really cool Elaine. If you send me a picture sometime, I’ll feature it on the blog.
Love the look of this block. Great tutorial. Thanks.
Is there a quilt pattern using this block?
Hi Roxanne I am afraid there is no quilt pattern but I have had many requests so am thinking of doing something – will keep you posted. Jen
I liked the block, and when I saw the example of multiples, I loved yhe block. Must try this one. Thanks for the great tutorial.
Karen, so glad you like it. I do too – it is on my UFO list to be finished this winter.
I love this I will do this for my teen granddaughter. Thank you.
That’s great Dianne. I am sure she will love it. I need to get mine finished – just another one of those UFO’s waiting to be loved.
Hi Jen,
This is a great block. I am the block of the month person for my quilt guild. I would love to use this block as one of the BOMs for this next year. Do I need permission to do that? Want to do it legally! Please let me know.
Lynn Perrizo
Thanks for the inquiry Lynn. Yes you do need permission. I have emailed you privately. Have fun with the block. It is a great one.
I love this block Jen. I have printed it for myself to play with. I belong to a quilt guild and “fear” (LOL) when they see it, they too will want to play. Is this okay with you if I share this with them?? Thanks for sharing your talents!
Thanks Ellen. Have fun playing.
Do you have fabric requirements for this? I’d like to make a lap size. Thanks
You could even make it quicker by cutting 41/2 x 8 14
and 41/2 x 21/4 sewing the oppisites to each end then cutting in half.
Right?
Hi. I’ve been looking for a pattern to make my brother a quilt in red white and blue ( Montreal Canadians ). I’m hoping this is it. I love this pattern.
Geraldene, this pattern would look great in the Montreal Canadian colours. Have fun with it. Jen
I would love to make Grannys Choice blocks for a quilt. I’m kind of new and need a pattern to figure fabric and how much to cut. Do you have a pattern? I have looked but could not find it. Any help would be greatly appreciated.
Thank you
The perfect block for a new quilter.
Wish there was a print version. Tried to print from this version and it wanted to print 47 pages
Hi Mary Sue I am going to work on putting my popular posts into print version this fall/winter. Happy Quilting Jen
Hi Jen, I have started this quilt and LOVE it! One question… going back and forth as to whether to QAYG or regular quilting. I am making this to fit a Cal King and as you can imagine very large to work with on the machine. I want to quilt as I go without saching do you have recommendations for putting on the backing? Any advise is greatly appreciated.
Great tutorial and great block. Thank you!