Hey Everyone, welcome back to Story Time Monday.
This week I thought I would discuss a flower quilt seeing how spring is just around the corner or at least we hope it is but then again yesterday morning enough fresh snow had fallen in the night to have the driveway cleared by the tractor.
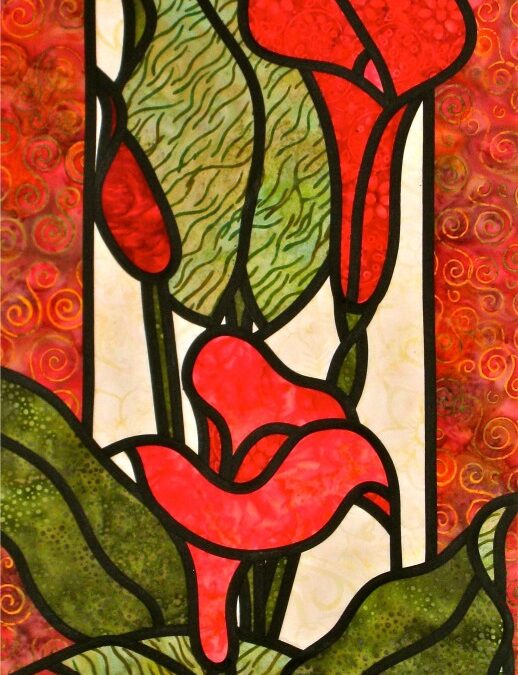
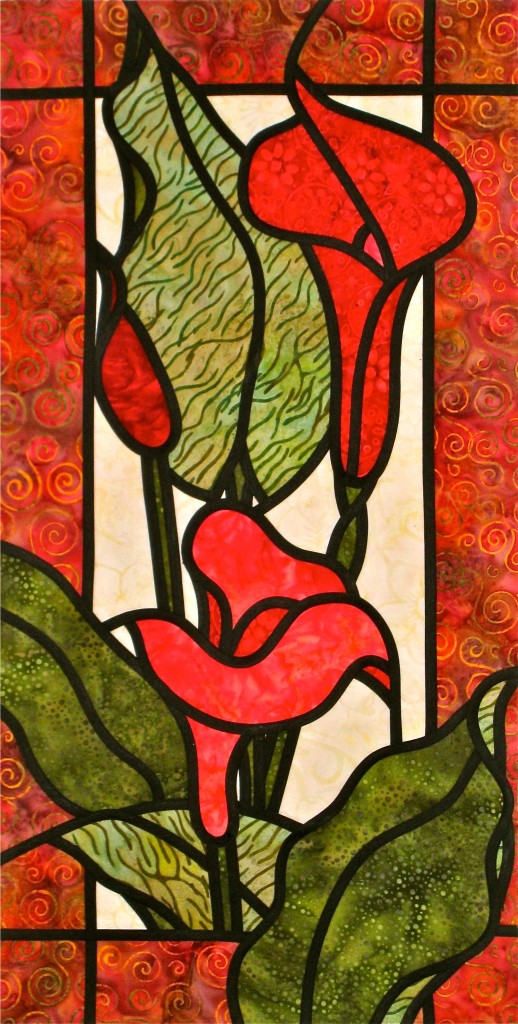
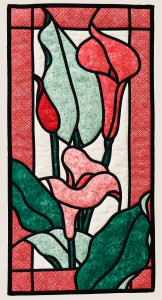
This quilt is called Colourful Callas designed by Jan Blanchet and available through Arbee Designs. When the pattern was developed I was asked to test it. I had never made a stained glass quilt before and had always wanted to so I thought okay I will give it a go. I have always admired stained glass windows and think that it is really cool that they can be replicated in fabric.
The pattern arrived in my inbox and I printed it off thinking boy this looks like it might be a bit complicated with all these lines and numbers and arrows everywhere. I set to work and it went together like a charm. The instructions were easy to follow, straight forward and soon the little wallhanging was made.
I had to made a quick trip to Thimbles & Things to purchase some batik fabrics for this project seeing how I didn’t have my stash at the time – it was sitting in a container on a ship somewhere in the middle of the Pacific Ocean. I like the look of batiks fabrics for stained glass because they have a lot of different textures but regular cottons can work as well. The key is to have contrast using different light, medium and dark valued fabrics.
All of the pieces are traced onto fusible web, cut out and then placed on the background using the pattern page as the template for placement. Once in place they are fused down with heat to ensure they stay put. A large light box would make it much easier to see through the fabric to the lines on the paper template but I didn’t have one so made do with a narrow glass topped table and a light shining up from underneath.
Stained glass quilts give you the illusion of looking at a stained glass window with a light background where the light is shining through and illuminating the coloured design on the window. The black outline around the pieces is the tedious part especially if you were to make your own bias tape but I cheated and bought a roll of fusible bias tape made by Clover – really the only way to go.
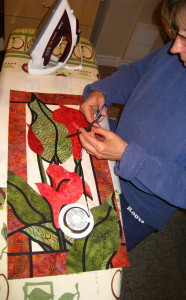
Each bias piece has to be cut individually.
Placed in position numerically so that there are never any raw edges showing.
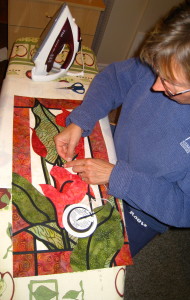
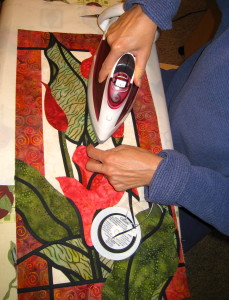
And ironed in place. I burnt my fingers a few times while placing these pieces. It was well worth it though as the effect is stunning.
Once the bias pieces were in place, the quilt layers were put together and it was time to sew down those bias pieces. Yes, they all had to be sewn down. A line of sewing with black thread on each edge. These sewing lines also became the quilting.
If you have been admiring stained glass quilts then you should give them a try as they are much easier than they appear to be.
Happy Quilting!




It is a really nice design. I love the fabrics you chose.
Thanks Ruth. My mom loved it to and it is hanging on her wall to enjoy everyday.