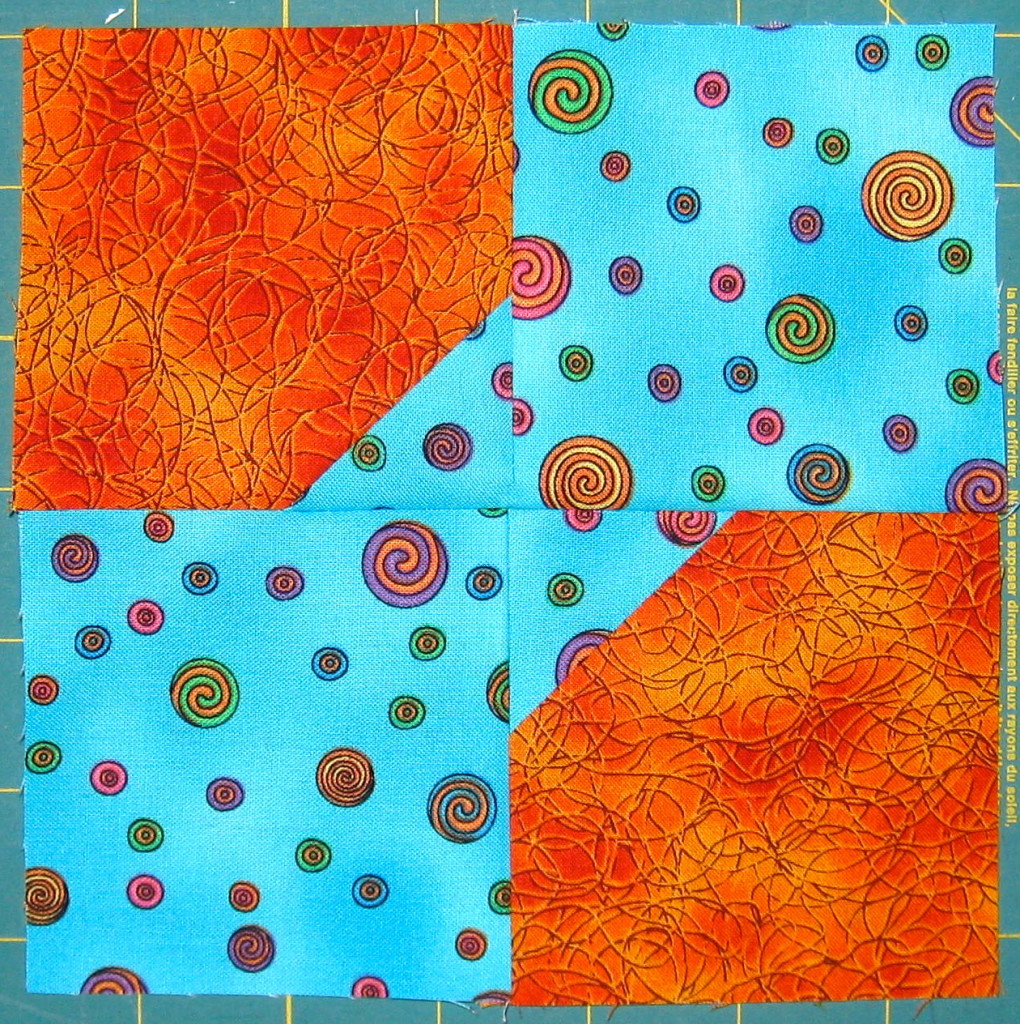
Hey Everyone, welcome to Stash Blasting Wednesday – A Block A Week. This is the first instalment of 52 weeks of different blocks. The plan is to make a different block each week – some will definitely be more simple than others and then there will be the ones that are not for the faint of heart.
I have given myself the challenge of only using fabrics from my stash for these blocks.
Once a set of blocks are made then they will be made into a quilt to be donated to the cuddle quilt program at the Orillia Guild. A cuddle quilt is a quilt that is given to someone in need – maybe a child or adult in the hospital or someone who has experienced some sort of trauma or stress in their lives – the quilts just help to bring a bit of warmth and caring to a not so nice situation. I am always thinking every month I go to guild that I should be donating a quilt to this great cause and I never do so now I have a plan and a system to make it happen.
This week being the first of many weeks I decided to start with a simple block design. I have chosen a 2-grid design or, as most quilters are familiar, a 4 – patch block. This week’s block is the Bow Tie Block and to tell you the truth I have never made this block in my 10 years of quilting. It is so quick and easy and the colour combinations are endless. Great for complementary colour schemes – oh, that’s a good idea for Colourful Friday. I might end up with a whole quilt of bow tie blocks.
Let’s get started. The instructions below will make a 6 inch finished block. All seams are a ¼″.
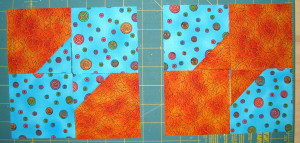
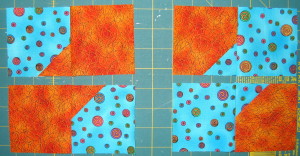
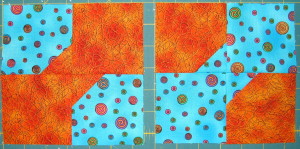
I actually ended up making two blocks today, so note that the instructions include quantities for just one block and the photos show two blocks being assembled.
Assemble Fabric & Cut Pieces
All you need for this block is 2 different colours that complement each other – they can be bright, solids, prints etc, up to you. I have decided to go with brights as I have so many small pieces to use up.
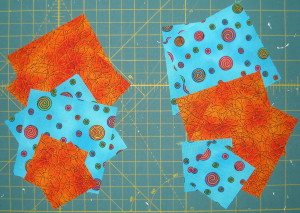
Cut 2 – 3½″ squares from each fabric.
Cut 2 – 2″ squares from one of the fabrics – this will be the bow tie.
Triangle Corners
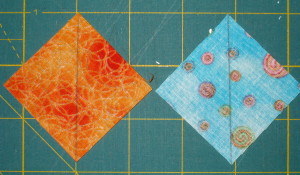
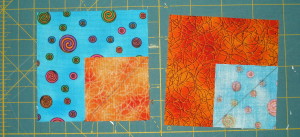
Draw a line with a pencil on the wrong side of the 2 inch squares from opposite corners.
Place the 2 inch square on top of a 3½″ square of the opposite colour right sides together.
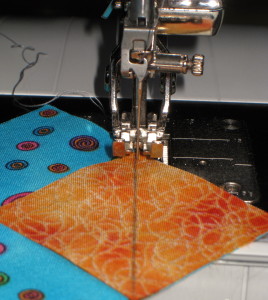
Sew just to the right of the line starting at the top of the line. This will ensure the fabric folds over exactly to the corner.
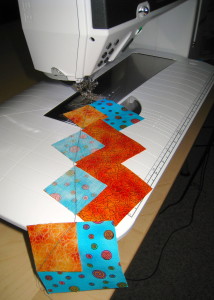
Chain sewing will make the process go a little faster and use less thread.
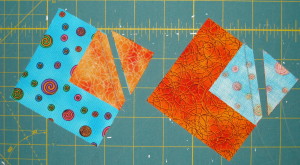
Trim off excess fabric to leave a ¼″ seam allowance.
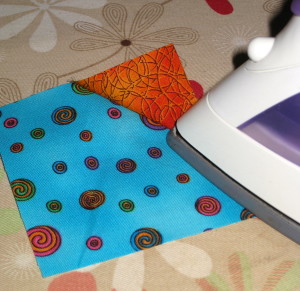
Press the triangle of fabric to made the corner of the square.
The Rows
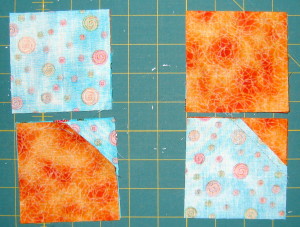
Lay out the 4 squares of fabric in the configuration needed to make the bow tie.
Put one of the squares from each row on top of the other with right sides together. Sew together.
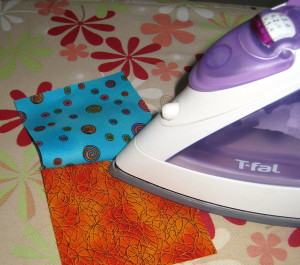
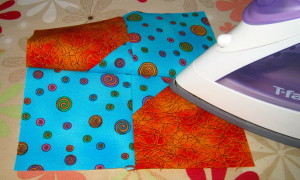
Press the seam towards the square with no triangle.
The Block
Lay out the rows to make bow tie configuration.
Place the rows together taking care to match the seams precisely. The seams will butt together nicely as they have been pressed in opposite directions. Pin if needed. Sew together.
Press the seam in either direction.
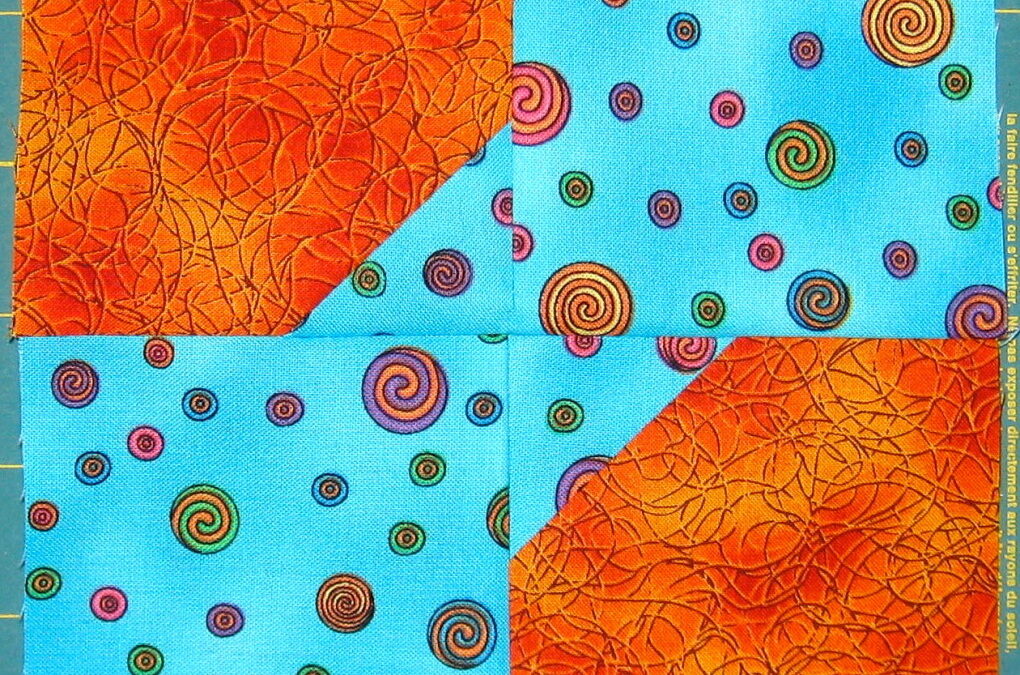
Voila! Two beautiful bow tie blocks. So simple and quick to make.
This block can be made in pretty much any size from teeny weeny to very large. What about a quilt made with all different sizes of blow tie blocks? That could make for an interesting layout design, but that’s another post for another day.
So, how about it, is anyone going to join me in making cuddle quilts for their guild – shall we see how many we can make in one year?
Happy Quilting!





Your directions for bow tie blocks are easy to follow.
Thank you so much! Happy Quilting.